
Screenwriters can use Google Docs to create a screenplay in seconds. They don’t have to format their screenplay using the Microsoft Word software, which is very challenging for inexperienced writers.
Google Docs provides an easy way for screenwriters to create their own screenplay and share it with other people on the internet.
If you want to write your own screenplay, then you need to know how to format it in Google Docs so that others can read your work easily.
In order to write a screenplay, you will need access to a computer with Internet access. You can use a desktop computer or laptop if you have one available at home or at work.
How to Format a Screenplay in Google Docs
How to Format a Screenplay in Google Docs
What are How to Format a Screenplay in Google Docs Introduction
Google Docs is an online word processing tool that allows you to type, format, and create documents online. The company has been around for years, so it’s no surprise that it’s become the default choice for a lot of people when they want to write or edit their own content.
However, not all people are comfortable writing in their browser. If you’re one of them, then this tutorial is for you! I’ll show you how to use Google Docs’ built-in tools as well as third-party plugins like OpenOffice and LibreOffice to format your screenplay.
Crafting a screenplay that meets industry standards is crucial, and Google Docs can be your unexpected ally in this creative Try.
We’ll show you how to transform this everyday tool into a screenwriter’s canvas, ensuring your script looks as professional as your story deserves.
Navigating the formatting maze can be daunting, but we’re here to guide you through setting up your document for success.
From the title page to the correct font and margins, we’ve got the insider tips to make your screenplay format spot on.
Document Setup
When we begin formatting a screenplay in Google Docs, the first step is Document Setup.

This is critical to ensure that our script aligns with industry standards and provides a seamless reading experience.
Page Size and Orientation – By default, Google Docs sets the page size to ‘Letter.
‘ We need to confirm that the page size is indeed ‘Letter’ (8.
5″ x 11″) and that the orientation is set to ‘Portrait.
‘ This setup meshes well with the standard screenplay format.
For Margins, we must adjust the Google Docs settings to the following dimensions:
- Top and Bottom Margins – 1 inch,
- Left Margin – 1.5 inches,
- Right Margin – 1 inch.
Setting these margins precisely helps in creating enough white space for notes and readability.
Font and Size are the next elements we tackle.
The industry-standard font for screenplays is 12-point Courier.
We stick with this font and size because of its clear, monospaced characteristics which help in estimating the screenplay’s runtime.
Paragraph Styles in Google Docs can be a significant aid.
We configure the styles to match the screenplay format:
- Scene Headings: Bold, Left Align,
- Action: Block style, Single Spaced,
- Character names: Center Align, All Caps,
- Dialogue: Center Align and Indented.
By setting our paragraph styles upfront, we ensure consistency throughout our screenplay.
Utilizing the Title Page template available in Google Docs can save time.
It contains placeholders for the title, written by credit, and the author’s contact information – which all should be centered and correctly spaced on the page.
Regularly Saving Changes is crucial.
Google Docs autosaves but we can’t risk losing our meticulous formatting work due to a glitch or a lost connection.
finally, it’s advisable to frequently compare our layout with a professionally formatted screenplay, like The Godfather or Pulp Fiction, to guarantee we’re on the right track.
This comparison is key for fine-tuning our document to match professional presentation.
Title Page
Creating an outstanding title page is just as vital as the screenplay itself.
It’s the first impression that readers, agents, and producers get of your work.
Our focus is on the basics of creating a title page that looks professional and adheres to industry standards.
It’s a straightforward process, and Google Docs provides all the tools necessary to get it right.
Start with a blank document in Google Docs and set the font to Courier New, 12-point size.

This is the industry standard as it creates a uniform look.
Your title page should contain the fullscreen title of your screenplay centered both horizontally and vertically on the page.
Below the title, also centered, should be your name and contact information.
Below your contact information, if applicable, include any additional details that are pertinent to your screenplay.
This may include:
- The name of your agent or manager if you have one,
- The copyright symbol followed by the year and your full legal name,
- A draft number or date to assist you and the reader in tracking revisions.
Remember to keep the title page as simple and clutter-free as possible.
There’s no need for extra graphics or fancy fonts as they distract from the professionalism of your screenplay.
Once you’ve completed your title page, you should double-check all the information for accuracy and completeness.
Regularly saving changes as you work on your Google Doc is crucial.
With a solid title page in place, you set the stage for screenplay formatting that keeps you in line with what’s expected in the industry.
To further refine your formatting skills, study the title pages of successful screenplays.
They often serve as excellent templates for understanding the balance between form and function in screenplay presentation.
Font And Margins
Continuing with our guide on formatting a screenplay in Google Docs, let’s jump into the specifics of font and margins.
Consistency in these elements is key to ensuring that your screenplay not only looks professional but also adheres to industry standards.
Courier New is the go-to font for screenplays as it creates a uniform look and is easy for readers to navigate.
Always set your font to 12-point size – this is non-negotiable in the film industry.
Margins need to be precise because they influence the reading experience and timing.
Dialogue that’s too compressed or too stretched can throw off an actor’s performance or a reader’s understanding of the pacing.
Here’s a quick breakdown of the margin settings that you’ll need to Carry out:
- Left margin – 1.5 inches,
- Right margin – 1 inch,
- Top and bottom margins – 1 inch each.
also, it’s important to consider the binding of the screenplay when setting margins.
The extra half-inch on the left accommodates for any binding used when your screenplay is printed and bound.
If it’s not adjusted correctly, your script can appear off-balance and may even be difficult to read once bound.
Indentation plays a pivotal role in screenplay formatting as well.
When setting up your document, pay close attention to the indentation for various elements like character names, dialogue, and transitions.
These indents help differentiate between distinct parts of the script and assist in creating a seamless read for actors and producers alike.
Google Docs conveniently allows for all these adjustments to be made with ease.
Tap into the page setup options and set your indents and spacing according to the industry standards we’ve outlined.
Remember, the goal is to maintain a polished and reader-friendly document that allows your content to shine through without layout distractions.
Establishing Scene Headings And Action Lines
In screenwriting, mastering the art of action lines and scene headings is crucial.
Scene headings – also known as slug lines – orient the reader within the script’s world.
Action lines describe what’s unfolding on screen and are instrumental in bringing your screenplay to life.
They must be concise and powerful, using present-tense verbs to convey movement and emotion.
Google Docs serves as an excellent platform for organizing these critical components.
The key is to ensure they stand out for easy reading.
Scene headings are typically bolded, while action lines follow, written in normal weight text.
This contrast allows for a swift read, making sure the screenplay’s flow isn’t interrupted.
Formatting Dialogue And Parentheticals
Dialogue often carries the weight of character development and plot progression.
In Google Docs, it’s important that we format dialogue correctly to reflect industry standards.
The same goes for parentheticals – the brief directions given within dialogue – which indicate how a line should be delivered or what action is taking place.
When formatting dialogue:
- Begin each character’s name centered on the page.
- Follow with their dialogue, indented from the character’s name by about 2.5 inches.
Similarly, parentheticals are utilized judiciously and are placed directly below the character’s name:
- Indent them 3 inches from the left edge of your document.
- Keep them concise to maintain pacing.
Inserting Page Breaks And Transitions
As our screenplay progresses, it’s vital that we manage page breaks and transitions with precision.
With Google Docs, implementing page breaks after a scene concludes can help maintain a clear structure.
Transitions such as Fade In, Cut To, or Dissolve should be used sparingly and only to convey a specific storytelling purpose.
Here’s how we can approach transitions:
- Align them to the right of the page.
- Capitalize them to signify a change in scene or time.
By methodically segmenting scenes and marking transitions, we help readers envision the flow of the screenplay as it would appear on the screen.
Character Names And Dialogue
When writing a screenplay in Google Docs, we have to give special care to character names and dialogue.
These two elements are the heartbeat of our script, bringing it to life through the voices of our characters.
Character names must be formatted precisely to stand out on the page.
They should always be in ALL CAPS and placed above the dialogue block, signifying who is speaking at that moment.
Dialogue, on the other hand, demands its own unique format.
It’s indented on both sides and aligned directly under the character’s name, providing a clear visual distinction from the other elements in the script.
Here are a few key pointers we need to adhere to:
- Maintain a left indent of 1.5 inches and a right indent of 1 inch for dialogue text,
- Character names should be positioned 3.7 inches from the left margin,
- The first line of dialogue should appear 2.5 inches from the left side.
In Casablanca, we see the power of well-crafted dialogue that defines characters.
Following proper formatting ensures that our screenplay has the same potential for iconic exchanges.
The correct format of dialogue in Google Docs instantly communicates our professional approach to scriptwriting.
Agents and actors alike recognize at a glance that we understand the language of the screen.
Action lines interspersed with dialogue create a rhythm all their own.
They help to build tension, pace scenes, and provide actors with critical non-verbal cues.
In the end, meticulous formatting of character names and dialogue is not just about aesthetics.
It’s about crafting a seamless reading experience that immerses the audience in the world we’ve created.
Through these standards, our screenplay stands a much better chance of making it from the page to the stage.
Action And Description
In screenplay formatting, Action and Description play pivotal roles.
They set the stage for the characters and the narrative, offering a clear picture of what’s happening.
In Google Docs, we ensure that these elements are distinct and easily identifiable.
Action lines, which describe what’s occurring on screen, should be written in a straightforward manner.
Remember, brevity is key – we get to the point quickly and avoid over-elaboration.
We use the standard 12-point Courier font for action and description.
This not only maintains uniformity but also adheres to industry standards.
Here are some best practices to keep in mind for action and description –
- Start a new line for each significant action.
- Keep paragraphs short to enhance readability. Italics can be used sparingly to emphasize a sound or movement that’s crucial to the scene. Take Inception, for instance, where certain actions are instrumental to the narrative.
Indentation isn’t just for dialogue.
We also indent action lines to align with character cues.
This ensures the script looks professional and is easy for actors and directors to follow.
Our goal is to create vivid, visual writing that propels the story forward.
We think of action lines as the director’s first view of the film – before the cameras even start rolling.
hence, clarity and precision are critical components as we craft our screenplay in Google Docs.
Parentheticals And Transitions
Crafting a screenplay in Google Docs requires understanding how to effectively use parentheticals and transitions.
Parentheticals are brief directions given to actors within the dialogue, while transitions guide the reader from one scene to the next.
Parentheticals should be concise and used sparingly to ensure they don’t disrupt the flow of the dialogue.
Transitions, on the other hand, need to be formatted in a way that clearly communicates the shift from scene to scene.
In Google Docs, here’s how we format parentheticals and transitions:
- Parentheticals – Align to the left, positioned directly under the character’s name, indented 1.5 inches from the margin,
- Transitions – Typically, align to the right, capitalizing words such as CUT TO, FADE IN, FADE OUT, and DISSOLVE TO.
Remember that the timing for the insertion of transitions is critical.
The transitions like CUT TO: can denote a sharp or abrupt change, while FADE OUT: might signal the end of a sequence or an act within the screenplay.
Our formatting choices have a direct impact on how a script is read and eventually brought to life.
It’s vital to ensure that each element – from parentheticals to transitions – serves the story and enhances the visual storytelling.
By adhering to these best practices in Google Docs, we create screenplays that are not only clear and easy to read but that also conform to the industry standards that directors and actors expect.
Page Breaks And Page Numbers
Page breaks are vital in screenplay formatting to avoid dangling headings at the bottom of a page.
We always ensure that scene headings appear at the top of a new page if they’re the last element at the bottom.
Google Docs makes it easy to insert page breaks where needed.
Simply place the cursor at the desired location and use the keyboard shortcut Ctrl + Enter (Cmd + Enter on Mac).
Keeping track of page numbers is essential as they help maintain the structure throughout the writing and editing process.
Page numbers should appear in the top right corner of each page except the first one.
In Google Docs, you can add page numbers by clicking on Insert and then selecting Page Numbers.
Choose the appropriate option that excludes the title page.
Formatting page numbers in Google Docs allows specificity and control over how they appear.
Options include:
- Starting from the second page,
- Using different styles for the first page.
Adherence to proper page numbering is not just a formality; it reflects the professionalism and dedication to the craft of the writer.
Google Docs facilitates precise page numbering that aligns with industry standards, ensuring that every screenplay we write exudes the utmost professionalism.
Review And Edit
Once we’ve formatted our screenplay, reviewing and editing become crucial for polishing our draft.
We’ve ensured that scene headings, dialogue, and action lines meet industry standards.
Now it’s time to fine-tune the document in Google Docs.
Our goal is to eliminate errors and enhance readability.
Google Docs offers a spell check feature, but relying solely on it can be a misstep.
We meticulously go through the screenplay to catch any grammatical errors, typos, or formatting inconsistencies that automated tools might miss.
Enlisting a fresh pair of eyes can be invaluable as well.
We might consider having a colleague or a script editor look over the document.
Here are key points we focus on when editing:
- Ensuring character names and locations are consistently spelled,
- Checking for proper capitalization and punctuation within dialogue,
- Confirming that transitions are clearly marked and consistent.
Formatting is vital, but the story’s clarity is
Action lines must be concise and dialogue should flow naturally.
We read through the script out loud to ensure the language sounds authentic and the pacing is on point.
We use the ‘Suggesting’ mode in Google Docs for a collaborative editing process.
This allows us to review suggestions from peers without immediately altering the original text.
Everyone can contribute to the refining process while we maintain control over the final changes.
Editing also extends to technical aspects such as double-checking that page numbers are correctly formatted and visible.
We ensure there are no accidental skipped pages or misplaced elements that could disrupt the script’s flow.
Always remember to keep saved backups of our screenplay in multiple locations.
Google Drive automatically saves our changes, but we also store offline copies.
This safeguards our work against technical mishaps that could occur during the review phase.
By the end of our review and editing phase, we aim for a screenplay that not only looks professional but also reads seamlessly from one page to the next.
It’s a stage where we transform our script from good to great through attention to detail and collaborative efforts.
How To Format A Screenplay In Google Docs – Wrap Up
Mastering the art of screenplay formatting in Google Docs is essential for any budding screenwriter.
We’ve walked you through the intricacies of creating a professional-looking script, from scene headings to dialogue.
Remember, the editing phase is just as crucial as the initial draft.
It’s where we polish our work, ensuring clarity and cohesiveness.
Embrace the collaborative features Google Docs offers, and always keep backups of your screenplay.
With these tips, we’re confident you’ll craft a screenplay that stands out in the industry.
Happy writing!
Frequently Asked Questions
How Do You Format A Screenplay In Google Docs?
To format a screenplay in Google Docs, use proper scene headings, action lines, and dialogue formatting.
Insert page breaks and transitions appropriately.
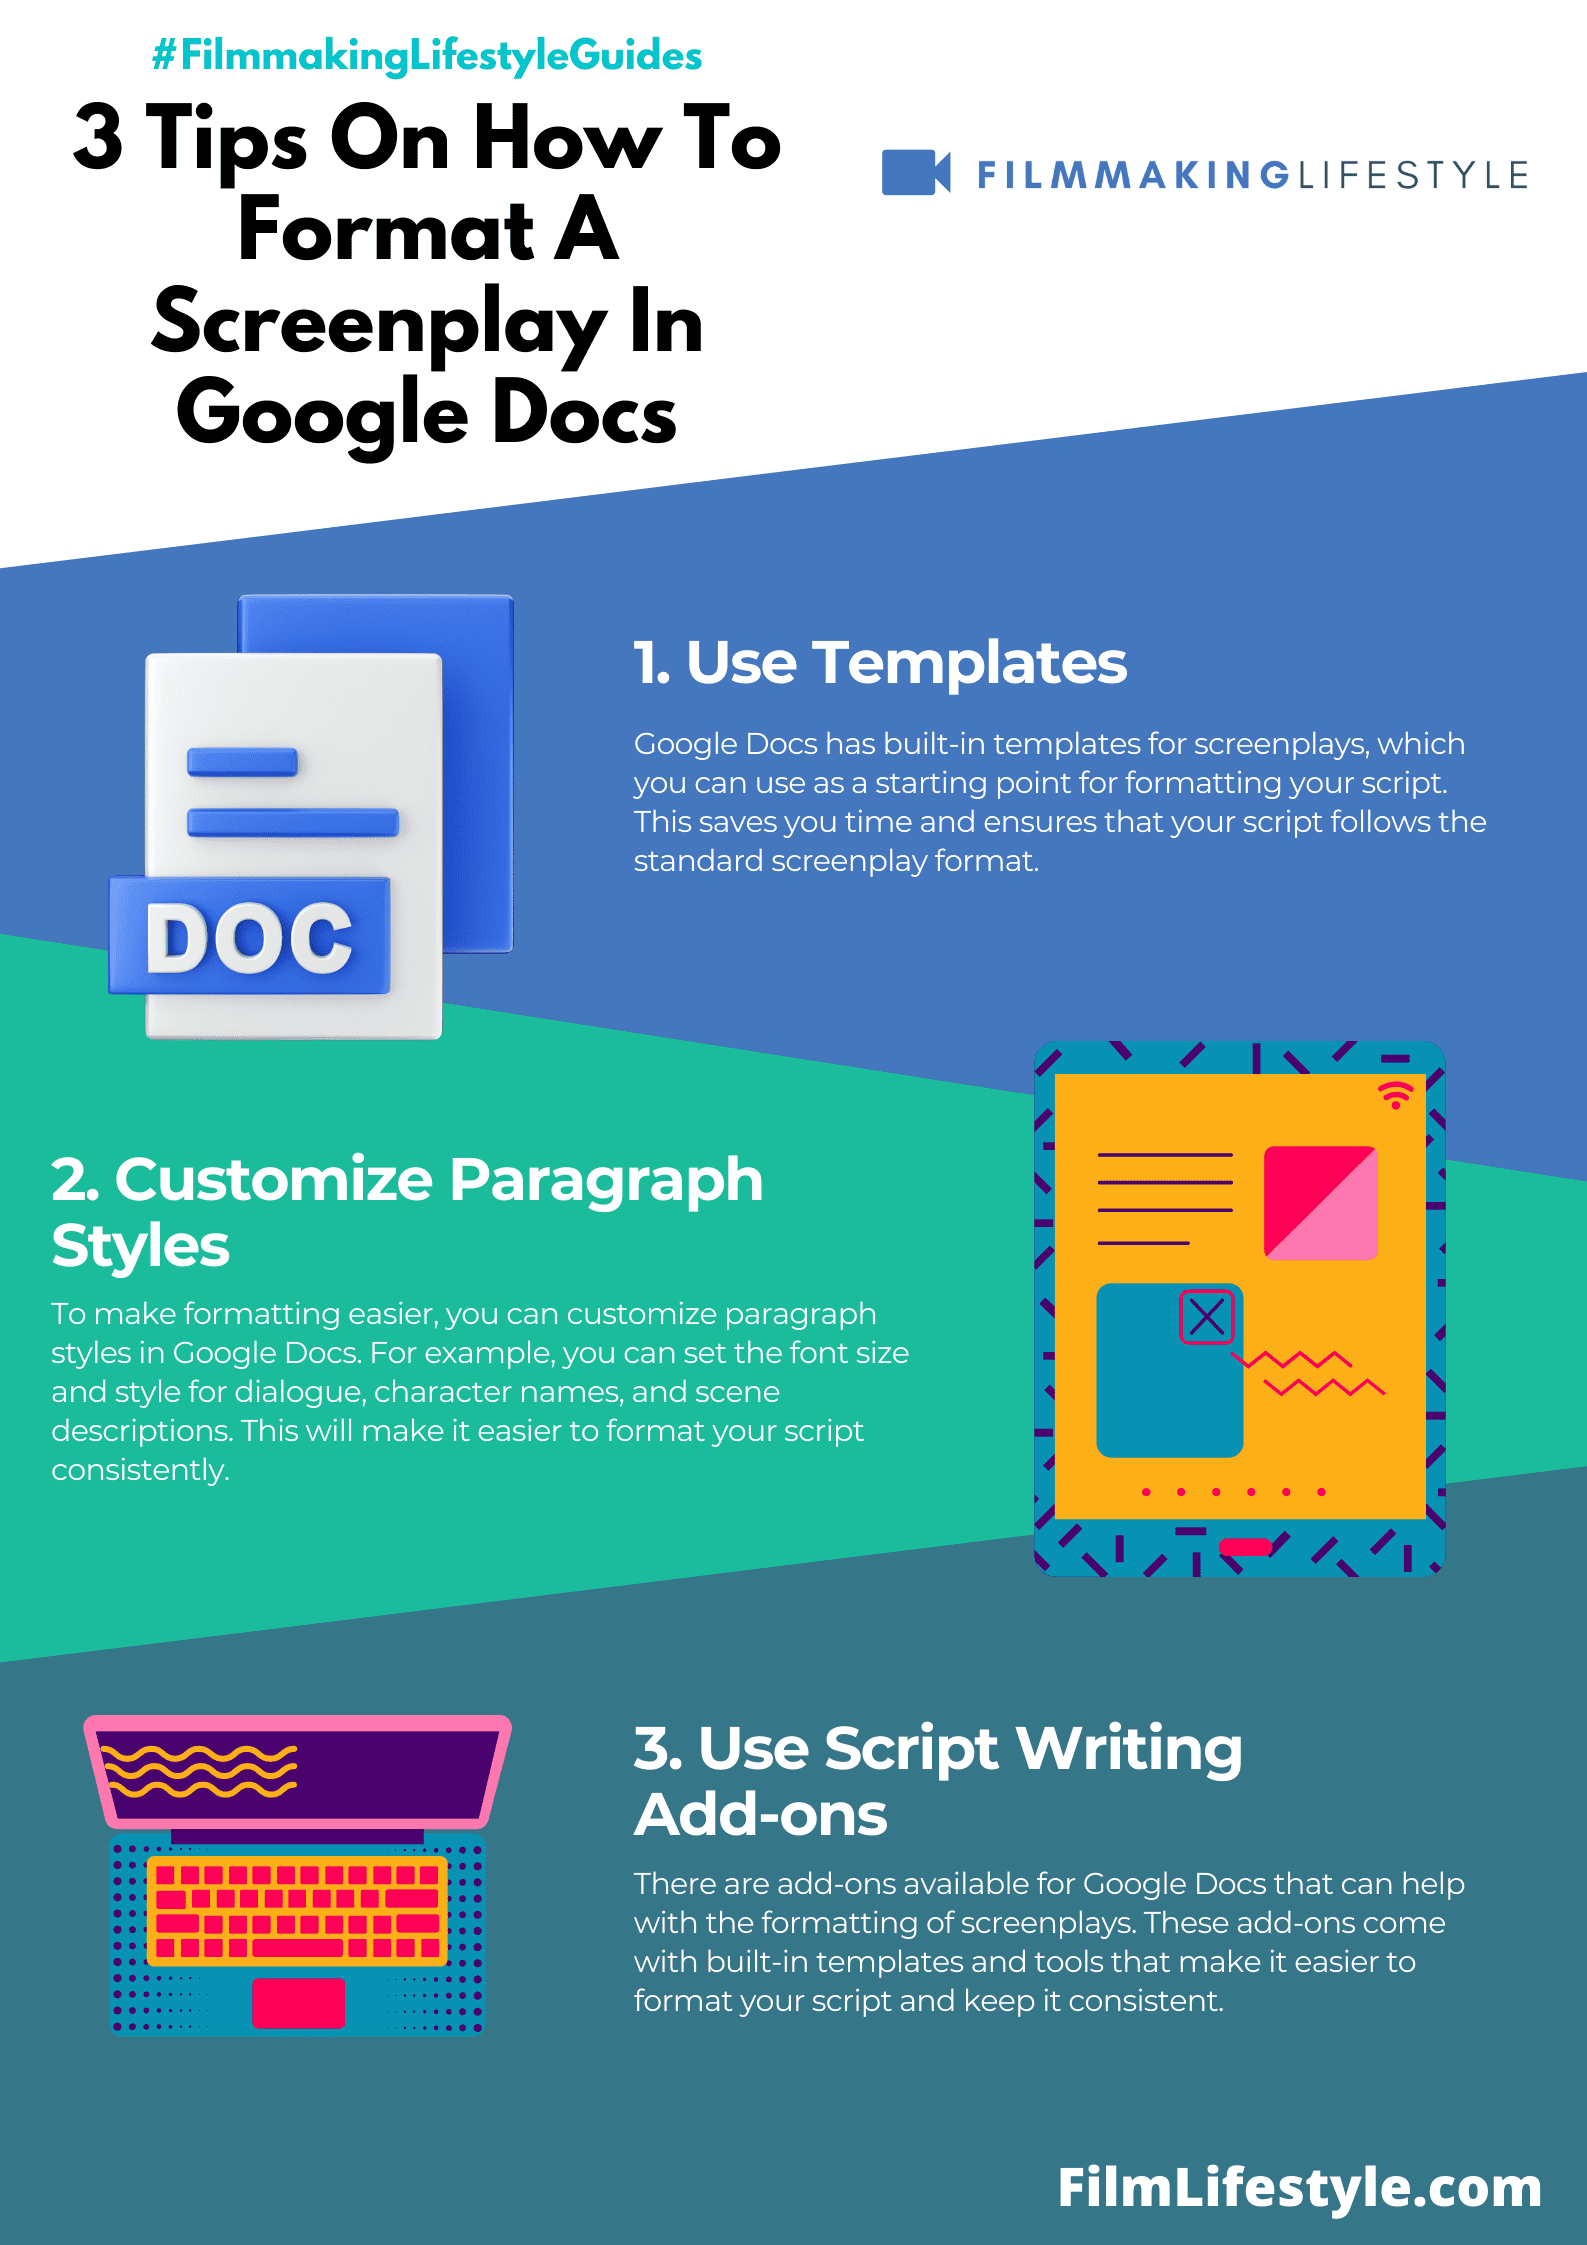
For precise formatting, you can also use dedicated screenplay templates or add-ons available within Google Docs.
What Are The Key Points To Edit In A Screenplay?
Key points to edit in a screenplay include checking for consistent spelling, ensuring proper punctuation and capitalization, especially within dialogue, and verifying clear and seamless transitions.
Additionally, confirm accurate scene numbering and maintain overall script readability.
Why Is Editing Important In The Screenplay Writing Process?
Editing is vital in the screenplay writing process to eliminate errors, enhance readability, and ensure the script adheres to industry standards.
A well-edited screenplay presents a more professional and polished story, increasing its chances of success with readers and potential producers.
How Can Google Docs Facilitate Collaborative Editing?
Google Docs supports collaborative editing by allowing multiple users to work on the document simultaneously.
Editors can suggest changes, leave comments, and track revisions in real-time, which streamlines the review process and enables efficient teamwork.
Should You Maintain Backups Of Your Screenplay?
Yes, always maintain backups of your screenplay.
Despite Google Docs saving changes automatically, having backups on an external drive or another cloud service protects against accidental data loss and ensures you have access to previous versions if needed.