Voice acting is an interesting profession. It can be tough to know where to start or how you could even get into the industry.
Have you ever wondered what it takes to get into voice acting? I have been exploring this question and will be sharing my findings with you.
HOW TO DO VOICE OVER
What Is Voice Over?
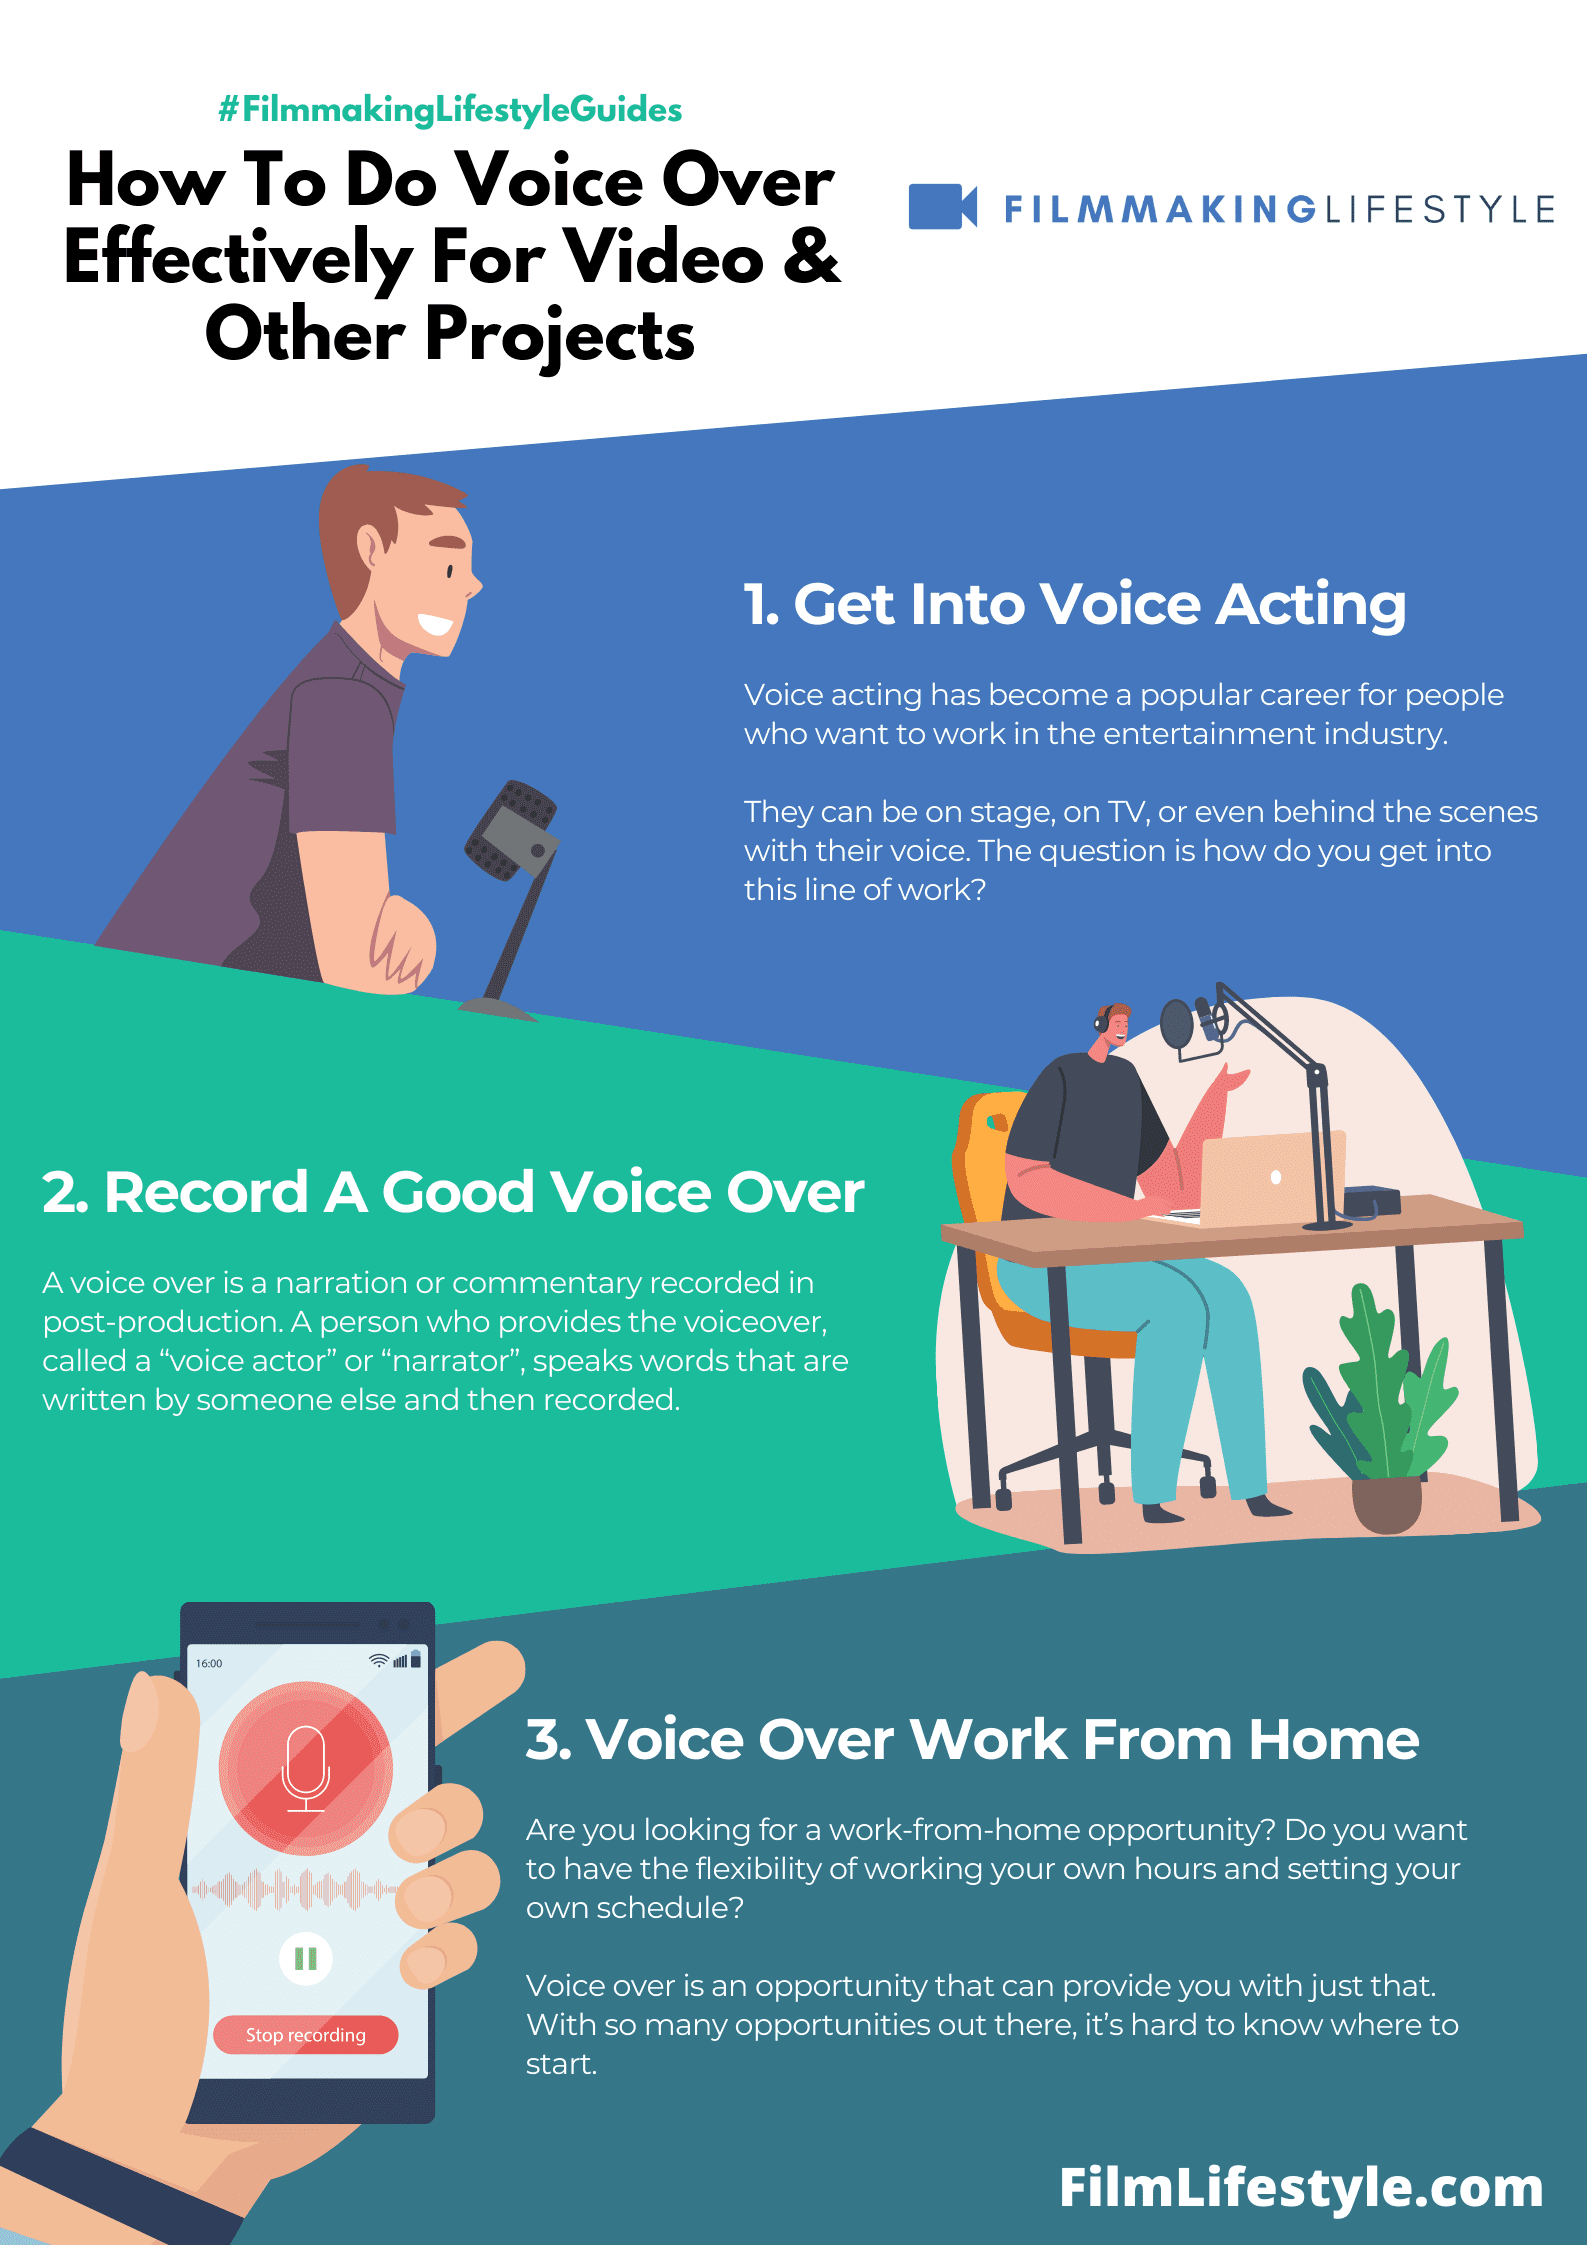
Voice over is the process of recording a voice to be used in a video or audio production.
Voice actors provide voices for animated characters, narrators, and other on-screen talent who are not physically present at the time of broadcast.
Voiceovers are also frequently used in video games, films, and other voice-recorded media.
The person doing the voiceover may be known as a voice actor. And sometimes they may be famous Hollywood actors who you would recognize from conventional movies.
Adding a voice-over to your video can transform it from mundane to captivating, giving it a professional edge that engages your audience.
We’ll guide you through the process, ensuring your message isn’t just heard, but felt.
We know the ins and outs of perfecting tone, pacing, and emotion to make your video stand out.
Stick with us to discover the secrets of compelling voice-over work that can make all the difference.
Choosing The Right Voice-over Artist
Finding the perfect voice-over artist is crucial for the impact of your video.

The voice chosen can transform the content from mundane to riveting.
Look for someone whose voice quality resonates with your brand’s message.
The timbre, pitch, and emotional range must align with the video’s tone.
Voice versatility can be a key asset.
Multiple character voices or accents may be required depending on the script’s demands.
Experience matters in voice-over performance.
Review their past work and note their proficiency in articulation and expressiveness.
Considering the audience is another vital step.
Align the voice with the cultural and linguistic expectations of your target demographic.
Technology has made auditions more straightforward than ever.
Request samples or a short demo specific to your script before making a final decision.
Remember, the voice behind the camera is as important as the visuals on screen.
Choose wisely to ensure your message is heard clearly and effectively.
Creating a connection with the voice-over artist is fundamental.
Their grasp of the project’s vision can greatly influence the final outcome.
Writing A Script
We know that crafting the perfect script is central to a successful voice-over.
It’s not just about what’s said; it’s about how it’s said.
Our words must resonate with the audience and drive the narrative forward.
Doing so requires a keen understanding of both the message we want to convey and the audience we aim to engage.
Language and tone are fundamental to any script we write.
They must match the brand and the context of the video.
If we’re creating an explainer video, the language should be clear and instructional.
On the other hand, for a brand story, a more narrative and emotive tone might be fitting.
It’s all about making sure our script aligns with our objectives.

Brevity and clarity in our scripts ensure the message isn’t lost.
The voice-over should be able to breathe – pacing is key.
Run-on sentences can overwhelm the listener, so we strive to keep our sentences concise and our words impactful.
Engaging voice-over scripts often include:
- A strong opening that captures attention,
- A clear middle section that explains the concept or product,
- A memorable closing phrase that reinforces the main message.
We understand that the readability of the script greatly affects the voice-over performance.
That’s why we always recommend reading the script out loud as part of the editing process.
This step helps us to identify any tongue-twisters or awkward phrasing that might trip up our voice-over artist.
For us, it’s not just about writing; it’s about creating an experience.
The right script does more than inform; it inspires and influences.
As we continue to craft these scripts, our aim is to not only share information but to spark a connection that resonates long after the video ends.
Preparing Your Recording Space
Before diving into the art of voice-over, we must emphasize the importance of preparing your recording space.
An ideal environment is crucial for achieving professional-quality sound and can greatly impact the overall production value of a video.
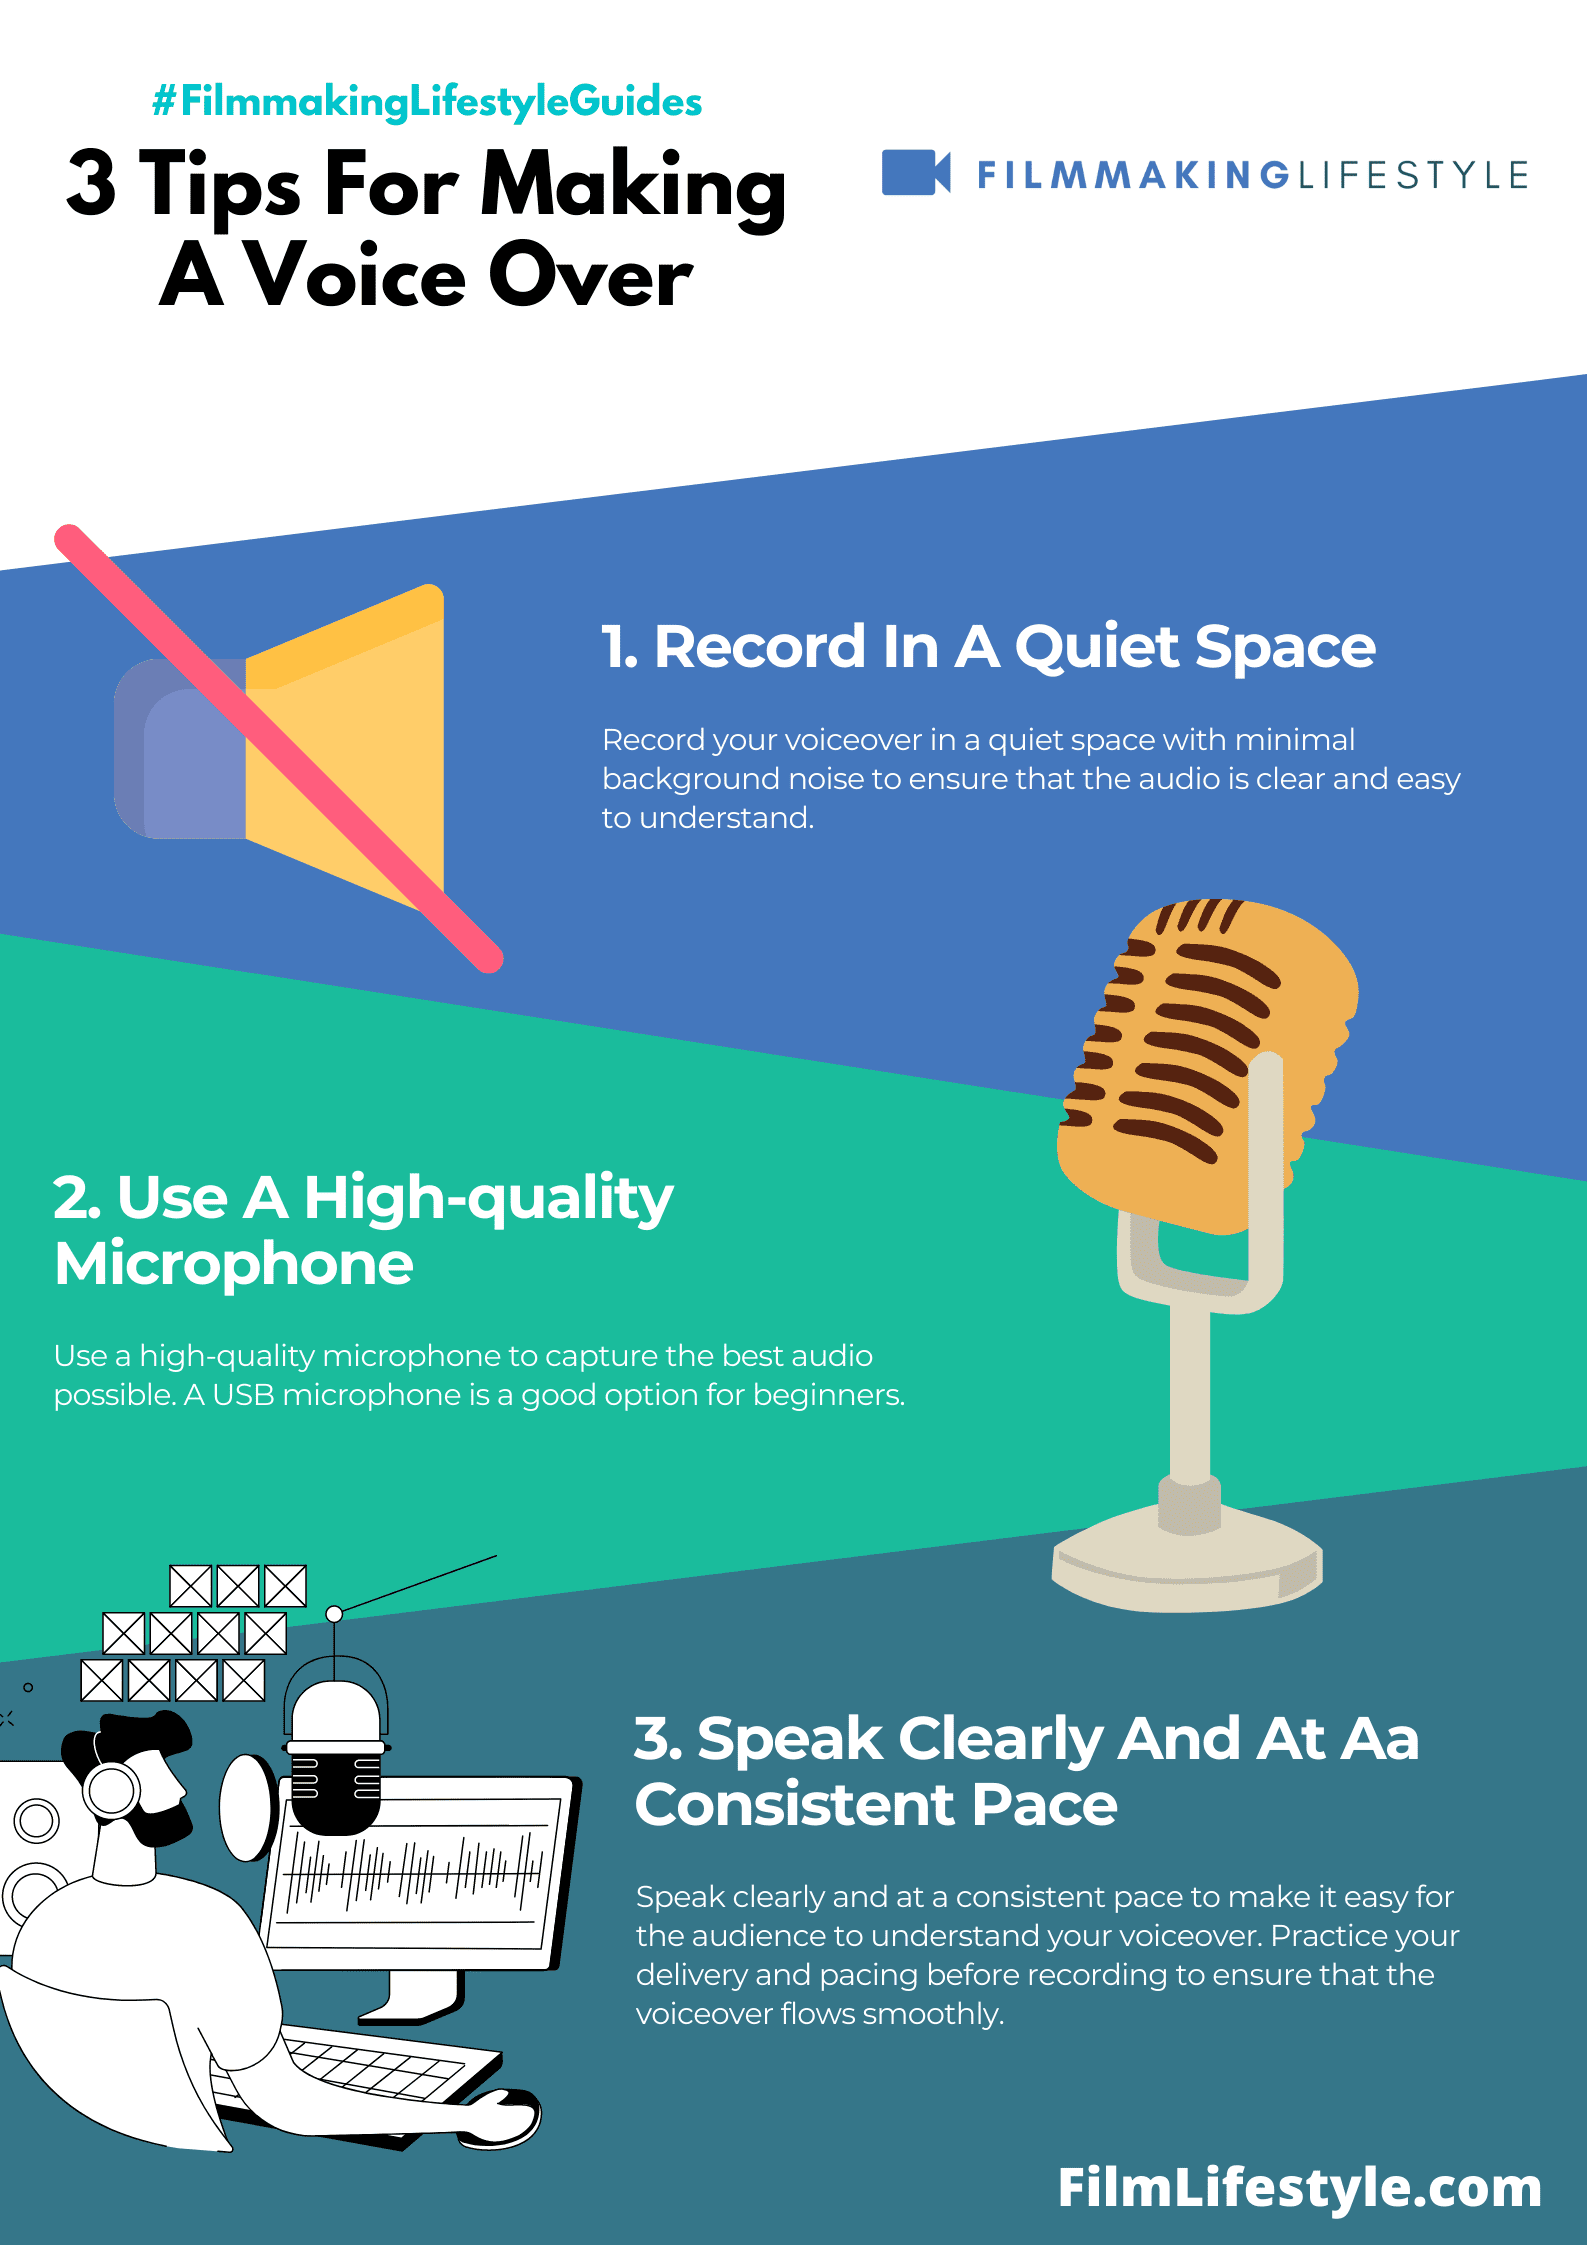
Accomplishing pristine audio begins with minimizing background noise.
This means we need to identify and eliminate any potential disturbances that could intrude on the recording.
Air conditioners, refrigerators, and busy street noise are common culprits that can ruin an otherwise perfect take.
Soundproofing is next on our list.
While professional studios use high-grade materials, there are budget-friendly ways to dampen sound –
- Hang thick blankets or moving pads on the walls,
- Use bookshelves filled with books as makeshift sound barriers,
- Employ foam panels or acoustic tiles in areas where sound bounces.
Equally important is the room’s reverberation.
We opt for a space that avoids excessive echo, as this can cause the voice to sound hollow or distant.
Closets often become an impromptu choice for many voice-over artists due to the natural sound absorption provided by clothes.
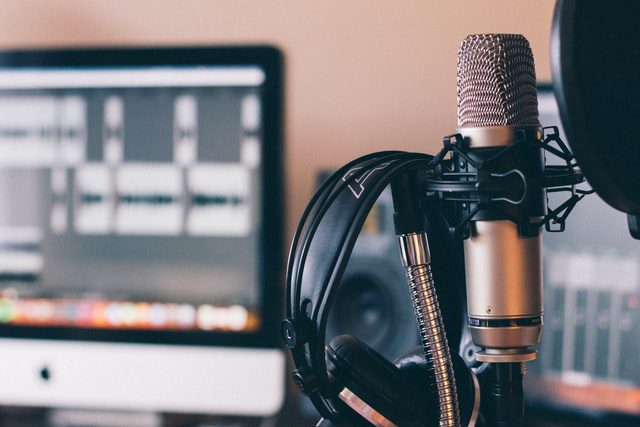
Once we’ve established a quiet and sound-treated environment, we then focus on the recording equipment.
It’s vital to position the microphone correctly, maintaining a consistent distance to ensure even audio levels throughout the performance.
also, we make sure to use a pop filter.
This simple attachment can prevent plosives – those pesky ‘p’ and ‘b’ sounds that can result in unwanted spikes in the audio waveform.
After setting the stage with the right atmosphere and equipment, we’re ready to capture the voice-over with confidence, knowing that the space is fine-tuned to complement our effort.
This preparation lays the groundwork for a voice-over that will not only be heard but also felt by the audience.
Selecting The Right Equipment
Before diving into the nuances of voice-over work, it’s crucial to gear up with the right equipment.
High-quality microphones are at the heart of capturing clear, professional sound.
Audio interfaces bridge the gap between your microphone and computer.
They ensure your voice-over tracks are free of lags and glitches.
Some top choices include Universal Audio, Focusrite, and Presonus.
When considering headphones, look for closed-back models.
They’re designed to prevent sound from leaking into your microphone.
Brands like Sony and Audio-Technica offer some reliable options.
Microphone stands or boom arms are not just conveniences but necessities.
They provide the flexibility required for optimal mic placement while keeping hands-free for scripts or other tasks.
We need to mention a few extras that can make or break voice-over recordings:
- Pop filters – these help eliminate plosives and protect your microphone from saliva damage.
- Shock mounts – they shield your mic from vibrations and handling noise.
- Acoustic treatments – foam panels or diffusers can significantly improve sound quality by controlling room acoustics.
Software also plays a vital role in capturing and editing voice-overs.
Professional-grade software like Adobe Audition or Pro Tools offers a robust set of editing tools for fine-tuning your audio.
But, for beginners or those on a budget, Audacity is a free alternative that still packs a punch.
Let’s not forget the computer itself.
Your system should have enough processing power and memory to handle audio recording and editing tasks without a hitch.
Look for a computer with a multi-core processor and at least 8GB of RAM for a seamless process.
Remember, the right equipment is pivotal for producing impeccable voice-over audio.
Ensuring that we’ve got the best tools in our kit sets the stage for a voice-over that doesn’t just sound great but resonates with our audience.
Recording And Editing Your Voice-over
Once we’ve gathered the right equipment, it’s time to jump into the recording process.
Good acoustics are
Before recording, we run through a quick vocal warm-up.
This ensures our voice is clear and consistent throughout the session.
Effective voice-over work requires multiple takes.
We don’t settle for the first good take; instead, we record several to have options during the editing phase.
Our microphone is positioned correctly – not too close, not too far – to capture the full range of our voice without distortion.
The editing phase is where the magic happens.
We meticulously trim errors and pick the best takes, then align them perfectly with the visual footage.
Sometimes, the order of operations during editing includes:
- Syncing audio with video,
- Adjusting audio levels,
- Applying noise reduction,
- Adding effects to enhance clarity.
Polishing the voice-over involves fine-tuning the audio.
We listen for and correct any sibilance or plosives that may distract the viewer.
It’s also critical to maintain consistent volume and pacing so that the voice-over complements, rather than competes with, the visual elements of The Dark Knight or any other film we work on.
In the world of voice-over for video, software choice carries significant weight.
We opt for professional-grade software that offers the flexibility and power needed for intricate edits and enhancements.
Popular choices among voice-over artists include Audacity and Adobe Audition, with the latter offering advanced features for those looking to invest in their craft.
How To Do Voice Over For Video – Wrap Up
We’ve walked you through the essentials of creating a compelling voice-over for your videos.
Remember, the key to success lies in preparation, precision, and patience.
With the right tools and techniques, you’ll deliver a voice-over that not only complements your visuals but also elevates your content to new heights.
Whether you’re a seasoned pro or just starting out, we’re confident you’ll find your voice and make an impact.
So go ahead, give your videos the powerful, polished voice they deserve.
Frequently Asked Questions
What Is Important Before Starting To Record A Voice-over?
Before recording a voice-over, it is essential to ensure good acoustics in the recording space and to perform vocal warm-ups to prepare your voice.
How Many Takes Are Recommended During A Voice-over Recording Session?
It’s recommended to record multiple takes during a session to provide options for the best result during the editing phase.
What Does The Editing Process For Voice-over Involve?
The editing process for voice-over includes trimming errors, aligning audio with visual footage, adjusting audio levels, applying noise reduction, and adding effects to the track.
How Is A Voice-over Polished?
Polishing a voice-over involves fine-tuning the audio to correct any distractions and to ensure consistent volume and pacing throughout the recording.
What Software Is Recommended For Professional-grade Voice-over Editing?
For professional-grade voice-over editing, software such as Audacity or Adobe Audition is recommended, as they offer advanced features for detailed edits and enhancements.