
What is green screen? Green screen technology is used to superimpose one video image into another, and even control the shape of the original image.
The most common use of green screen technology is in film and television, but it can also be used for other applications such as digital signage.
HOW TO USE green screen effects
What Are green screen effects?
Green screen effects are used for a variety of purposes in video and cinema, most notably for special effects.
This practice requires that the subject stay within a designated area (called a green screen), and be appropriately lit so that the background can easily be replaced.
The process is often called chroma keying because the color green is used to isolate the subject from its original background.
The effect has been used in TV production since the late 70s, and was popularized in the early 2000s by shows like “Who Wants To Be A Millionaire?” and “American Idol.”
It’s also used in feature films, allowing directors to create more elaborate scenes than would otherwise be possible with practical sets and props.
Green screen effects have revolutionized the way we create videos, allowing us to conjure any world we can imagine.
By simply swapping out the green backdrop with stunning visuals, we’re no longer bound by the limits of our physical location.
In this article, we’ll guide you through the process of using green screen effects, from setting up your space to editing your footage.
Whether you’re a budding filmmaker or a content creator looking to add some pizzazz to your videos, mastering the art of green screen is a game-changer.
Stay tuned as we unveil the secrets to elevating your video projects with this incredible tool.

Setting Up Your Space
Before diving into the magical world of green screen effects, it’s key to set up our space correctly.
A well-prepared environment ensures a flawless final product that brings our creative vision to life.
Proper Lighting is critical – it helps avoid shadows and uneven backgrounds that can make keying out the green screen a nightmare.
Our goal is uniform brightness across the green backdrop with soft, diffused light to minimize harsh shadows.
Choosing the Right Green Screen Material can make all the difference.
We usually opt for a fabric that’s wrinkle-resistant and highly saturated in chroma green.
This makes post-production much easier when it’s time to replace the green pixels with our desired backdrop.
Setting up the green screen tightly and seamlessly is just as important.
We should stretch out any wrinkles and affix the screen tautly to a flat surface or frame to avoid any imperfections.
The smoother the screen, the less work we’ll have during editing.
Camera positioning and angle are critical to maintain the illusion.
We need to ensure the camera is set at the right distance to capture the entire area of the green screen that’ll be in use.
Here’s a quick checklist to keep in mind when setting up our space:
- Secure ample space for the green screen and our subject,
- Ensure there are no green clothing or props unless intended for the effect,
- Avoid reflective surfaces and shiny objects that might catch green spill,
- Place the camera on a stable tripod to keep the framing consistent.
Once we’ve mastered setting up our space, it’s only a matter of recording our footage and moving on to the next exciting phase – editing with green screen effects.
With our setup perfected, we’re on our way to producing professional-level content that stands out.
The results are only limited by our imagination.
Choosing The Right Green Screen Materials
No matter the project, selecting the ideal green screen material is pivotal for creating top-notch visual effects.
It’s not just about grabbing any green fabric and calling it a day.
There’s a variety of materials available – each with its own set of benefits and drawbacks.
Muslin is a popular choice due to its durability and ability to reduce reflective spill, while polyester offers a wrinkle-resistant surface, crucial for an even key.
For those on a budget, paint can be a viable option, especially when covering large areas.
But, ensure it’s the correct shade of chroma green and applied with a matte finish to minimize reflection.
Professional studios often opt for more advanced materials like composite components, which provide high-quality results and are designed specifically for VFX work.

These tend to be more expensive but are worth the investment for their superior performance.
When we’re setting up a shoot, we consider factors like:
- The scale of the project,
- The budget at hand,
- The specific requirements of the shoot.
In films like Avengers: Endgame or The Mandalorian, state-of-the-art technology and custom green screen stages are deployed to bring fantastical worlds to life.
These productions require a material that can withstand intense lighting and extensive use.
For beginners or smaller productions, a simple green cloth may suffice.
It’s essential to start with what’s accessible and fit for the project’s scale.
As you gain experience and budgets grow, you can invest in better materials.
Keep in mind that the best results come from materials that are:
- Non-reflective,
- Wrinkle-free,
- Evenly colored.
Remember, the goal is a seamless integration between the subject and the virtual background.
The right green screen material can make or break the illusion we aim to create.
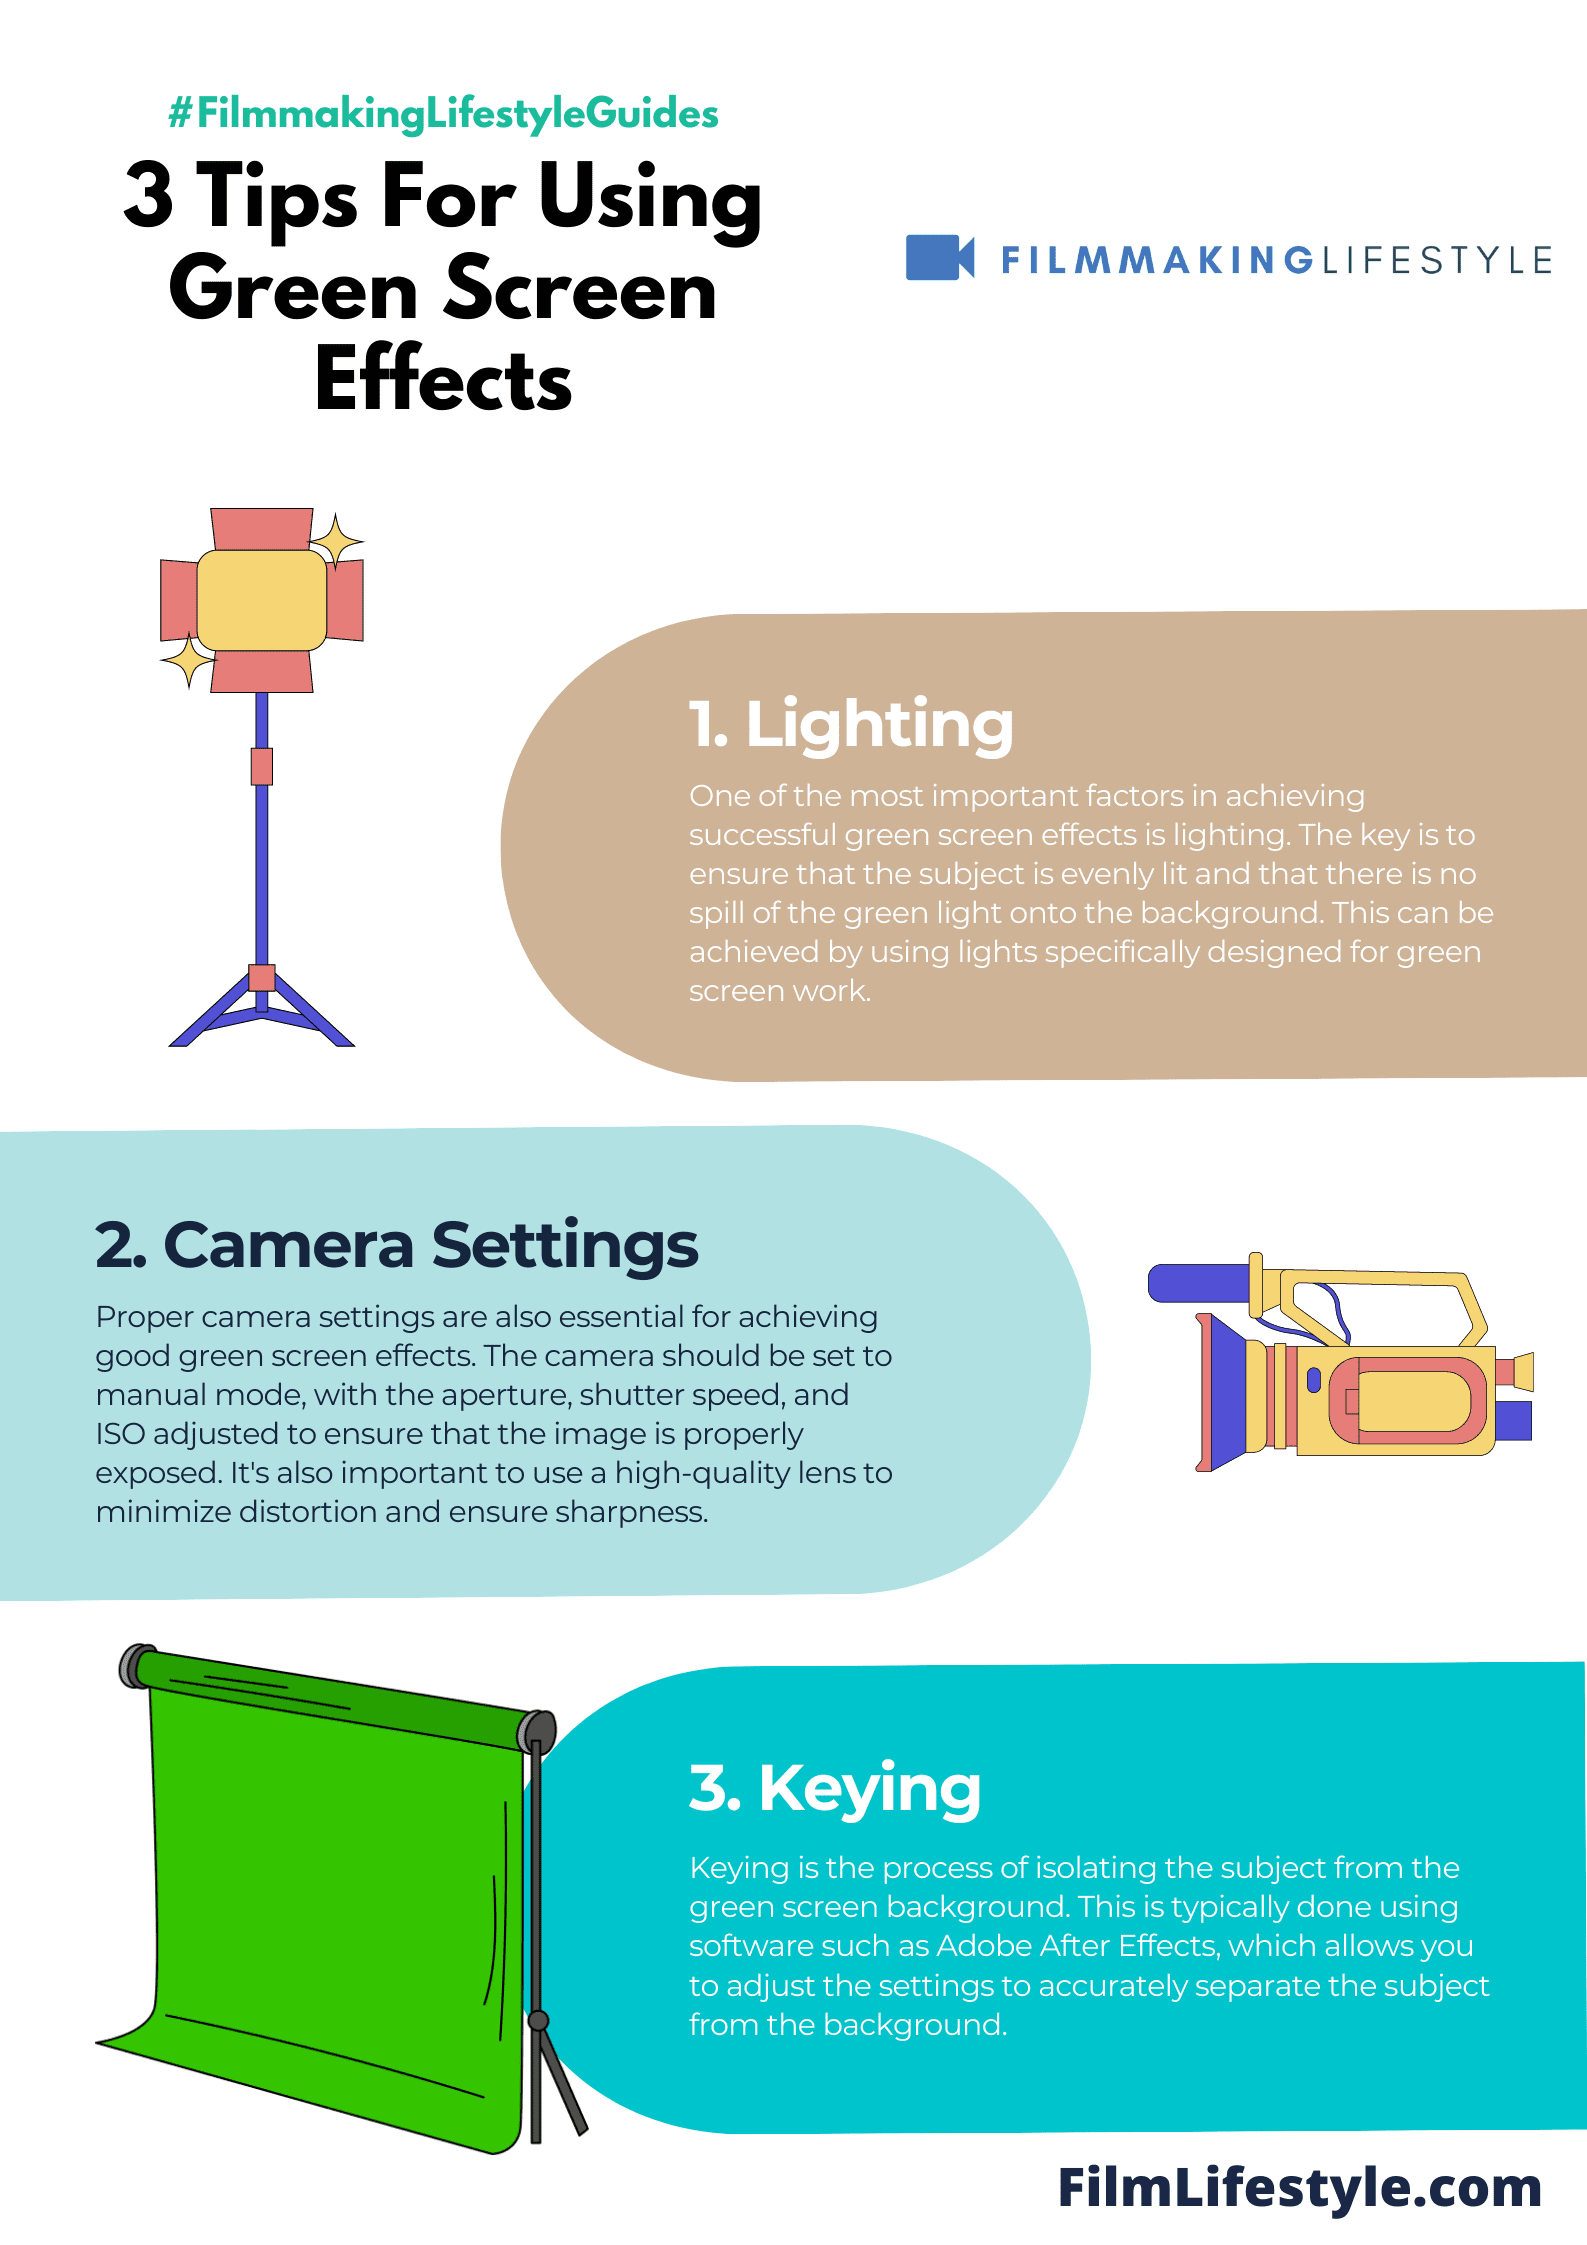
Lighting Techniques For Green Screen
Proper lighting for green screen work can’t be overstated – it’s the cornerstone of pulling off a convincing key in post-production.
We’ll guide you through some essential techniques that’ll help you avoid common pitfalls and get that perfect shot.
First up is the elimination of shadows.
We can’t stress enough how shadows can play the spoilsport in green screen work.
They create discrepancies in color and make it harder for editing software to distinguish the subject from the background.
So, aiming for consistent, even lighting is non-negotiable.
We use a three-point lighting setup that serves most scenarios well.
This involves a key light, a fill light, and a backlight.
The key light is your main source, while the fill light helps eliminate shadows caused by the key light.
The backlight separates the subject from the background, creating depth.
Let’s break it down:
- The Key Light – bright and direct, positioned to light the subject primarily,
- The Fill Light – softer and subtler, placed opposite the key light to fill in shadows,
- The Backlight – behind the subject, outlining them with a subtle glow to promote separation.
Balancing the intensity of these lights is crucial, as any significant difference will cause problems.
The green screen needs to be lit separately to ensure it’s uniformly lit with no hotspots.
This sometimes requires additional soft lights or diffusers to achieve a smooth look.
We pay attention to the color temperature of our lights.
Mismatched colors between the lights on your subject and those on your green screen can introduce unwanted color spills, eventually affecting the final output.
Color correction gels can help harmonize the lighting setup, ensuring a cleaner keying process.
By treating lighting as a vital part of green screen work, we prioritize a setup that facilitates a smoother editing process.
Remember, the goal is to make the blend between the subject and the background as invisible as possible, which comes down to meticulous lighting.
Camera Settings For Green Screen
Adjusting camera settings is crucial for green screen work.
The sharper the image quality, the better the final effect.
We’ll walk you through the key camera settings to ensure your green screen footage is top-notch.
Frame Rate And Shutter Speed
We can’t stress enough how frame rate and shutter speed will impact your green screen footage.
A higher frame rate can smooth out motion but requires ample lighting.
On the other hand, a faster shutter speed reduces motion blur and sharpens the image, essential for clean keying in post-production.
Iso And Aperture
Keep in mind that proper exposure is foundational.
A low ISO is optimal to reduce grain, which can interfere with the keying process.
Pair this with an aperture that provides a deep enough depth of field to keep both your subject and the green screen in focus while also allowing for enough light.
White Balance And Color Profiles
Match white balance settings to your lighting to ensure colors come out true.
If your camera has them, choose a flat color profile.
Flatter profiles preserve more information, giving us more latitude when it comes to post-production tweaking.
Focus Settings
Maintain sharp focus on your subject; a soft image makes keying difficult.
If your camera offers it, use manual focus to lock the focus on your subject.
This avoids any unwanted focus shifts during shooting which can ruin an otherwise perfect take.
Check Your Work
We recommend you record a short clip and check the following –
- Is the green evenly lit without any hot spots?
- Is the motion crisp without excessive blur?
- Does the subject stand out clearly from the background?
By fine-tuning these camera settings, we ensure that our green screen technique lays a solid foundation for post-production magic.
Remember, a well-captured green screen shot not only saves us time in post but also significantly boosts the quality of the final product.
Let’s keep those settings dialed in for seamless integration between our subject and the digital enhancements we plan to make.
Green Screen Editing Software
After nailing the camera settings for our green screen work, it’s essential we discuss the editing software that makes all the difference.
There’s a wide range of tools available, from user-friendly applications to industry-standard programs.
First up is Adobe
It’s equipped with a robust set of features for keying, tracking, and compositing that ensure our green screen footage transforms seamlessly into the envisioned end product.
Another powerful contender is Final Cut Pro X.
Known for its Magnetic Timeline and advanced color grading, this software provides us with high-end chroma keying capabilities tailored for Mac users.
We must not overlook DaVinci Resolve, which is favored for its exceptional color correction and grading tools.
The Fusion page within DaVinci offers a comprehensive workspace for detailed green screen editing.
For those diving into green screen effects for the first time, software like HitFilm Express and Camtasia are solid options.
They offer a user-friendly experience without skimping on necessary features:
- Chroma key filters,
- Simple timeline editing,
- Basic compositing tools.
It’s essential for us to match our software choice with the project’s complexity and our skill level.
While high-end software offers unparalleled control and precision, it also requires a steeper learning curve.
Even lighting and crisp motion from our earlier efforts can be enhanced with smart use of editing tools.
Some software also includes predefined settings for common scenarios, which can be a great starting point for beginners.
Investing time in mastering our selected software pays off in the form of stunning visuals and storytelling.
With practice, we can tackle any green screen challenge that comes our way.
Editing Green Screen Footage
Once we’ve captured our green screen footage, the next step is to bring it to life with some editing magic.
Chroma key compositing, or simply chroma keying, is the cornerstone of this process, allowing us to remove the green background.
We’ll start by importing our footage into our chosen software.
We pay close attention to color spill, which is green light bouncing off the screen and onto our subject.
This is where secondary color correction tools come into play.
Our main goal is to create a seamless blend between our subject and the new background.
This means we must match lighting conditions and camera perspectives.
We often use masks and rotoscoping to refine the edges and ensure a realistic integration.
To ensure the best outcome, we focus on:
- Keying – removing the green background cleanly,
- Edge detail – enhancing the subject’s outline for more crisp transitions.
We dive deep into fine-tuning our subject’s edges to avoid any halo effect or jagged lines.
The edge blend tool can help soften the subject’s outline, making it more believable when set against the new background.
Motion tracking is crucial when adding animated elements that must move in sync with the live-action footage.
We pivotal tracking points to keep animated objects rooted in our scene.
In sorting out the layers within the final composition, we enhance the depth and perspective.
Strategic placements of our digital elements create an illusion of space and can propel our storytelling.
Remember, patience and practice in editing green screen footage pave the way for crafting truly immersive scenes.
With the techniques we’ve mastered in The Matrix or The Mandalorian, we’re well on our way to producing professional-level visual effects.
Tips And Tricks For A Seamless Green Screen Effect
Creating a convincing green screen effect requires more than just the push of a button.
We’ve gathered some key tips to help you enhance the quality of your green screen projects.
Proper lighting is critical for achieving a clean chroma key.
Strive for uniform lighting to avoid shadows on the green screen – this simplifies post-production.
Shadows can create variations in color that make keying out the background more challenging.
Use high-quality green screen materials to avoid wrinkles and reflection.
Opt for matte-finish materials which absorb light rather than reflecting it.
Reflections can cause spill, which refers to the green color reflecting onto your subject.
Position your subjects at an adequate distance from the green screen to minimize spill.
This helps in maintaining clear edges around your subjects, making them easier to separate in post.
Edge definition is crucial for a realistic final composite.
Select the right software with robust keying features.
Programs like Adobe
Don’t skimp on the software – the right tools save time and produce better results.
Remember to match the lighting between your subject and the intended background.
Consistency in lighting direction and quality is essential for a realistic integration.
If the lighting on your subject doesn’t match the new background, the effect falls apart.
Consider motion blurs and depth of field when matching your subject to the background.
These details contribute to a more natural looking scene.
Think about the camera lens and settings used when creating your background plate.
Always shoot in the highest resolution possible to preserve detail during keying.
Higher resolution footage allows for finer adjustments and can improve edge quality.
And finally, be patient and evaluate your footage critically.
It’s often the small adjustments that make the biggest difference.
Adjust, review, and tweak your green screen effects until everything looks just right.
How To Use Green Screen Effects – Wrap Up
We’ve guided you through the essentials of nailing that perfect green screen effect.
Remember, it’s all about the details.
With the right setup and attention to lighting and spacing, you’ll create visuals that truly pop.
Don’t forget to leverage the power of your software’s keying capabilities to finesse your footage into a masterpiece.
Practice makes perfect, and we’re confident you’ll master the art of green screen with a bit of patience and critical eye.
Now it’s time to take these tips, apply them to your next project, and watch your creative vision come to life.
Frequently Asked Questions
What Is The Key To Achieving A Seamless Green Screen Effect?
The key to a seamless green screen effect lies in proper lighting, using high-quality green screen materials, and maintaining appropriate distance between the subject and the screen to reduce spill.
What Should Be Considered When Selecting Green Screen Software?
When selecting green screen software, it’s important to choose one with strong keying features that allow precise separation of the foreground from the green background.
How Important Is The Distance Between The Subject And The Green Screen?
The distance between the subject and the green screen is crucial to minimize green spill, which can cause issues in keying out the background.
Keep subjects adequately spaced from the screen.
Why Should Lighting And Camera Settings Match?
Matching lighting and camera settings between the subject and the intended background is essential to ensure that the combined footage looks natural and coherent.
What Additional Factors Can Improve The Green Screen Effect?
Additional factors that can improve the green screen effect include considering motion blurs, depth of field, and shooting in the highest resolution possible for better keying and compositing.
How Does Patience Contribute To Green Screen Success?
Patience is vital during post-production when critically evaluating footage for any green spill or keying artifacts, ensuring the most realistic and highest-quality composite.
Great guide to green screen effects, thanks. Just what I needed!
Thanks, Waqas.