
You open Premiere and you have a million options. What do I do!? How will this video be different from the last?
You want to cut but don’t know where to start, and you’re not sure how long it’s going to take. Sound familiar?
Do you feel like your video editing takes too long? Have you ever wanted to get to the final cut faster? These are common questions that we hear all of the time.
The truth is, there are some simple tips and tricks for getting to your final cut faster than ever before.
It’s a well-known fact that one of the most difficult parts of video editing is getting from an idea to the final cut. However, there are ways to make it easier.
With these tips and tricks in mind, you’ll be able to get your videos finished faster so you can spend more time enjoying them!
Have you ever had a video project that took forever to finish?
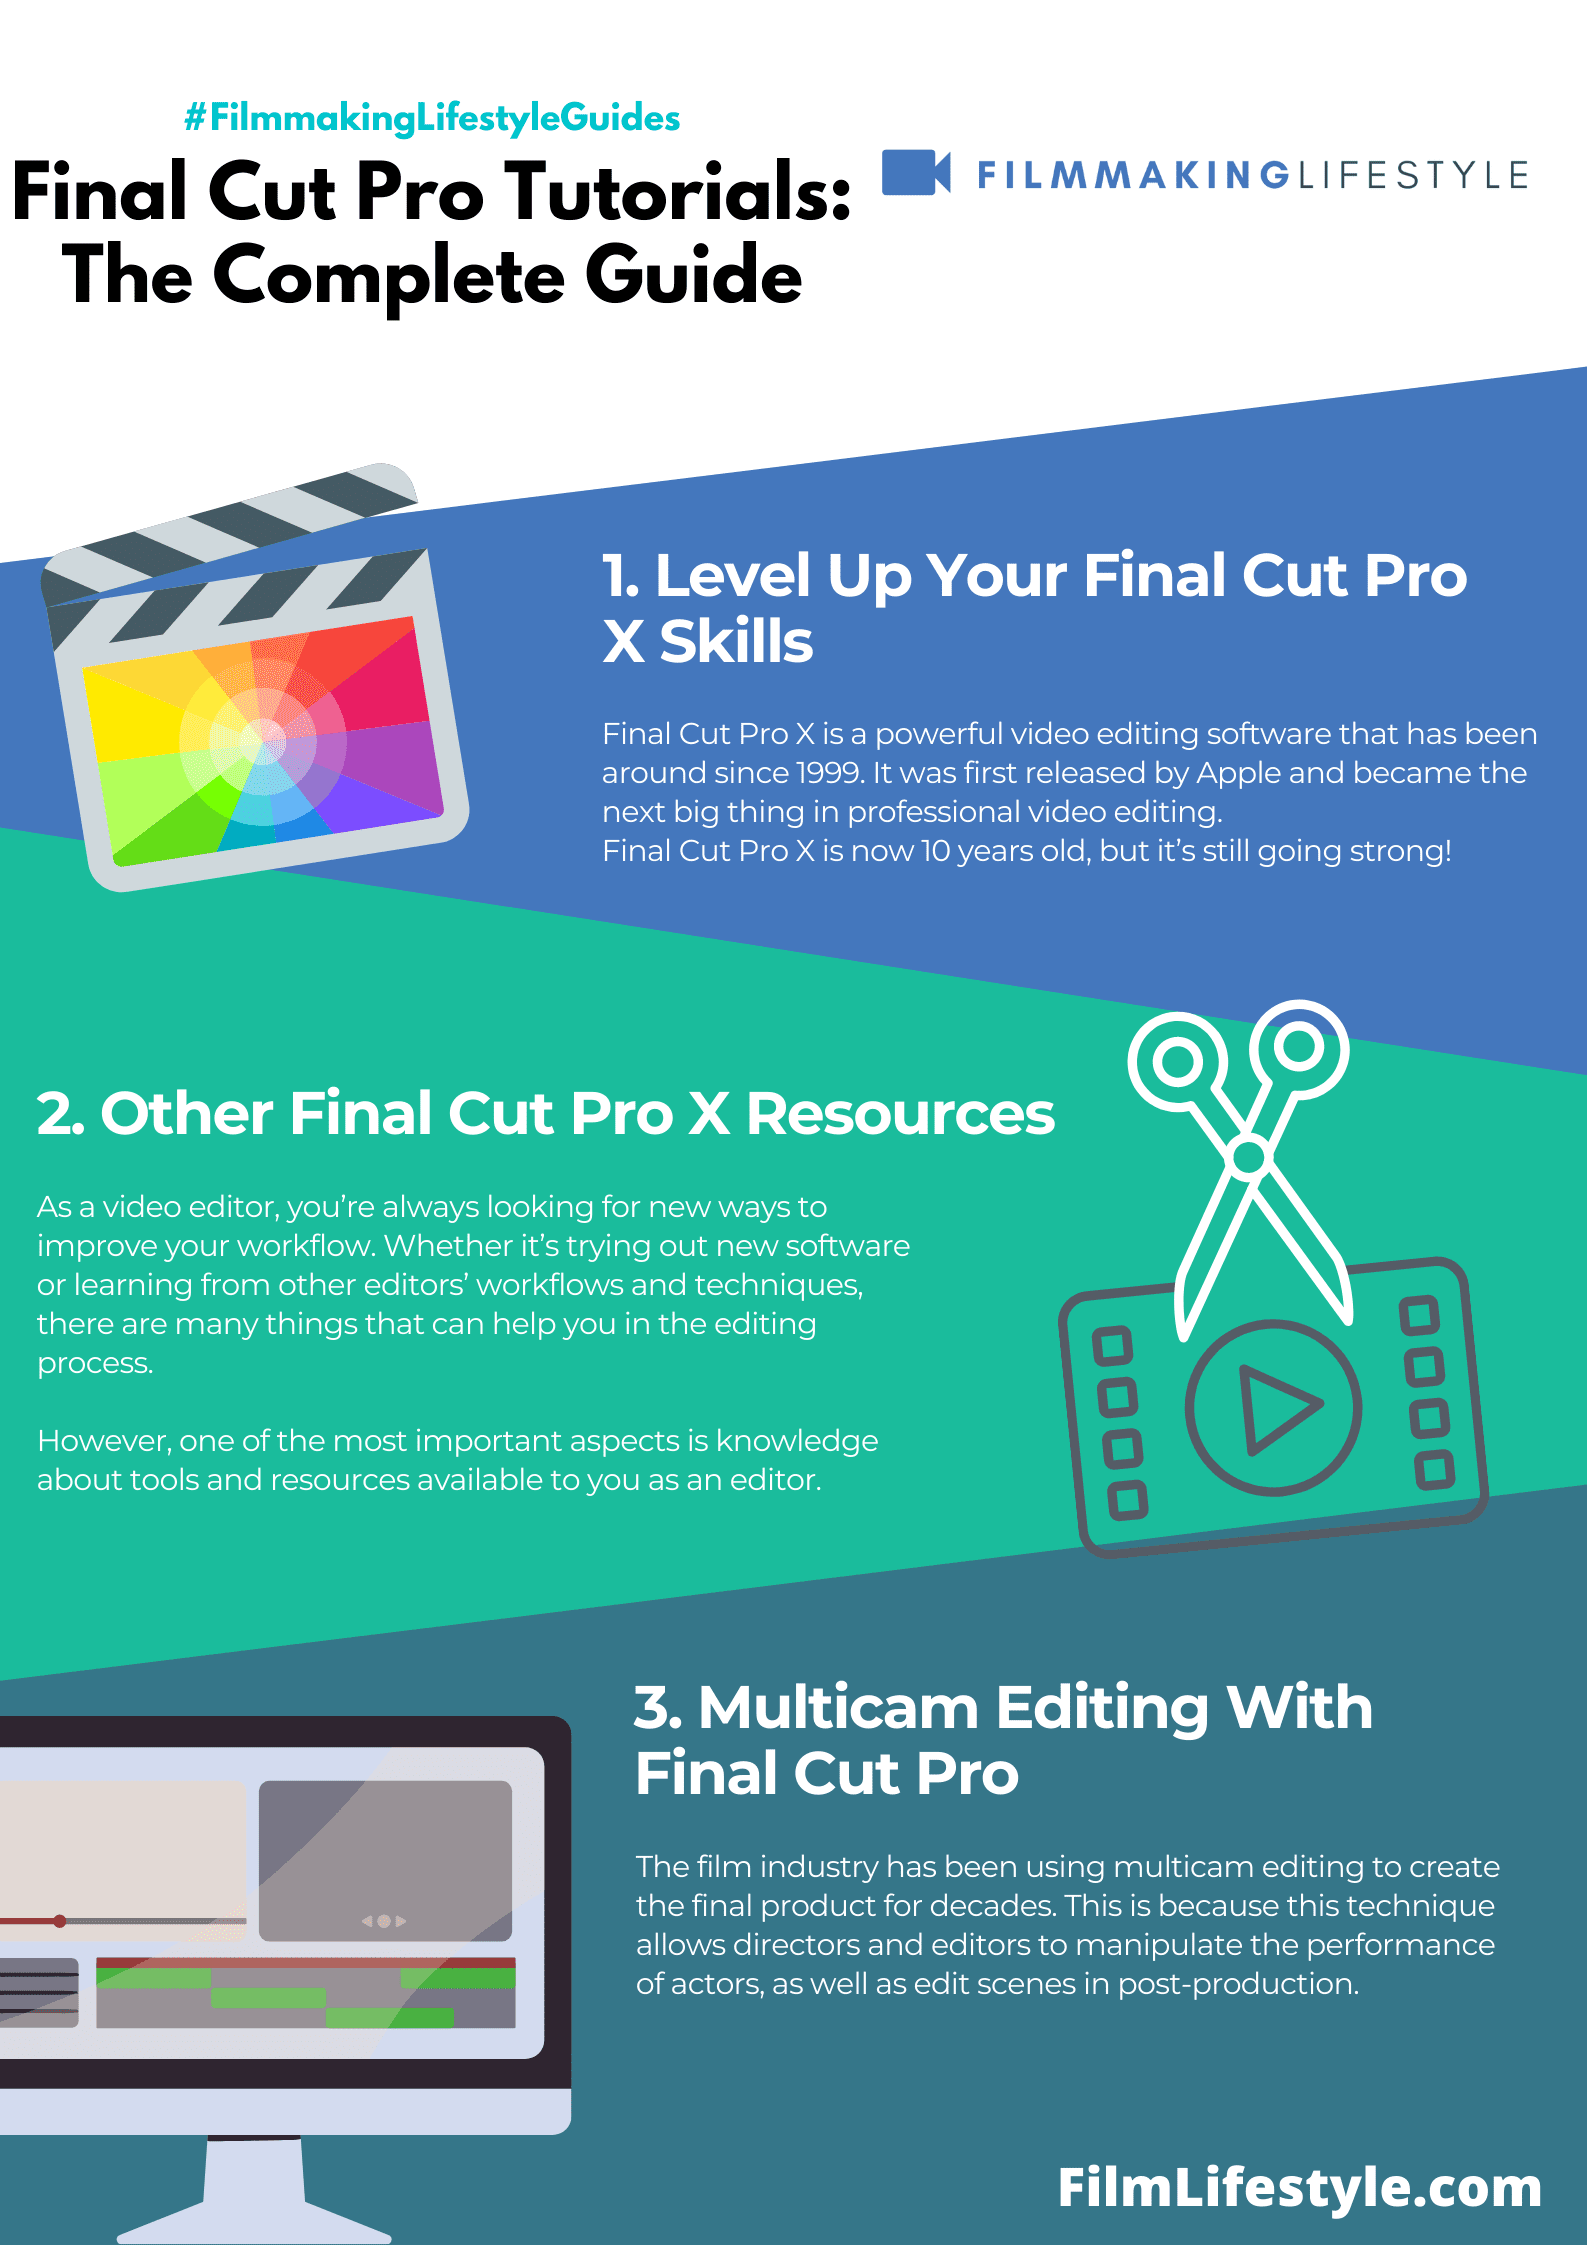
FINAL CUT PRO TUTORIALS
What Are Final Cut Pro Tutorials?
Final Cut Pro is the industry standard for professional video editing and has been a major player in Hollywood since its inception.
Final Cut Pro tutorials are essential for anyone who is looking to learn how to use Final Cut Pro.
They can be videos, PDF files, or books on the subject of learning how to use it. These tutorials will teach you how to do just about everything in the program like editing, effects, and transitions with step-by-step instructions from experts.
Diving into Final Cut Pro can transform our video editing from mundane to magnificent.
It’s a powerhouse tool that’s both versatile and intimidating for newcomers.

We’ll walk you through the basics, from setting up your workspace to mastering key editing functions.
Stick with us, and you’ll be slicing through video edits like a pro in no time.
Setting Up Your Workspace
Before diving into the world of video editing with Final Cut Pro, setting up the ideal workspace is crucial.
It’s not just about the software – the physical environment and the way the Final Cut Pro interface is organized can greatly affect productivity and creativity.
Ergonomic comfort is key for those long editing sessions.
Ensure your chair supports your back and your screen is at eye level to reduce strain.
The lighting in your room should be sufficient, but not glaring; ambience matters when you’re in the zone tweaking your project.
also, we can’t stress enough the importance of a second monitor.
It provides more room for your timeline and libraries, making the editing process smoother and more efficient.
Navigating through Final Cut Pro’s interface with ease starts with knowing its main areas:
- Libraries – where your media, projects, and events are organized,
- Browser – displays your video clips,
- Viewer – where you preview your videos,
- Timeline – where the editing happens,
- Inspector – where you modify the properties of your selected clip.
Customizing the layout is a vital step to match your unique workflow.
You can save custom workspace arrangements via the Window > Workspaces > Save Workspace as… option, ensuring you can return to your ideal setup with just a few clicks.
Another brilliant feature to Use is keyboard shortcuts.
Final Cut Pro allows users to edit and create personalized shortcuts, which can dramatically speed up your workflow.
Time spent navigating menus is time away from your creative process, so make sure to dedicate some effort to learning shortcuts – your future self will thank you.
Remember, the more comfortable and familiar you are with the setup, the more you’ll be inclined to experiment and harness the full potential of Final Cut Pro.
Keep your workspace decluttered to keep those creative juices flowing without any unnecessary distractions.
Importing And Organizing Media
When we start a new project in Final Cut Pro, importing and organizing media is a critical step.
It sets the stage for a seamless editing process.
We ensure our files are ready for import by keeping them organized on our storage device.
Proper file management outside of the editing software can save us time.
Once we launch Final Cut Pro, we head to the Library where all our media will be housed.
We use the import window to locate and bring in our media.
Our tips for efficient organization within Final Cut Pro include:

- Creating Keyword Collections – to group clips by scene, shot type, or subject matter,
- Utilizing Smart Collections – they automatically gather clips based on criteria we set, such as ratings or used media,
- Renaming clips and events for easy identification – it’s simpler to find the footage we need when everything is clearly labeled.
We leverage metadata in our clips to our advantage.
Final Cut Pro’s robust metadata support can really streamline our workflow.
The power of metadata can also be felt when we use the Filter Window to sift through clips.
This allows us to find exactly what we’re looking for with precision.
As we import, we often transcode media to ProRes or optimize it for smoother editing.
This ensures we’re working with the best possible quality that our system can handle efficiently.
By keeping our media organized within Final Cut Pro, we avoid clutter and save valuable time.
An uncluttered timeline is as important as an organized one.
Basic Editing Tools And Functions
When diving into Final Cut Pro, it’s essential to become familiar with its various editing tools and functions.
These are the backbone of the editing process and enable us to turn raw footage into polished stories.
The Selection Tool is our primary instrument for selecting clips and adjusting their positions on the timeline.
It’s the first tool we reach for when beginning any project.
Next up, the Trim Tool allows for precision.
It’s indispensable when it comes to refining the in and out points of our clips, ensuring seamless transitions and pace.
For more dynamic edits, the Position Tool lets us move clips without affecting the surrounding footage.
This offers us flexibility when rearranging segments of our project.
Sometimes, we need to slice and dice our footage:
- The Blade Tool – our go-to for cutting clips right on the timeline.
- The Range Selection Tool – perfect for selecting a range within a clip to apply effects or remove sections.
Fine-tuning is where the Ripple and Roll Tools shine.
They help us adjust the edit points between two clips, affecting one clip’s out point and the other’s in point for a perfect fit.
Our audio needs to be as crisp as our visuals, and the Fade Handles are a subtle yet powerful feature.
They’re ideal for smoothing out audio transitions and avoiding jarring jumps in sound levels.
Color Correction and Grading tools are integral to Final Cut Pro, giving us a palette to enhance and stylize our footage, breathing life into our narrative.
Each project’s rhythm is controlled by the Magnetic Timeline.
It dynamically adjusts to our edits, keeping everything in sync, and ensures that no gaps or sync issues disrupt the flow.
Editing in Final Cut Pro isn’t complete without a profound understanding of these tools.
They empower us to achieve the exact look and feel that our project needs, from the broad strokes to the finest details.
Advanced Editing Techniques
Once you’ve nailed down the basics of Final Cut Pro, it’s time to jump into some of the more intricate aspects of editing.
We’re talking about advanced editing techniques that can take your projects from good to great.
These skills will help you craft a narrative that’s not only sleek but also impactful.
Keyframe animation is a powerful feature in Final Cut Pro that allows for smooth transitions and dynamic effects.
We use keyframes to create custom animations and to ease in and ease out of movement, giving our videos a professional touch.
Learning to manipulate keyframes is fundamental for anyone wanting to add a layer of sophistication to their edits.
Compound clips are another feature that streamline the editing process.
They enable us to group several clips into one, making it easier to work with complex sequences.
By using compound clips, we can apply effects and adjustments to multiple clips at once – simplifying our workflow and saving valuable time.
Multicam editing is a game-changer for projects involving multiple camera angles.
Final Cut Pro’s multicam feature allows us to sync and switch between camera angles with ease, making the editing of live events or interviews a breeze.
Here are a few benefits of using multicam editing –
- Synchronized footage from different angles,
- Real-time switching between angles,
- Efficient workflow for large projects.
The Magnetic Timeline is an innovation exclusive to Final Cut Pro that provides flexibility and speed during the editing process.
It automatically moves clips into place, helping us avoid clip collisions and sync problems.
This timeline is especially useful when working with multiple layers of audio and video.
We can’t forget the role of sound design in film.
Final Cut Pro’s range of audio tools lets us refine our project’s soundscapes with precision.
From audio fades to noise reduction, these tools are essential for creating an immersive auditory experience.
Time remapping is another technique that we love to use for dramatic effect.
It allows us to speed up or slow down footage at precise moments, adding tension or highlighting important action in our films.
Mastering time remapping can give us the edge in storytelling and create memorable sequences that captivate our audience.
Motion tracking within Final Cut Pro enables us to create realistic effects that follow the movement within our footage.
Whether it’s attaching text to a moving object or applying an effect that needs to track a particular element in the scene, motion tracking is a skill that significantly elevates the production value of our work.
Working With Audio And Effects
When editing in Final Cut Pro, audio and effects are essential components that bring life to your visuals.
Good audio quality can make or break your project, and Final Cut Pro offers a comprehensive set of tools to ensure your audio enhances the overall experience.
Audio adjustments and effects are a critical aspect of the post-production process.
Our ability to manipulate sound within Final Cut Pro includes tasks such as noise reduction, audio level adjustments, and the application of various audio effects to create the desired mood or emphasis.
also, compelling visual effects can transform a good video into a stunning masterpiece.
Final Cut Pro comes equipped with a vast array of built-in effects that are easily accessible and can be customized to fit the specifics of any scene.
We often recommend certain steps when working with effects:
- Start by reviewing your footage and identifying the scenes that would benefit from effects,
- Experiment with color grading to enhance the visual tone and style,
- Test different filters and transitions to see how they affect the pacing and flow of your narrative.
Keyframing is another vital feature we use to animate effects and sound elements.
It allows us to pinpoint the exact moment an effect begins and ends, giving us precise control over the dynamics of audio and visual elements within our film.
Sound design plays a critical role in storytelling and Final Cut Pro’s robust audio tools empower us to construct rich audio landscapes.
From ambient sounds to dialogue, every layer can be finely tuned to hit the right note at the perfect moment.
Visual effects can be just as powerful in driving the story forward.
By skillfully applying effects such as Motion Blur, Light Rays, or Aged Film, we can support the film’s narrative and create a more immersive experience for the audience.
Mastering The Timeline And Keyframes
Mastering Final Cut Pro’s timeline is essential for a seamless editing process.
The timeline is where the magic happens – it’s the canvas for assembling clips, audio, and effects into a compelling story.
But, it’s not just about where clips are placed; it’s also about how they move and interact.
That’s where keyframes come in, allowing for precision control over motion, opacity, and other effects.
With keyframes, we can create smooth transitions and dynamic motion that brings our footage to life.
Navigating The Timeline Like A Pro
Our familiarity with the timeline interface enables us to edit efficiently and accurately.
We know the importance of organizing tracks and understanding the role of each tool at our disposal.
To keep our projects organized, we follow these guidelines:
- Always start by labeling tracks and clips,
- Use color coding for different types of media,
- Make regular use of the snapping feature to align clips perfectly.
Mastering Keyframe Animation
Creating animations with keyframes in Final Cut Pro adds depth and engagement to our projects.
Keyframes are the anchor points we use to set parameters at specific moments in time.
For best results, we:
- Begin by setting keyframes at the start and end points of the desired animation,
- Apply easing to keyframes for more natural movement,
- Adjust keyframes in the video animation editor for precise timing control.
By integrating these practices, we ensure that our film projects not only tell a story but do so with a level of polish and professionalism that stands out.
With each element and transition meticulously planned and executed, the final product becomes an immersive experience.
Exporting And Sharing Your Final Product
Once your creative vision has materialized within Final Cut Pro, it’s time to bring it to the world.
We’ll walk through the exporting process, which is just as crucial as the editing work you’ve performed.
Navigating to the export window is simple.
Look for the ‘Share’ button, or for more control, go to ‘File’ and select ‘Share.
‘ Different formats cater to diverse platforms and purposes, and Final Cut Pro offers a wide range – from high-definition video files to compressed formats for online sharing.
Choosing the right format is imperative.
We generally recommend exporting in H.
264 for web use and Apple ProRes for high-quality archival purposes.
Here’s a breakdown of the most commonly used export formats and their best use cases:
- ProRes 422 – ideal for further editing and color grading,
- ProRes 4444 – captures high dynamic range and alpha channels,
- H.264 – for online platforms like YouTube and Vimeo,
- HEVC – delivering high-quality content at reduced file sizes.
Final Cut Pro’s exporting features don’t stop at file formats.
Custom settings allow you to optimize the resolution, frame rate, and file size.
Ensuring your film looks its best on any screen is crucial.
Many filmmakers overlook output settings, but these details can considerably enhance your film’s accessibility and viewership.
When your export is ready, sharing your masterpiece is the next exciting step.
Use built-in sharing options to upload directly to social media platforms or opt for cloud-based services to distribute to team members and stakeholders.
It’s essential to recognize the platforms you’re targeting and understand their video specifications to ensure your film displays correctly and retains its intended impact.
By leveraging Final Cut Pro’s comprehensive exporting options, we ensure our films are not only creatively fulfilling but also technically compatible with the demands of an ever-evolving digital landscape.
We continuously adapt our approach to exporting and sharing to meet the specific needs of each project, striving to present our work in the most effective way possible.
Final Cut Pro Tutorial – Wrap Up
We’ve walked you through the ins and outs of Final Cut Pro, ensuring you’re equipped to bring your creative visions to life with professional finesse.
Remember, the power of Final Cut Pro lies in its flexibility and depth—tailoring your export settings is crucial for hitting the mark across various platforms.
Whether it’s for web streaming or preserving the highest quality for your archives, Final Cut Pro stands as your reliable partner.
immerse, experiment, and watch as your films not only meet but exceed industry standards.
Let’s keep pushing the boundaries of digital storytelling together.
Frequently Asked Questions
What Is The Best Format For Sharing Videos On The Web From Final Cut Pro?
For sharing videos on the web, H.
264 is widely recommended due to its balance of quality and file size, making it a suitable format for online platforms.
Which Format Should I Use For High-quality Archival In Final Cut Pro?
Apple ProRes is considered the best format for high-quality archival purposes when using Final Cut Pro, as it preserves the quality of the footage.
Can I Customize The Resolution And Frame Rate In Final Cut Pro?
Yes, Final Cut Pro offers custom settings that allow you to optimize resolution and frame rate according to your project’s needs and the viewing platform’s specifications.
How Do Output Settings Affect My Film’s Viewership?
Proper output settings ensure that your film is compatible with various devices, which can enhance accessibility and potentially increase viewership.
Why Is It Important To Leverage Final Cut Pro’s Exporting Options?
Leveraging Final Cut Pro’s comprehensive exporting options helps to ensure that your film fulfills creative goals while meeting the technical requirements of the diverse digital landscape.