
Moving the anchor point in
It’s that little-known trick that can elevate your animations from amateur to expert.
We’ll guide you through the steps to reposition this crucial pivot point, ensuring your layers rotate, scale, and move just as you envision.
Stick with us to unlock the full potential of your
How To Move The Anchor Point In After Effects
What Is An anchor point in after effects ?
The anchor point is exactly what it sounds like — the point around which layers pivot in 3D space.
As such, it is directly tied to the layer itself, not the composition or frame.
Even if you move a layer around while its anchor point is located at one spot in your composition, its position within that frame won’t change.
Changing the anchor point is a very simple fix, but it can be tricky if you don’t know how to do it right.
The anchor point is a key part of
Why Is The Anchor Point Important In After Effects ?
When diving into the world of motion graphics and compositing, mastering the anchor point is crucial.
It’s not just a minor detail – it’s the literal fulcrum of any layer’s movement and behavior.
Understanding its significance, let’s zoom in on why this feature is a key player in
Think of the anchor point as the pivotal heart of transformations.

Whether you’re creating intricate animations or simple movement effects, this pivotal point determines the layer’s rotation, scaling, and position.
Here are a few reasons why nailing the anchor point’s position is non-negotiable:
- Precision: Proper anchor point alignment ensures layers rotate around the exact spot you envision.
- Control: With the anchor point in the right place, scaling happens uniformly, making effects seamless.
- Stability: Animations gain consistency, avoiding erratic movements that can disrupt a scene’s flow.
For filmmakers, a misplaced anchor point can turn a cinematic moment into a visual hiccup.
And in dynamic sequences, like those seen in Inception, getting this right can be the difference between a believable world-bending effect and a jarring distraction.
By mastering the anchor point, motion paths are smoother and more controllable.
We ensure that characters and graphical elements interact with digital environments as if they truly belong there.
Remember, the goal isn’t just movement – it’s movement that feels natural and contributes to the narrative.
Whether you’re tackling a feature film or a short commercial, the anchor point’s role cannot be overstated.
Understanding The Default Position Of The Anchor Point
The default position of the anchor point in
This implies that any transformation applied to the layer – be it rotation, scaling, or positioning – will emanate from the center of the content.
Depending on the type of layer, the initial anchor point may vary slightly.
For example:
- Shape layers have their anchor points at the center of the shape.
- Text layers typically see the anchor point at the base of the text box.
- Solid layers and pre-comps default to the center of the composition frame.
This centrality provides balance and symmetry, which is often desired in graphical elements of films.
Yet, it’s not always where we want it for more complex animations.
Understanding this default setting is vital because moving the anchor point will directly alter how the layer behaves.
In
It’s also about anticipating the subsequent effects on the layer’s animations.
Layers pivot around the anchor point, and if your anchor point is off-centered, the motion paths will reflect that deviation.
Being acquainted with the default anchor point position helps us create more accurate motion paths.
But what if you’re aiming for an irregular rotation or a dynamic scaling effect?
That’s when the intentional relocation of the anchor point comes into play, giving us the control to align animations with our creative vision.
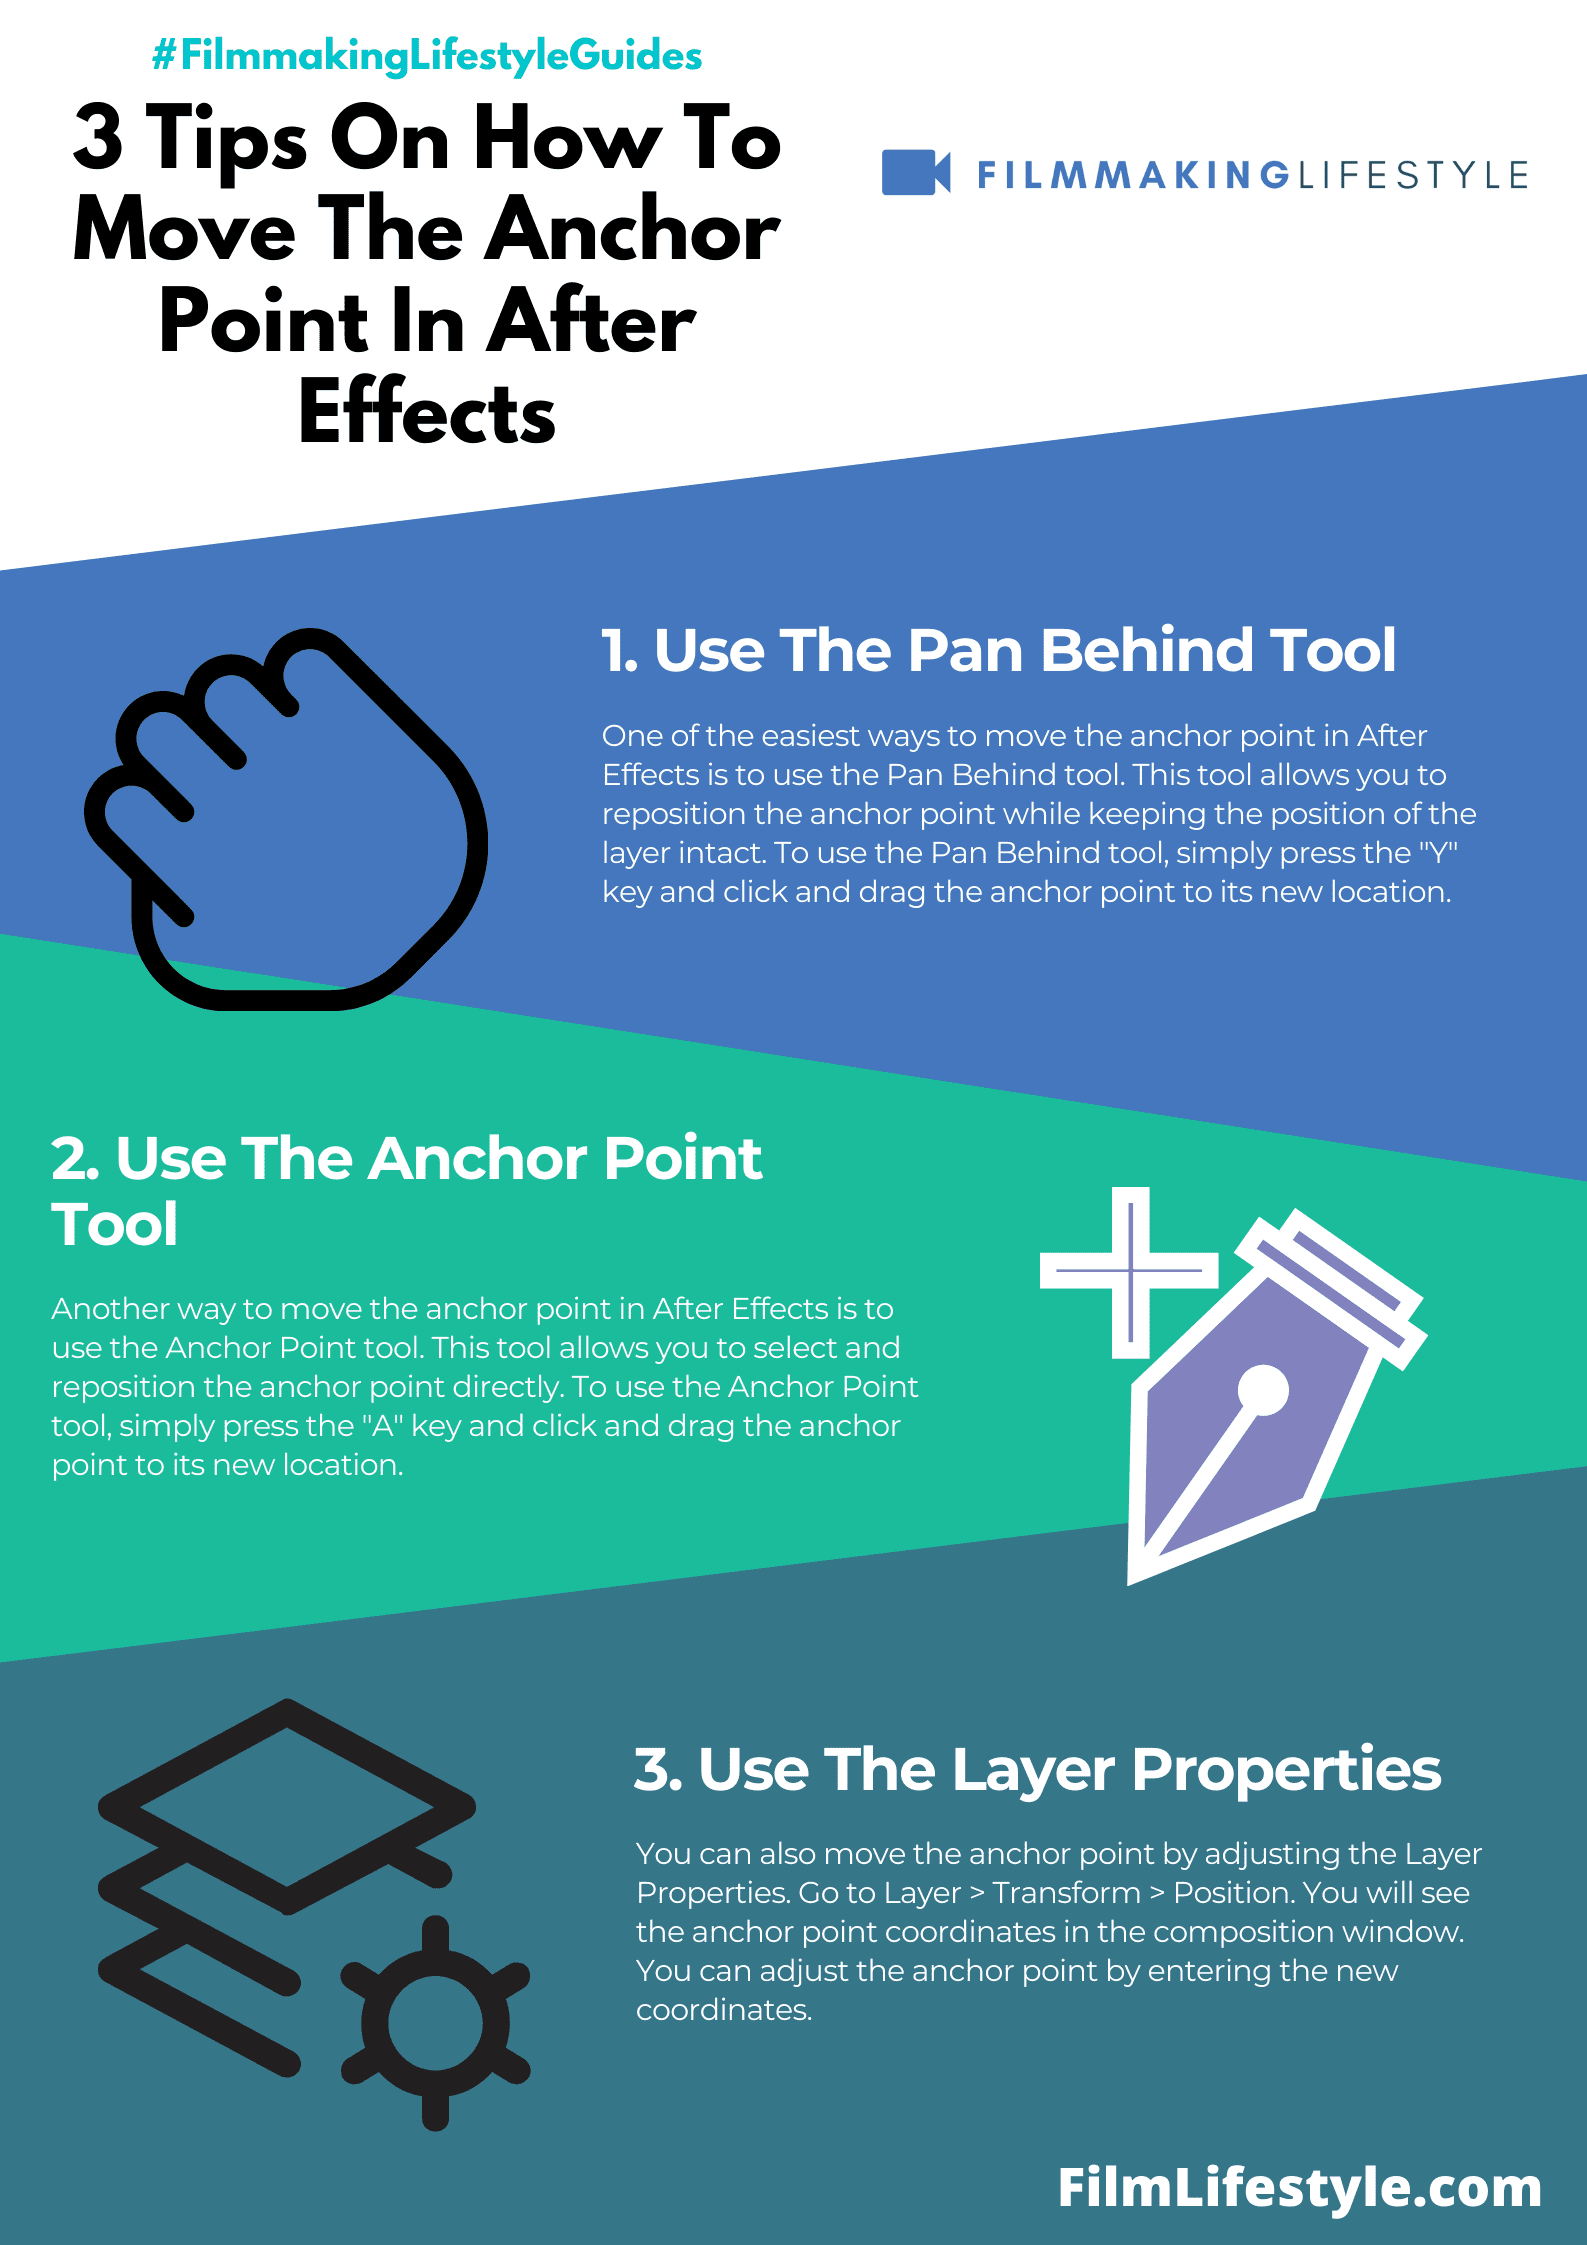
How To Move The Anchor Point Manually
Adjusting the anchor point in
Knowing how to do this manually is essential for precision control.
We’ll go over the steps to move the anchor point without third-party tools.
Select the desired layer in your composition.

Then, choose the Pan Behind tool, otherwise known as the Anchor Point tool, from the toolbar.
With this tool active, you can click and drag the anchor point to a new location on the layer.
Positioning the anchor point just right is crucial.
Here are key points to consider:
- Aim for intersection lines in the composition for symmetry,
- Align with specific elements for rotational movements,
- Check the Info panel for exact XY coordinates.
While dragging the anchor point, hold down the Ctrl (Cmd on Mac) key.
This snaps the anchor point to any intersection point in the grid.
This feature helps in aligning the anchor point with the layer’s edges or center points, enabling smoother transformations.
After locating the anchor point, fine-tune its position.
Use the arrow keys for single-pixel adjustments.
If you need the anchor point in the layer’s exact center, remember
For character animation or complex motion graphics, precise anchor point placement is non-negotiable.
It can mean the difference between an amateurish outcome and a seamless, professional-grade animation.
hence, we invest the time to ensure ours is just right.
Using The Pan Behind Tool For Precise Anchor Point Placement
Manipulating the anchor point is a breeze when we Use the Pan Behind tool.
To access it, simply select the tool that looks like a small target from the toolbar, or hit the keyboard shortcut ‘Y.’
The tool allows us to click and drag the anchor point to our desired location.
With it, we have the ability to place the anchor point exactly where it’s needed to achieve complex rotation or scaling effects.
Precision is key when it comes to animation in
The Pan Behind tool enables us to snap the anchor point to specific areas within our layer, such as:
- The center of the layer,
- The edges of the layer,
- Any existing keyframe on the layer.
When aiming for meticulous detail in character animation or integrating elements seamlessly into live-action footage, this tool becomes invaluable.
It ensures that transformations look natural and realistic by aligning the anchor point correctly.
For users new to
- Select the Pan Behind tool,
- Click and hold on the anchor point,
- Drag it to the new location,
- Release the mouse to set the anchor point.
Remember that the position of the anchor point can drastically change the dynamics of the animation.
By mastering the Pan Behind tool, we gain more creative freedom and produce animations that can truly capture an audience’s attention.
Irrespective of the complexity of the project, whether it’s a subtle logo reveal or a dynamic character sequence, the right placement of the anchor point is
We recommend practicing with the tool to become familiar with its nuances and to refine our animation workflow.
Tips And Tricks For Moving The Anchor Point Efficiently
When working on animations and effects in
Efficiently moving the anchor point of a layer can save us precious time and frustration.
One quick method is snapping the anchor point to certain parts of your layer.
By holding down the Control (Cmd on macOS) key while dragging the anchor point, it will snap to edges, centers, and other key points, which can be a real time-saver.
Here are some keyboard shortcuts that can also help speed up the process:
- Pressing ‘Y’ activates the Pan Behind tool.
- Holding down Shift after you start dragging will lock the movement to the nearest axis.
- Pressing Ctrl (Cmd on macOS) + Alt + Home will center the anchor point within the layer.
Precomposing your layers can be a valuable step before moving the anchor point.
This practice encapsulates all of the transforms applied to the layer, allowing us to move the anchor point without affecting the rest of the layer’s behavior.
Adjusting anchor points in 3D space often requires toggling the visibility of different views.
We can quickly alternate between views by pressing ‘F4’, which makes it easier to ensure the anchor point is placed precisely where we want in the three-dimensional plane.
Understanding the influence of the anchor point in relation to the layer’s parent and child relationship is also critical.
If a layer is parented to another, moving the anchor point will have a different effect compared to an independent layer.
Using scripts and expressions can automate the movement of the anchor point for consistent results across multiple layers.
Tools like ‘RepositionAnchorPoint’ offer a degree of automation that can drastically cut down on manual adjustments and guesswork.
Employing these tips and tricks in our
Implementing keyboard shortcuts, using snapping functions, and understanding layer relationships transform the way we animate, leading to more polished and professional results.
How To Move The Anchor Point In After Effects – Wrap Up
We’ve armed you with the know-how to master the anchor point in
By leveraging keyboard shortcuts, precomposing layers, and using scripts, you’ll streamline your workflow and bring your creative visions to life with greater precision.
Remember, practice makes perfect, so keep experimenting with these techniques to see your projects transform.
Ready to take your animations to the next level?
Let’s get moving!
Frequently Asked Questions
How Can I Snap The Anchor Point To Specific Parts Of A Layer In After Effects ?
To snap the anchor point to specific parts of the layer, hold down the Control key (Cmd key on macOS) while dragging the anchor point.
What Keyboard Shortcuts Can I Use To Move The Anchor Point Faster In After Effects ?
You can use keyboard shortcuts like ‘Y’ to activate the Pan Behind tool for moving the anchor point and the arrow keys for nudging it in small increments.
Should I Precompose Layers Before Moving The Anchor Point?
Yes, precomposing layers before moving the anchor point is advised to prevent altering the rest of the layer’s behavior and animations.
Why Is It Important To Toggle Between Views When Moving The Anchor Point?
Toggling between views provides a better understanding of how the anchor point affects the layer’s position and rotation, ensuring precise placement.
How Does The Anchor Point Influence Parent And Child Layers?
The anchor point serves as the rotation and scaling center for the layer it’s on, and changes can affect the orientation of both parent and child layers within a hierarchy.
Can Scripts And Expressions Be Used For Automating The Anchor Point Movement?
Yes, scripts and expressions in