
Shaky footage can be the bane of any video project, but with Adobe Premiere Pro, we’ve got the tools to fix that.
Stabilizing footage is essential for a professional-looking video, and we’re here to show you how it’s done.
We’ll walk you through the built-in Warp Stabilizer effect, a powerful feature that can smooth out those unwanted camera shakes.
Stick with us, and you’ll learn how to transform your shaky clips into steady, cinematic footage in no time.
How to Stabilize Footage in Premiere Pro
How to Stabilize Footage in Premiere Pro
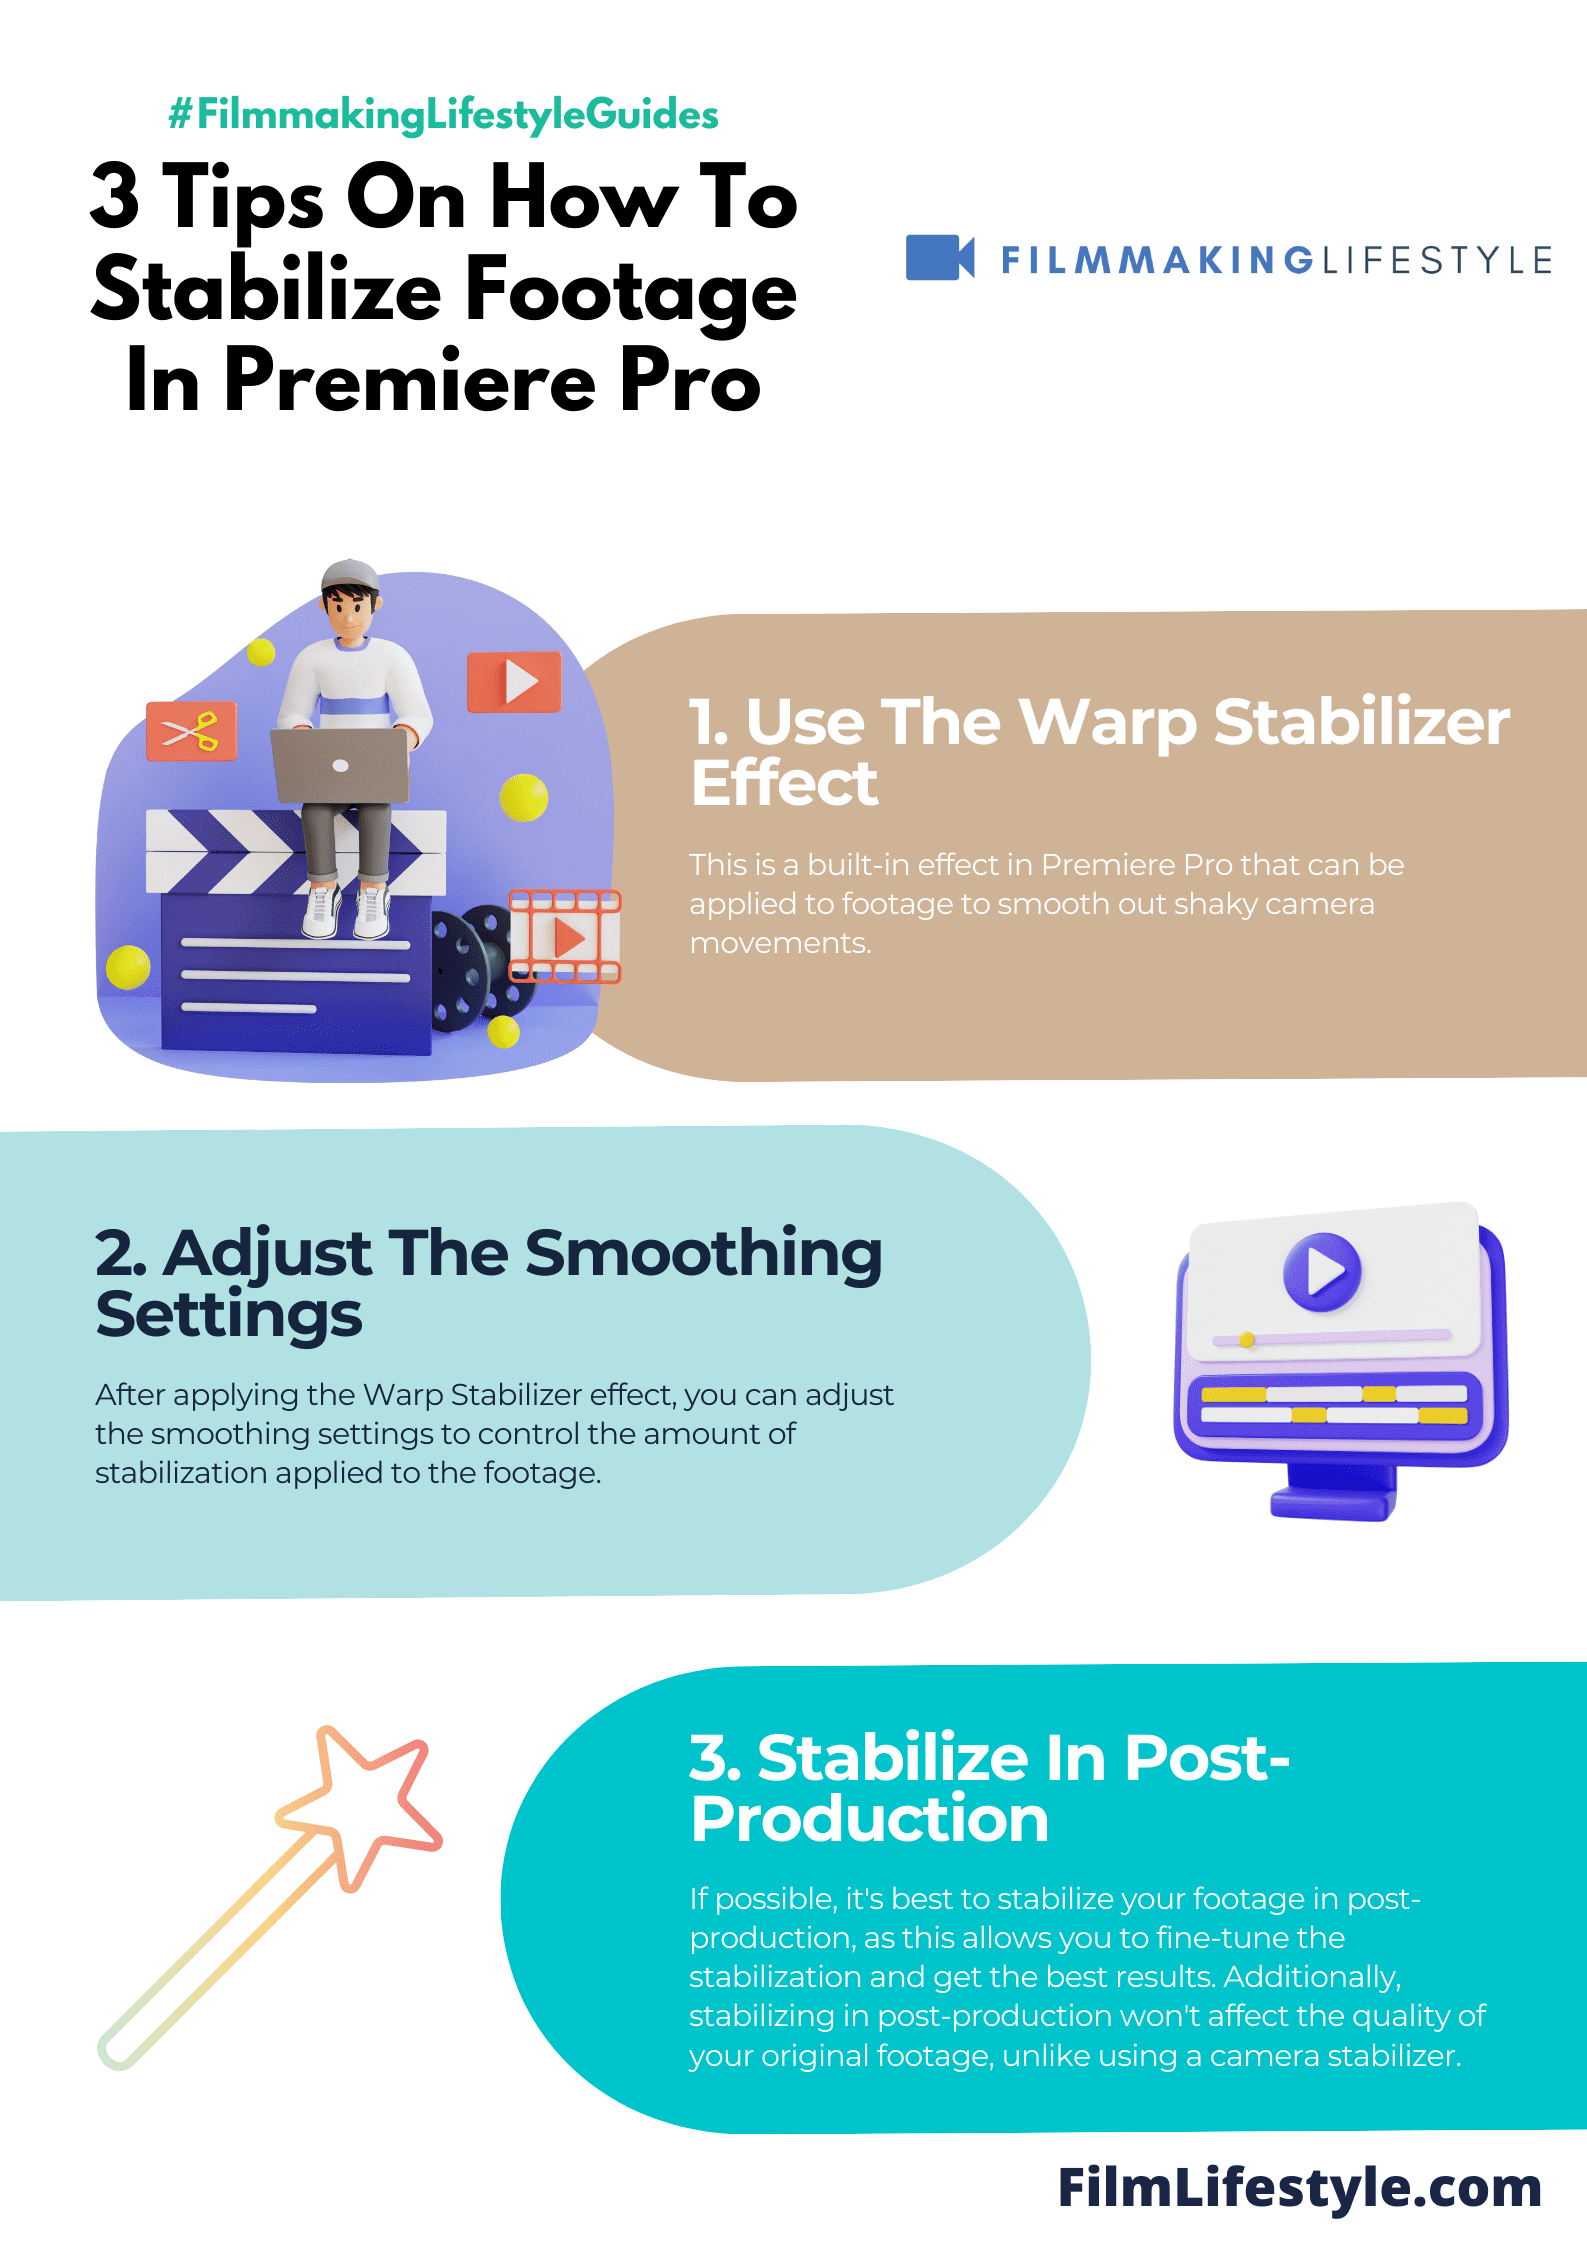
To stabilize footage in Adobe Premiere Pro, import your video clip into the timeline, then go to the Effects panel and search for the “Warp Stabilizer” effect. Drag and drop this effect onto your clip.
Premiere Pro will analyze the footage and apply stabilization. You can adjust the settings in the Effect Controls panel to fine-tune the stabilization to your preference, such as the amount of smoothness and the method of stabilization.
After adjusting, allow time for Premiere Pro to process the changes.
What Is Footage Stabilization?
Footage stabilization refers to the process of making video content look smoother by reducing unwanted camera movement.
It’s achieved through various software tools that analyze and compensate for the shakes, jitters, and bounces that can occur during filming.
Particularly in the realm of filmmaking, stable footage is essential for maintaining a professional look.
Audiences often associate steady shots with higher production values, making stabilization a key post-production step for filmmakers.
There are multiple techniques to stabilize footage:
- Hardware-based stabilization involves equipment like gimbals and steadicams during the shooting process.
- Software-based stabilization applies effects in post-production to correct shakiness after the footage has been captured.
Software stabilization, like the Warp Stabilizer in Premiere Pro, is especially beneficial when:
- Hardware stabilization options were unavailable during filming.
- Additional refinement is needed even after using stabilization equipment.
By understanding the significance of footage stabilization and incorporating it into post-production workflows, filmmakers can turn potentially unusable takes into professional-quality scenes.
This not only enhances the viewing experience but also raises the filmmaker’s standard, ensuring the audience remains immersed in the story rather than distracted by the technical aspects.

Why Is Footage Stabilization Important?
In the world of filmmaking, the impact of unstable footage is more than just a visual annoyance – it’s a storytelling detractor.
Shaky scenes can distract viewers from the narrative, no matter how compelling the plot of Inception or the character arc in The Shawshank Redemption.
Footage stabilization gives us the power to maintain our audience’s focus.
By smoothing out distractions, we ensure that the visual flow matches the storytelling rhythm, keeping viewers immersed in the cinematic world we’re creating.
Without stabilization, the professional sheen of a video diminishes rapidly.
Viewers today expect a certain level of quality that does not include jerky or jolting images, especially when streaming platforms and big-screen productions set high standards.
Let’s consider a few reasons why stabilization is not just beneficial but essential:
- It increases the perceived production value of your content,
- It supports visual effects integration by providing a stable base,
- It aligns viewer experience with industry standards for smoothness and quality.
Footage stabilization is not just about fixing problems; it’s about enhancing the overall experience.
By mastering stabilization techniques in Premiere Pro, we can tackle a wide range of scenes that require a steady hand, from action-packed sequences to serene, sweeping landscape shots.

The options available within Premiere Pro, such as Warp Stabilizer, offer us a robust set of tools to achieve this stability.
By leveraging this technology, we ensure that our work stands up to viewer expectations and the meticulous standards of the filmmaking industry.
Embracing footage stabilization is key to bridging the gap between amateur and professional video.
It allows us to tell our stories without the unintended interference of shaky footage, which can mean the difference between a video that’s skipped over and one that’s watched from start to finish.
Introducing Adobe Premiere Pro’s Warp Stabilizer
When working in the post-production phase, one tool that consistently stands out in Adobe Premiere Pro is the Warp Stabilizer.
Our key to transforming shaky, handheld footage into steady, cinematic sequences is this powerful feature.
Warp Stabilizer works by analyzing the video and tracking various points to stabilize the image.
It compensates for motion irregularities and smoothens out jitters without degrading the footage quality significantly.
Implementing Warp Stabilizer is straightforward.
- Locate it in the Effects panel under the Distort tab.
- Drag the effect onto the desired clip.
Many filmmakers praise the effectiveness of Warp Stabilizer for its simplicity and impact.
- You don’t need advanced VFX skills to use it.
- It integrates seamlessly into the editing workflow.
Throughout our cinematic ventures, learning to adjust the settings of Warp Stabilizer has proven indispensable.
Adjusting the Smoothness parameter is where the magic happens.
This determines how aggressively the effect works to stabilize the image.
Advanced options are available for more control over the stabilization process.

- For fine-tuning, jump into the Advanced settings.
- Adjust the Crop Less <-> Smooth More feature to balance between cropping the image and smoothing camera movements.
For those who chase perfection, the Warp Stabilizer offers a detailed analysis feature.
- This ensures the highest quality stabilization.
- The effect meticulously combs through frame by frame to detect any trace of shake.
Remember, Warp Stabilizer requires time to analyze the footage.
Be patient as the process unfolds.
It’s a small investment for the significant payoff of flawless, stable video that matches our high standards.
Step 1: Importing Your Footage
Before we can even think about stabilizing, our footage must be imported into Adobe Premiere Pro.
This initial step is straightforward but crucial for a smooth workflow down the line.
We’ll start by launching Premiere Pro and creating a new project.
Once inside the project, we’ll need to bring our video files into the program.
To do this, we simply navigate to the ‘File’ menu and select ‘Import’.
Alternatively, we can use the shortcut Ctrl+I (or Command+I on Mac), which is a quicker method.
Here’s how we can organize our imported files to save time during the editing process:
- Create bins for different types of media,
- Label each clip with a descriptive name – Use color coding to differentiate between takes, scenes, or camera angles.
Remember, handling media efficiently can drastically reduce our post-production time.
Let’s make sure everything is in order before we move on to employing the Warp Stabilizer effect.
Step 2: Applying Warp Stabilizer Effect
Once you’ve imported and organized your footage in Adobe Premiere Pro, it’s time to tackle the shakes and jitters.
We’ll now jump into the heart of the stabilization process – applying the Warp Stabilizer effect.
Engaging the Warp Stabilizer is straightforward.
Simply drag and drop the effect onto the selected clip in your timeline.
The process begins immediately, and depending on the stability of the footage and the performance of your system, this could take some time.
It’s crucial to note that you should not make any changes to your clip while Warp Stabilizer is in action.
Doing so will interrupt the analysis and could lead to imperfections in the stabilization.
After the initial analysis completes, Premiere Pro will smoothen out your footage by tracking the motion and repositioning frames accordingly.
But applying the effect is never a one-size-fits-all solution.
Customizing the stabilization is key to maintaining the natural feel of your film.

Tweakers rejoice, as Warp Stabilizer offers a range of adjustable parameters, including:
- Stabilization – Adjusts the smoothness and method of stabilization,
- Borders – Controls cropping and scaling to eliminate black borders.
Through these settings, you have the power to cater the stabilization to the specific needs of your footage.
Ensuring the effect complements the narrative and pacing rather than detracting from it saves us from the potentially dizzying impact of a shaking camera.
It’s important to preview the stabilized footage in its entirety.
If there are any points where the stabilization seems unnatural or the footage warps, it’s back to the settings for some more fine-tuning.
Remember, achieving visual continuity is our objective; not every clip will require the same stabilization settings, so adjusting for each scene is a step we don’t skip.
Maintaining a careful eye for detail and a willingness to experiment with the Warp Stabilizer’s settings will bring out the best in your film.
Let’s explore further how to refine these settings to achieve near-perfect stabilization results.
Step 3: Adjusting Warp Stabilizer Settings
After you’ve successfully applied the Warp Stabilizer to your shaky footage, it’s time to tweak the settings for optimal results.
Fine-tuning these settings is crucial as it can drastically improve the stabilization effect without compromising the natural motion of the video.
Let’s jump into the key parameters we can adjust:
- Smoothness – this dictates how much stabilization is applied. A higher percentage leads to more stabilized footage but may result in a loss of natural camera movement. But, a lower percentage preserves the original camera feel while providing subtle stability.
To access the advanced settings, click on the small triangle beside the Warp Stabilizer effect in the Effects Control Panel.
Here’s where you’ll find several options to enhance your stabilization process:
- Method – offers different stabilization methods such as Position, Position, Scale, Rotation (PSR), and Perspective. The right choice depends on the specific movements you’re trying to correct.
- Borders – frame edges often give away stabilization work due to the adjustments made. Use border settings to Scale to fit or Auto-scale footage, which fills the frame and minimizes the telltale borders.
Balancing Aesthetics with Functionality is key.
While we strive for buttery smooth footage, we don’t want to lose the intent behind the original camera movement.
Sometimes it’s worth preserving a bit of shake to maintain authenticity, especially in action scenes in filmmaking.
Our final recommendation is to regularly preview your adjustments.
This allows for iterative refinements, which often lead to the best stabilized results.
By keeping an eye on both performance and visual fidelity, we navigate the fine line between stabilization and a natural feel.
Remember, Warp Stabilizer is a powerful tool, but it’s our creative decisions that truly bring out its potential.
Step 4: Previewing And Analyzing Results
Once we’ve fine-tuned the Warp Stabilizer settings, it’s time to preview the footage.
Previewing is not just about looking at the outcome.
It’s a critical phase where we scrutinize the effectiveness of our stabilization efforts and identify areas that might require further adjustment.

With Adobe Premiere Pro, we have the luxury to analyze results in real time.
Real-time playback allows us to examine if the stabilized footage maintains the intended fluid motion or if it suffers from any undesirable effects, like warping or scaling issues.
In the preview phase, we often focus on key aspects:
- Overall smoothness – Does the motion look natural?
- Cropping – Has the frame been excessively cropped?
- Artifacts – Are there any distortion or ghosting artifacts present?
- Performance – How does the footage hold up in different scenes?
Assessing these elements ensures that our final output meets our standards for both technical quality and storytelling impact.
It’s about striking the right balance where our footage is stable without appearing unnatural or overprocessed.
If our initial stab at stabilization doesn’t produce the desired result, we’re prepared to loop back.
Iterative refinement involves going back to the settings and making micro-adjustments.
It’s a meticulous process but well worth the effort when the final footage looks just as we envisioned.
Adobe Premiere Pro’s analysis provides us with feedback on the stabilization process.
It alerts us to potential problems and saves us time by reducing trial and error.
We take these insights and apply them judiciously to ensure that our content is not only polished but also retains the authenticity of the original shot.
Evaluating the preview critically is essential – it’s the bridge that connects our skilled editing with the compelling story we aim to tell.
The footage, after all, serves as the canvas upon which we paint our visual narrative.
Step 5: Fine-tuning The Stabilization
After we’ve assessed our preview and identified what needs improvement, fine-tuning becomes our next focus.
This step is where we dig into the nitty-gritty of what Premiere Pro offers to enhance our footage’s stability even further.
We start by revisiting the Effect Controls panel.
Here, we have several parameters that we can tweak to refine our stabilization:
- Stabilize Motion – Lets us focus on stabilizing based on position, scale, and rotation,
- Autoscale – Automatically adjusts the scale to compensate for the movement smoothed out,
- Smoothness – Controls the level of stabilization applied to the footage.
It’s crucial to remember that higher smoothness levels can lead to excessive cropping.
hence, we always aim to find the sweet spot where the footage looks stable yet still retains the original framing as much as possible.
Occasionally, we might need to address specific issues such as rolling shutter distortion which is common with DSLR cameras.
Premiere Pro’s Rolling Shutter Repair effect can rectify these distortions, contributing to a more stable, professional-looking output.
also, it’s not just the software tools that can make a difference but also our own discerning eyes.
Paying attention to the motion vectors that Premiere Pro generates during the stabilization analysis can give us insights into how the software is interpreting motion and where we might need to intercede manually.
Subtle tweaks can result in significant improvements.
For instance:
- If the footage is too zoomed in, reducing the Smoothness value can bring back some of the original shot’s context.
- Edge artifacts might necessitate a reduced Borders Framing value, balancing the stabilization with image integrity.
Our dedication to adjusting these settings gradually ensures our audience enjoys a seamless viewing experience.
Each tweak is a step towards a more polished and captivating film.
And as filmmakers, that’s always our endgame.
We recognize the power of post-production in transforming raw footage into cinematic quality storytelling.
Tips And Tricks For Footage Stabilization In Premiere Pro
When we’re working with shaky footage, achieving smooth results in Adobe Premiere Pro can sometimes be a challenge.
We’ve discovered that applying a targeted approach is often more effective than broad strokes.
Scaling Is Your Friend – When using Warp Stabilizer, it might crop into your footage to stabilize it.
Don’t be afraid to scale the video slightly to compensate for the loss of edges.
Maintain a balance to preserve video quality.
Layer Your Effects – Tackling multiple problems requires a layered approach.
Start with Warp Stabilizer.
Then, apply more specific effects like Rolling Shutter Repair as needed.
This modular process helps isolate and correct issues without overcomplicating your workflow.
One useful trick we’ve found is to stabilize footage before making other edits.
This lets us evaluate the effectiveness of stabilization in context.
Plus, it’s easier to adjust cuts and transitions once we’ve got stable footage.
Optimize Playback Resolution – While editing, set your playback resolution lower to speed up the preview.
This doesn’t affect the final export but makes real-time editing less cumbersome.
In some cases, we realize that full stabilization isn’t always the goal.
For projects like Cloverfield or The Blair Witch Project, a certain degree of camera movement adds to the storytelling.
We fine-tune the stabilization accordingly to retain a hint of that hand-held look.
Here are some additional pointers we’ve gathered:
- Dial back Smoothness to add a natural feel.
- Use detailed analysis for complex motion.
- Keyframe the Stabilize Motion effect for dynamic changes.
Remember, every piece of footage is unique.
The settings that work for one clip might not suit another.
Always adjust parameters based on individual requirements.
Understanding the limitations of Warp Stabilizer is pivotal.
In situations where the footage is beyond repair, consider reshooting or using alternate takes.
Our goal is to enhance the story, and sometimes, a reshoot offers the best solution.
finally, always keep the project’s final resolution in mind.
Upping the scale too much can lead to a loss in quality, especially if you’re working with lower resolution footage.
Always aim for the sweet spot between stabilization effect and image quality.
How To Stabilize Footage In Premiere Pro – Wrap Up
We’ve armed you with the knowledge to tackle shaky footage head-on and transform it into the smooth cinematic content viewers love.
Remember that practice makes perfect and the more you experiment with Premiere Pro’s stabilization features the better your results will be.
Trust in the process refine your skills and you’ll soon find that stabilizing footage is second nature in your video editing repertoire.
Ready to elevate your next project?
Let’s get that footage stable and your audience captivated!
Frequently Asked Questions
What Is The Best Technique For Stabilizing Footage In Adobe Premiere Pro?
A good starting point is to use the Warp Stabilizer effect.
Scale your video slightly to counteract the cropping that might happen during stabilization.
For complex shots, consider using a layered approach with additional effects.
Should I Stabilize My Footage Before Or After Other Edits?
It’s generally recommended to stabilize your footage before starting other edits.
This allows you to assess the stabilization results within the context of your complete project and make adjustments as necessary.
Why Should I Optimize Playback Resolution During Stabilization?
Optimizing playback resolution can significantly speed up preview times, making it easier and faster to evaluate the stabilization effects and make timely adjustments.
How Can I Retain Desired Camera Movements After Stabilization?
Fine-tune your stabilization settings, such as smoothness and method, to retain intentional camera movements while removing unwanted shake.
It’s a balance between stabilizing the footage and preserving the intended effect.
What Should I Know About Adjusting Warp Stabilizer Parameters?
Adjustment of Warp Stabilizer parameters should be based on your specific needs.
Important parameters include ‘Smoothness’ and ‘Method’.
Each parameter affects the stabilization outcome and should be tweaked accordingly.
What Are The Limitations Of Using Warp Stabilizer?
Warp Stabilizer may not work perfectly on footage with a lot of movement or complex backgrounds.
Also, it might introduce some unwanted effects like warping artifacts or excessive cropping if not adjusted properly.
Why Is It Important To Consider The Final Resolution Of The Project?
Considering the final resolution is crucial because stabilization can sometimes reduce image quality.
Plan your project’s final resolution to ensure that any scaling done for stabilization doesn’t degrade the final video.
