
Ever wondered how filmmakers conjure up fantastical worlds that seem miles from reality?
That’s the magic of Chroma Key, a visual effects technique that’s become a staple in the film and television industry.
It allows creators to transport characters to virtually any environment imaginable, from exotic landscapes to outer space.
We’ll jump into the nuts and bolts of how Chroma Key works, from the green screen setup to the software that makes it all come together.
Whether you’re a budding filmmaker or just curious about movie magic, we’ve got the lowdown on this incredible technology.
Get ready to unlock the secrets behind those epic scenes that leave you spellbound.
CHROMA KEY
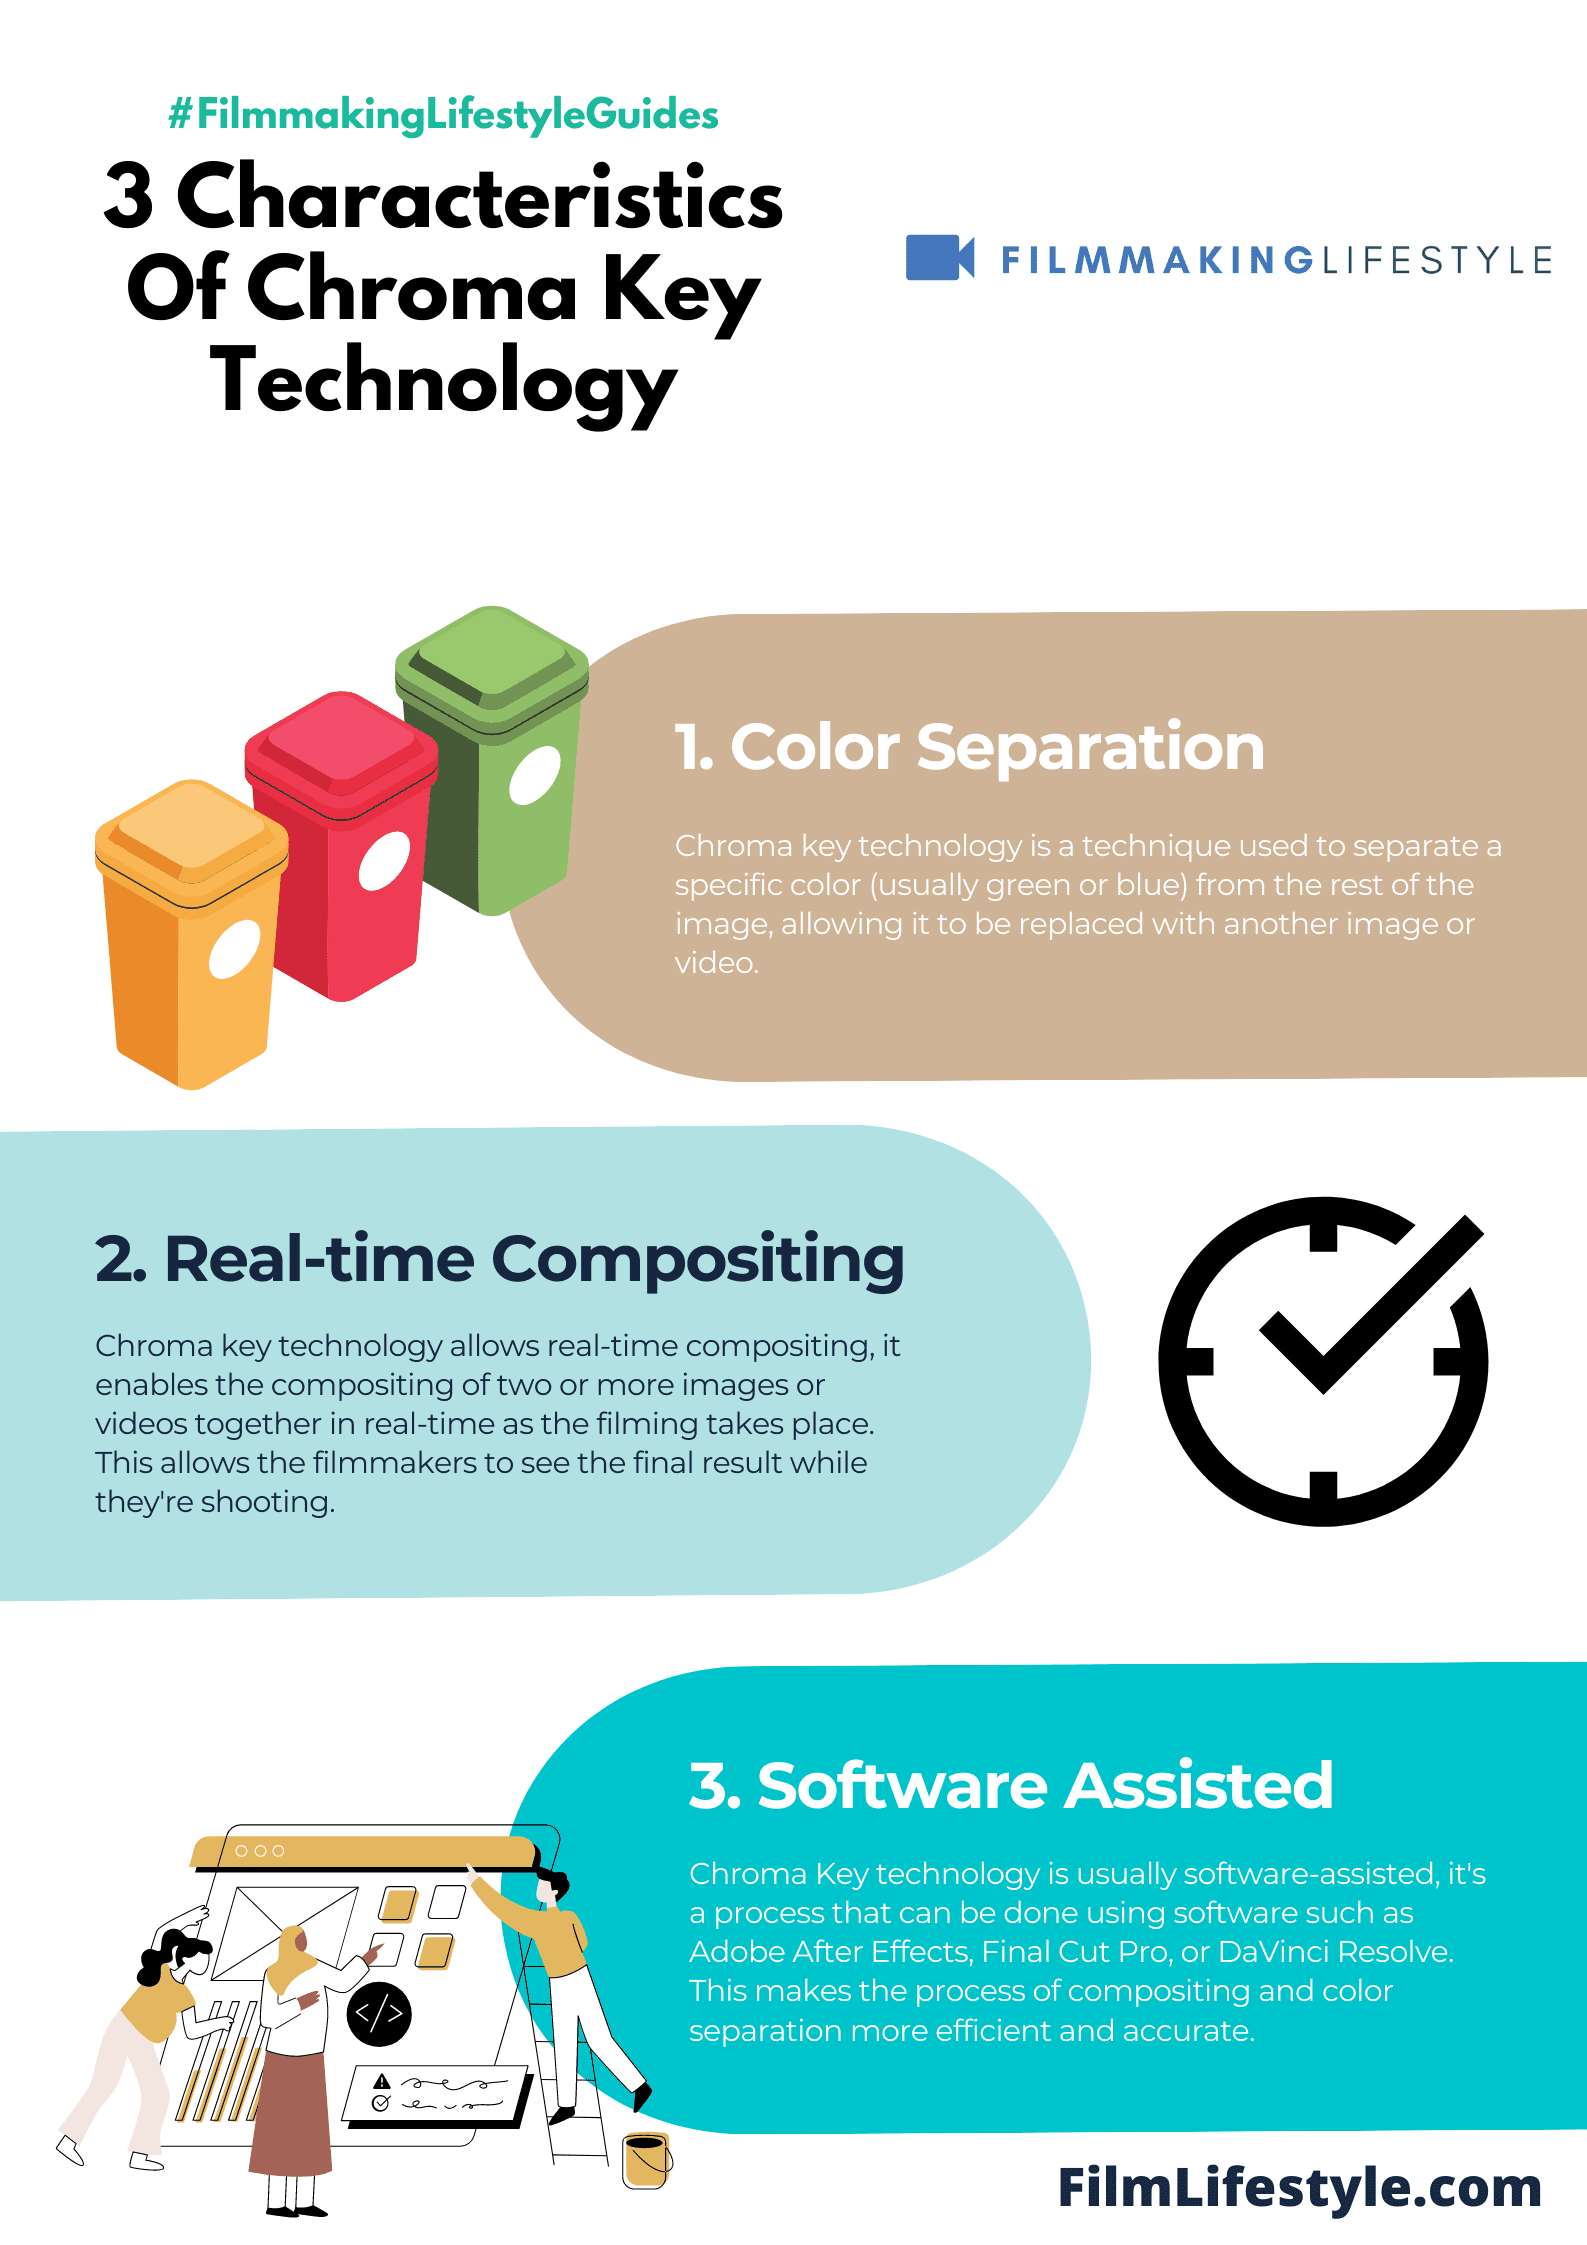
What Is Chroma Key Technology?
Chroma key technology is a video production technique that involves the use of an electronic green screen.
The green screen is typically used as a backdrop for special effects, including weather maps and other computer-generated imagery.
Video cameras are pointed at the subject who would then be composited onto the background footage or CGI (computer-generated imagery).
What Is Chroma Key?
Chroma Key is a special effects technique that has transformed the art of filmmaking.
It involves shooting actors and objects against a solid-colored background – usually green or blue – which is then replaced during post-production with any desired backdrop.
This process hinges on the distinct color of the Chroma Key screen.
It’s crucial that the screen has a color that doesn’t match any clothing, props, or human skin tones.

This ensures that when the specific color is keyed out, only the background is affected, leaving the foreground subject intact.
Software plays a vital role in Chroma Keying.
Programs like Adobe
This space is then filled with digital or pre-filmed environments to create the final scene.
The applications of Chroma Key are vast:
- In The Weatherman, broadcasters use it to project animated weather maps.
- Blockbusters like The Lord of the Rings Use it to realize epic landscapes.
- Even smaller-scale productions benefit, creating visuals not possible in their physical location.
We harness the power of Chroma Key for both practical and creative reasons.
It can save time and budget on set construction and travel.
It also permits the depiction of environments that would be otherwise impossible to film in, like alien planets or historical events.
Advancements in Chroma Key technology continue to push the boundaries of what we can achieve visually.
As we explore this tool, we’re not just changing the backdrop; we’re expanding the horizons of storytelling.
The Magic Of Chroma Key
Chroma Key technology has revolutionized the way we produce films.
By allowing filmmakers to merge two images or video streams together seamlessly, it’s become an essential tool in the industry.
With Chroma Key, we can place actors in exotic locations without ever leaving the studio.
It’s not just about the fantastical, though; this technique also enables us to create more mundane environments that are nonetheless crucial for storytelling.
The process begins with a vividly colored backdrop – typically green or blue – that contrasts with the subjects.
After filming, this color is removed digitally, creating what’s known in the business as an ‘alpha channel.
‘ Here, transparency permits a secondary image to fill the void, creating a composite that’s convincing to the eye.
Films like Avatar and The Avengers showcase the potential of Chroma Key to create entire worlds.
These blockbusters utilized the technology to transport audiences to alien planets and dazzling superhero battles.
But on a smaller scale, Chroma Key helps independent filmmakers and content creators produce effects that were once the sole domain of big-budget studios.
Key factors in effective Chroma Keying include:
- Proper lighting to avoid shadows and ensure even color,
- A well-chosen key color that doesn’t match any elements in the foreground,
- High-quality cameras to capture the details necessary for a clean key.
Utilizing software like Adobe
These platforms provide tools that adjust edges, handle spill suppression, and manage motion blur, enhancing the realism of the composite footage.
The advancements in software also allow for more flexibility in post-production, pushing creative boundaries even further.

Our grasp of the Chroma Key technique continues to mature, making it an integral part of filmmaking.
With each project, we discover new ways to use this tool, ensuring our content is not only engaging but also visually stunning.
How Does Chroma Key Work
To grasp how Chroma Key technology functions, imagine filming with a singularly colored backdrop – typically green or blue.
These colors are chosen because they’re least like skin tones and clothing, making them easier to differentiate from the subjects.
The process begins on set.
Lighting is crucial, as even illumination of the backdrop prevents shadows and facilitates a clean key in post-production.
High-quality cameras capture the footage, paying special attention to avoid spill, where the key color reflects onto the subject.
In post-production, software like Adobe
They remove the key color, rendering it transparent and allowing another image or video to fill that space.
This layering creates composite scenes that look naturally integrated.
A few key factors ensure Chroma Key success:
- A smooth, well-lit backdrop free of wrinkles and seams,
- A distance between the subject and the backdrop to reduce color spill,
- Camera settings that preserve detail and avoid noise.
We meticulously choose the key color considering the foreground elements to avoid any potential issues.
It’s not a one-size-fits-all; blue screens are advantageous under specific conditions, such as when the subject involves green elements.
Careful planning and execution during filming can significantly reduce the workload in post-production.
Achieving a clean key is a delicate balance that requires attention to detail, from the choice of the backdrop to the final adjustments in the editing suite.
Through these efforts, we turn otherwise impossible scenes into visual realities.
Chroma Key technology allows us to transport characters to alien worlds or bustling, futuristic cities with a level of realism that engages audiences worldwide.
Setting Up The Green Screen
When diving into the world of Chroma Key, setting up the green screen is a critical step.
Proper installation ensures a seamless keying process during post-production.
Firstly, we must select a smooth, wrinkle-free green screen.
Any creases or shadows can lead to poor Chroma Key results.
The positioning of the green screen is just as vital – we need to ensure it’s evenly lit.
To achieve consistent lighting, we use softbox lights or LED panels.
These help eliminate any potential shadows and provide a uniform backdrop.
It’s crucial to maintain a good distance between the subject and the green screen.
This minimizes the risk of green spill, where the green color reflects onto the subject.
Ideally, we keep our actors about 6 to 10 feet away from the green screen.
Equally important is color purity.
The background should be as close to pure green as possible.
This aids in post-production software like Adobe
Here are key points to remember when setting up the green screen –
- Select a wrinkle-free screen,
- Ensure even lighting across the screen,
- Keep a considerable distance from the subject to the green screen,
- Aim for a pure green color for the screen.
focusing to these details, we ensure the Chroma Key process runs smoothly.
We stride towards a post-production phase where the magic of filmmaking truly comes to life, layering our footage with fantastic elements that captivate audiences.
Choosing The Right Software
Once you’ve got your green screen set up, it’s crucial to select the right software for Chroma Keying.
Efficient software can make or break the success of your visual effects.
The market offers a plethora of options, but some stand out for their robust features and user-friendly interfaces.
We’ve found that industry leaders like Adobe
Budget-conscious filmmakers should consider software like HitFilm Express or DaVinci Resolve.
Both provide excellent Chroma Keying capabilities without straining your wallet.
For those looking for real-time keying during live broadcasts, Wirecast and vMix are top choices.
They offer seamless integration of live footage with virtual sets and backgrounds.
Let’s not forget the importance of compatibility and system requirements.
Before finalizing your choice, ensure the software is compatible with your current setup.
Some other factors to consider are:
- Ease of use – you don’t want to spend hours trying to figure out complicated interfaces.
- Customer support – when you run into issues, quick and helpful support will keep your project on track.
- Plugin availability – adding more tools to your arsenal can elevate your Chroma Keying work. Investing time in learning the ins and outs of your chosen software is as vital as selecting it. Regular updates and tutorials can help you stay ahead of the curve.
Remember, the right software should streamline your post-production process, allowing you to focus more on the creative aspects of filmmaking.
What Is Chroma Key – Wrap Up
We’ve explored the intricate world of Chroma Keying and its pivotal role in modern filmmaking.
With the right backdrop, lighting, and camera, creators can transport their audience to any world they imagine.
Our journey through the selection of the perfect software has armed us with the knowledge to choose tools that not only fit our budget but also enhance our creative workflow.
Whether we’re just starting out or looking to upgrade our current setup, the key to unlocking the full potential of Chroma Key lies in blending technology with our artistic vision.
As we embrace these techniques and tools, we’re set to craft compelling stories that captivate and inspire.
Frequently Asked Questions
What Is Chroma Key Technology?
Chroma Key technology is a technique used in video production where a subject is filmed against a uniform colored background (usually green or blue), which is then digitally removed in post-production to allow a different background to be inserted.
Why Is Good Lighting Important For Chroma Keying?
Proper lighting is crucial for Chroma Keying because it helps to evenly light the background, which is essential for easy and clean removal in post-production.
What Are Some Key Factors To Consider When Choosing A Key Color?
Key factors in choosing a key color include the absence of the color in the subject’s clothing or props and the contrast between the subject and the background color.
Can You Recommend Any Software For Chroma Keying?
Yes, some recommended software includes Adobe
Real-time keying can be done with software like Wirecast and vMix.
What Should I Look For In Chroma Keying Software?
Look for software with robust features, a user-friendly interface, compatibility with your setup, ease of use, reliable customer support, and the availability of plugins to enhance functionality.
Are There Affordable Options For Chroma Key Software?
Yes, HitFilm Express and DaVinci Resolve are both budget-friendly options that offer robust Chroma Key features for filmmakers.
Is It Possible To Do Chroma Keying In Real Time?
Yes, real-time Chroma Keying is possible with software such as Wirecast and vMix, which are designed for live streaming and broadcasting scenarios.