So, you want to know how to make a time-lapse video?
You probably have seen one of these already (perhaps you even have the time of day!) and thought to yourself how much fun it would be to make your own.
Time lapses happen every day, aren’t they? They seem to take hours or even whole days to form.
You might not have noticed them though until you are looking through the window in the car and see that the scenery has changed dramatically. Then you may realize that you are about to fall asleep!
HOW TO MAKE A TIME LAPSE VIDEO
What Is a Time Lapse Video?
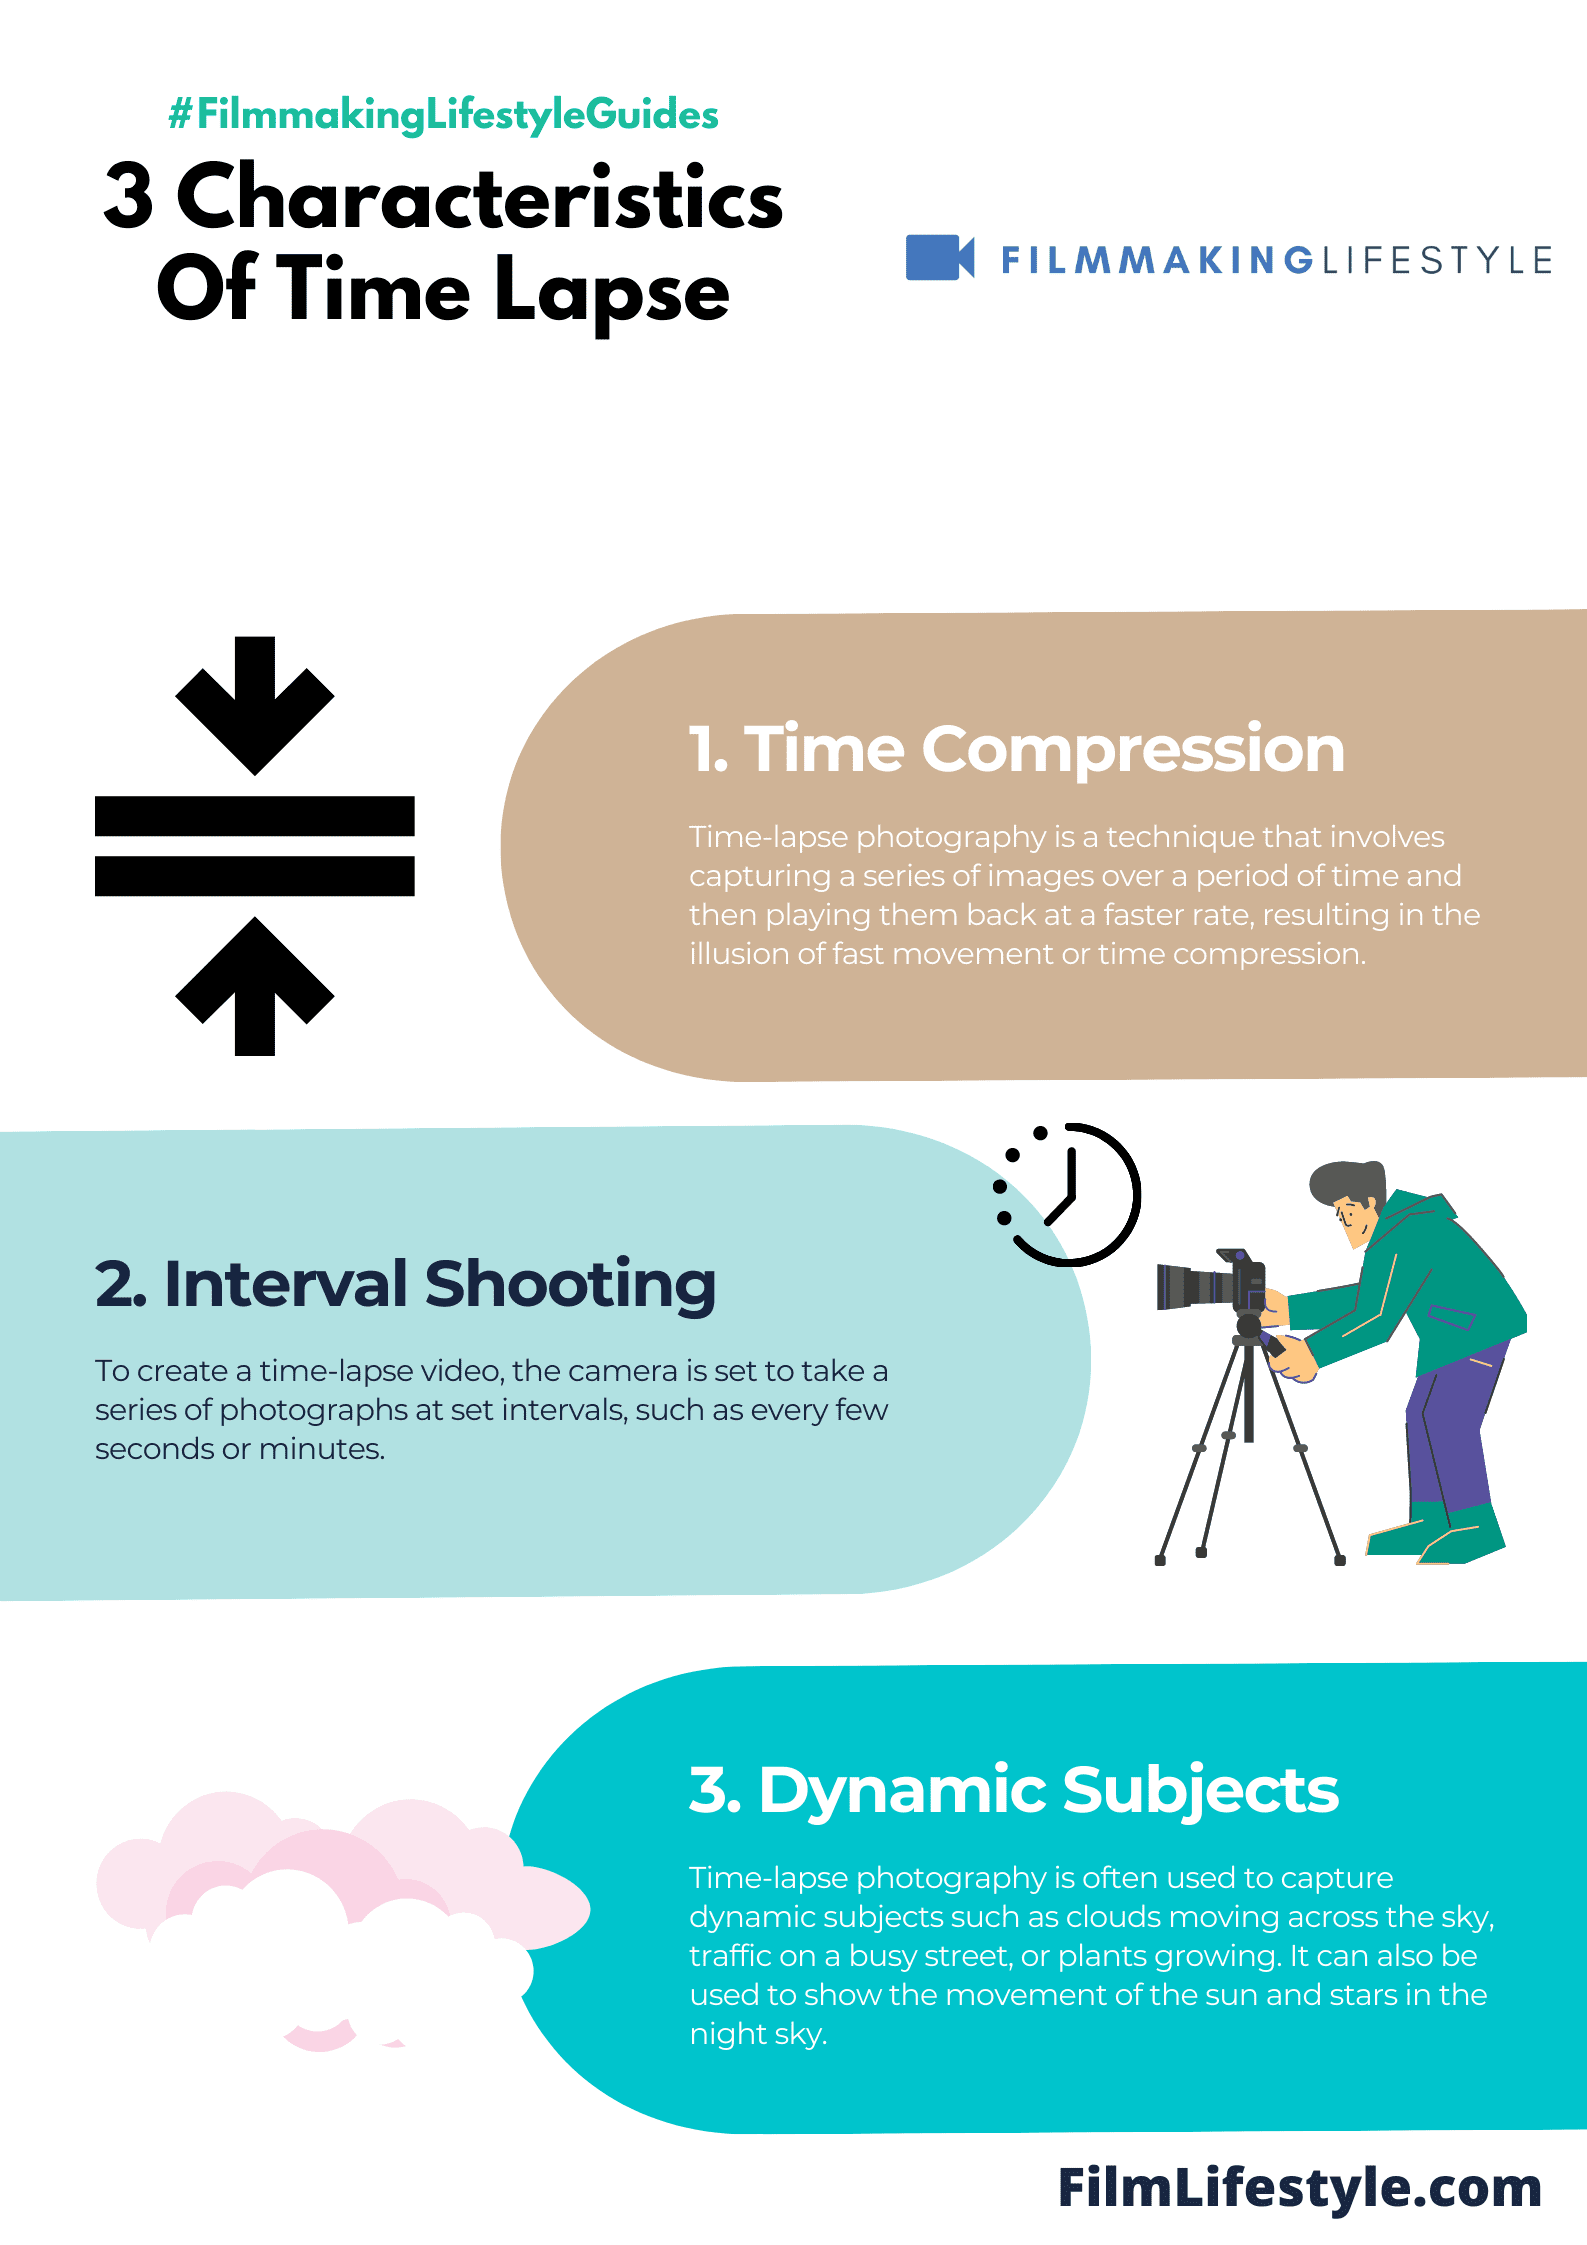
A time-lapse video is a type of video that captures the passage of time. It’s created by taking individual frames from footage and then displaying them at regular intervals, typically 24 or 25 frames per second.
To make it easy to understand what this means, imagine watching a film on fast forward: you’ll see events happening quickly but without sound.
Ever watched the world go by at warp speed in a stunning time lapse video?
We’re here to show you how it’s done.
Time lapse videos compress hours into seconds, revealing the beautiful intricacies of motion and change that our eyes can’t see in real time.
We’ll guide you through the simple steps to create your own mesmerizing footage, whether you’re a seasoned pro or a first-timer.
Planning And Preparation
Planning is crucial when it comes to creating a time lapse video.

It ensures you capture the essence of the event or scene with as few hitches as possible.
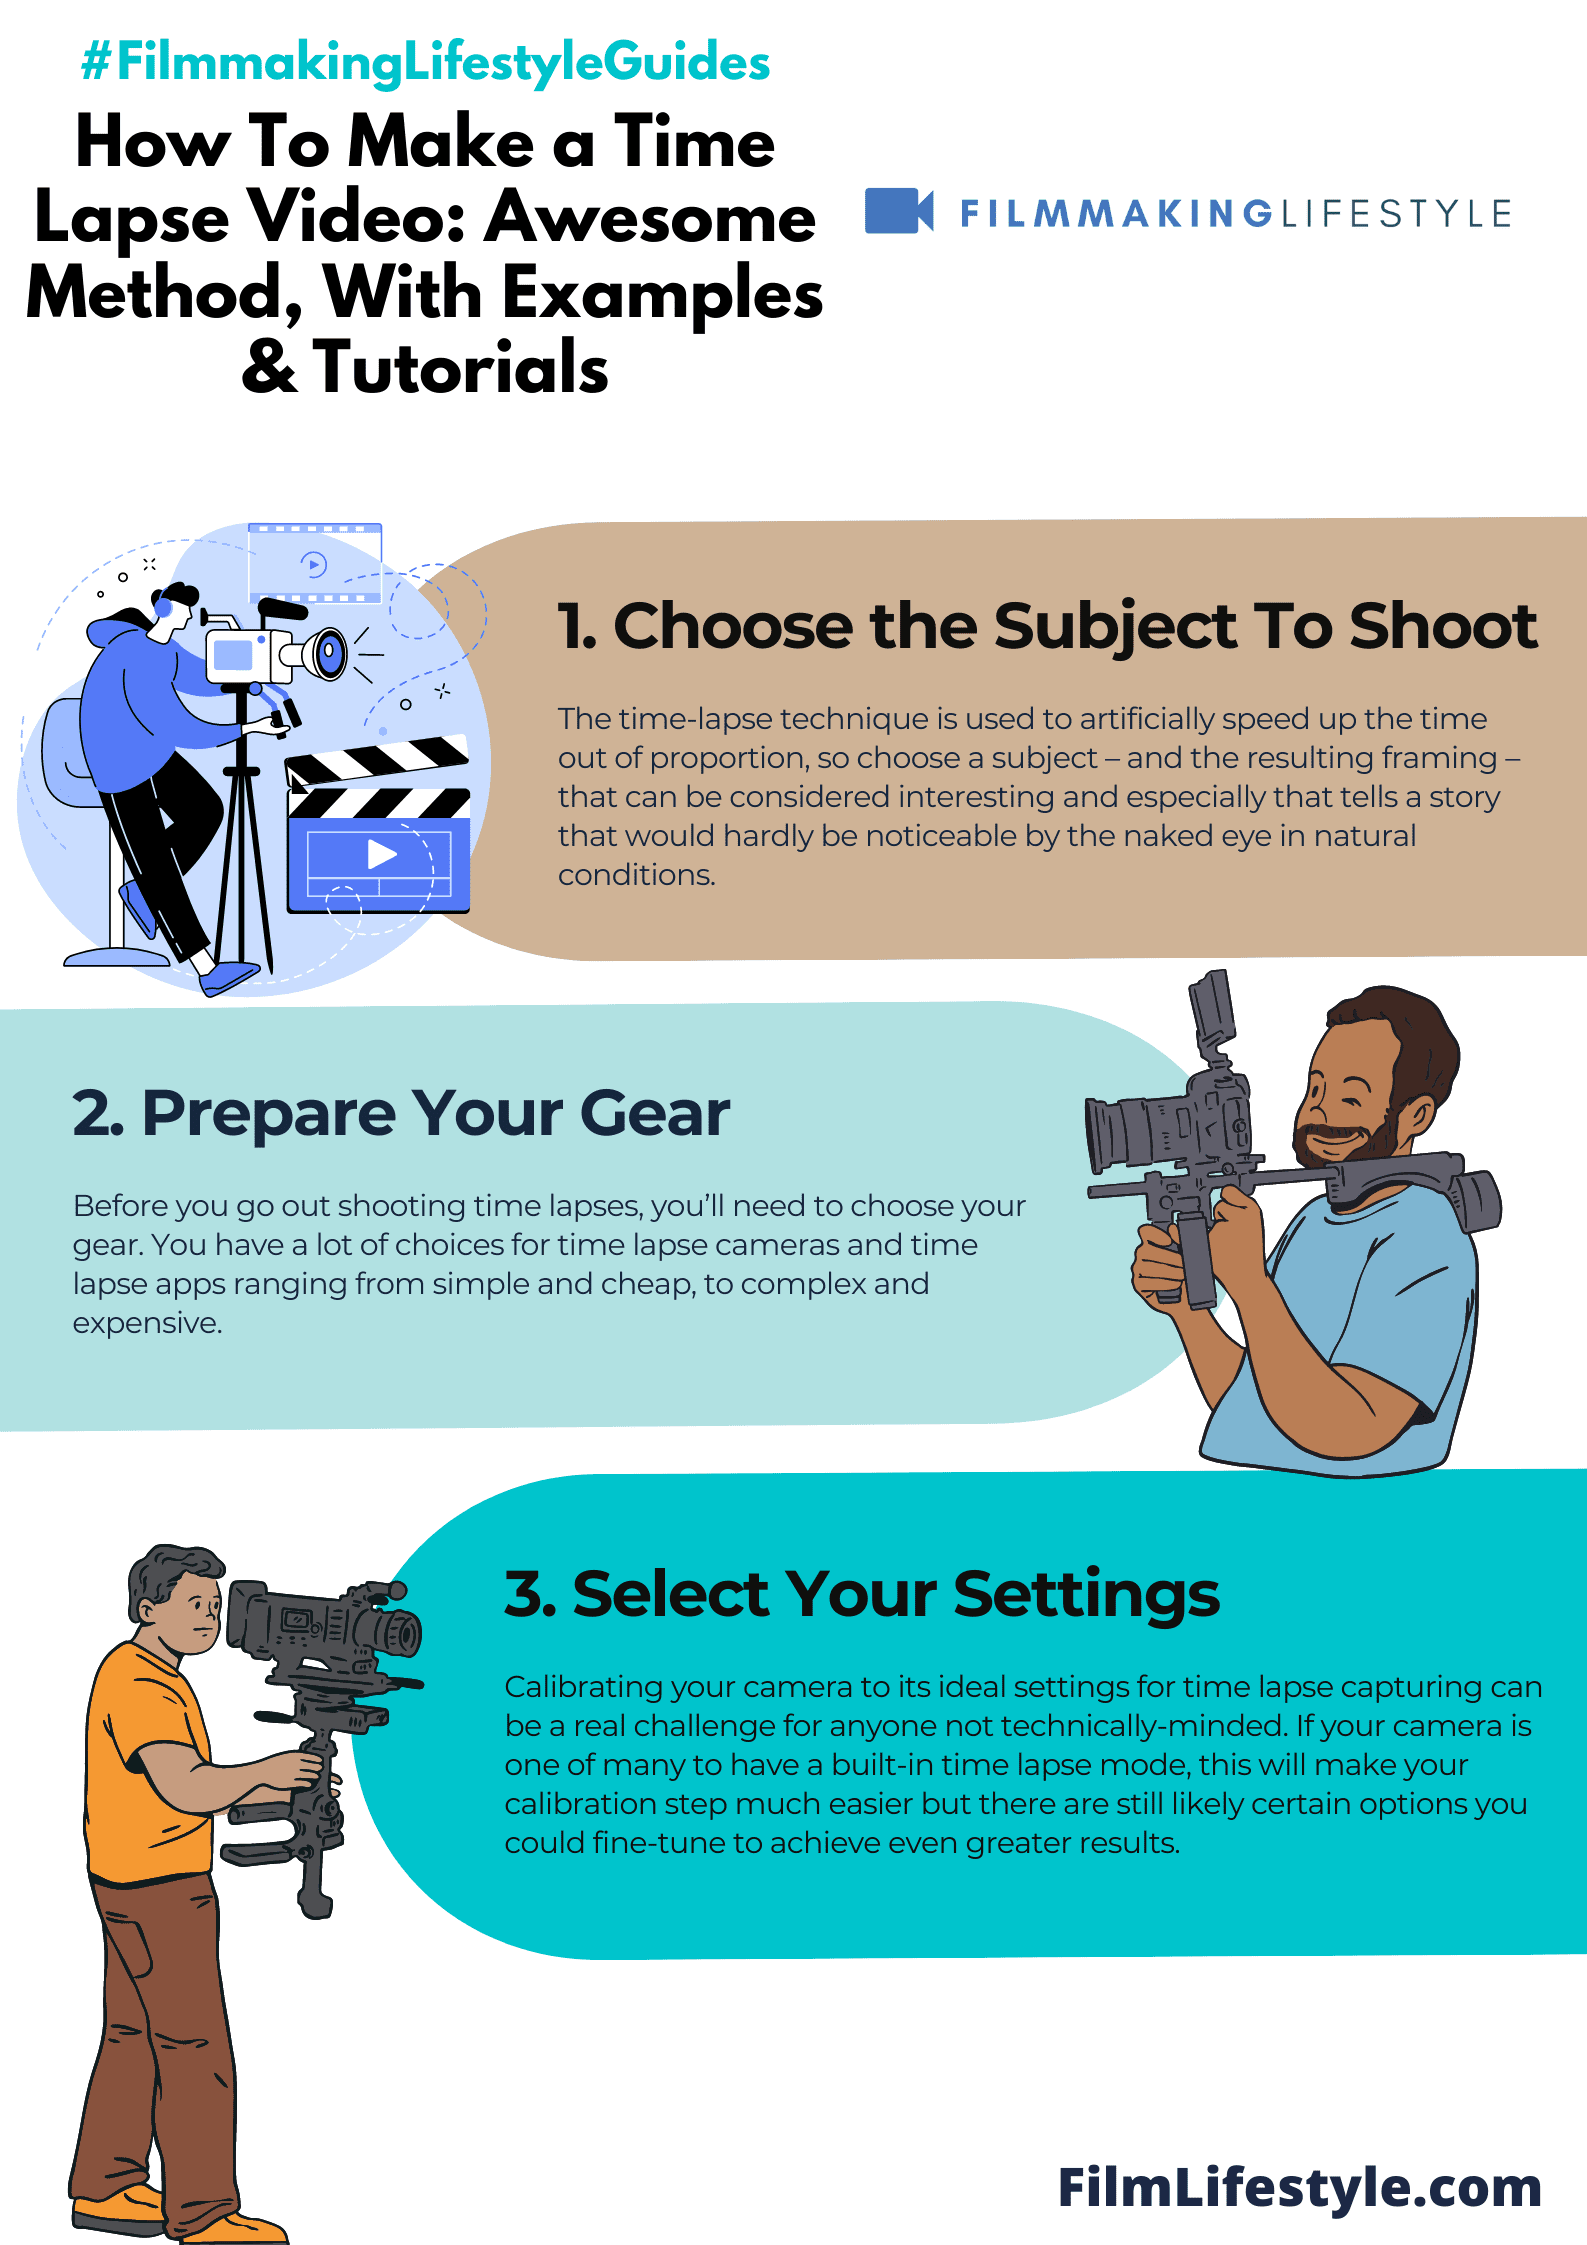
First, we need to decide on our subject.
Whether it’s a bustling cityscape or the slow bloom of a flower, the subject determines the mood and pace of our final piece.
Next, we must scout the location.
Ideal spots are safe, secure, and offer a clear vantage point of our subject.
Once we’ve chosen our subject and location, it’s essential to check the weather conditions.
Clear skies are perfect for star trails, while changing weather can tell a compelling story about a landscape.
Then we calculate the shooting interval – the time between each shot.
This decision is based on the desired speed of the action in the final video and the total duration we aim for.
Creating a storyboard can help us visualize the final product.
This outline will guide the sequence of shots and ensure smooth transitions.
We’ll also need to consider the equipment required for the task:
- A camera with manual settings and intervalometer,
- Sturdy tripod to eliminate camera shake,
- Enough memory cards to handle hours of footage,
- Batteries or a power source to last the entire shoot.
Finally, it’s essential to configure the camera settings to match our artistic vision.
Adjusting the frame rate, exposure, and focus must be done before beginning the shoot to avoid inconsistencies.
Remember, we’re crafting a narrative thread through our time lapse, so each element must align to tell our story effectively.
Choosing The Right Equipment
When embarking on a time lapse project, securing the right gear is crucial.
The camera, undoubtedly the star of the show, should boast robust manual settings that allow for complete control over exposure, focus, and frame rate.
You’ll need a wide-angle lens to capture vast landscapes or a macro lens for intricate close-ups, depending on the subject matter.
Investing in a sturdy tripod is non-negotiable.
It’s the foundation that ensures steady, blur-free footage throughout the extended shooting period.
A weakened or flimsy tripod can ruin hours of work with just a slight wobble.
Essential Gear Checklist
Quality time lapse videos require more than just a good camera and tripod.
Here’s a quick rundown of the must-haves:

- Intervalometer – for precise control over the filming interval,
- Extra memory cards – because running out of space is not an option,
- Ample battery power – either through multiple batteries or an AC power adapter,
- Neutral density filters – these are key for managing exposure in bright conditions.
Fine-tuning For Perfection
Before hitting record, ensure every piece of equipment is finely tuned.
The intervalometer settings must match the storyboard’s pace, while memory cards and batteries should be checked and double-checked to handle the demands of continuous shooting.
Never underestimate the importance of preparation; it’s the difference between a scrapped project and a mesmerizing piece of art.
Adding neutral density filters to your setup lets you achieve a shallower depth of field or create motion blur under bright lighting.
This addition elevates the professional look of your time lapse, separating amateur from the expert.
Remember, each element of your gear plays a pivotal role.
From the pivotal camera settings to the stability provided by the tripod, your equipment will dictate the quality and impact of your final time lapse video.
We’re committed to helping you bring your vision to life with the right tools and know-how.
Setting Up Your Camera
Once you’ve assembled your gear, it’s time to set up your camera.
This is a crucial step that shapes the overall quality of your time lapse footage.
First, select the manual mode to have full control over the exposure.
Choose a format that suits your end goal – RAW for highest quality editing or JPEG for quicker processing.
Determine the right aperture for your scene.
For a vast landscape, you may want a smaller aperture to keep everything in sharp focus.
For close-ups, a wider aperture can highlight your subject with a pleasingly blurred background.
Set your ISO as low as possible to minimize noise.
If you’re shooting in low light, you’ll need to increase the ISO, but always aim for the lowest setting that provides a good exposure.
Adjust the white balance manually to keep colors consistent throughout the shoot.
Automatic white balance changes can disrupt the continuity of your time lapse.
This is the time to attach the intervalometer.
It’s essential for controlling the shooting frequency and helps to automate the process.
Ensure that your focus is set to manual.
This prevents the camera from readjusting focus between shots, which can cause flickering in your final video.
Finally, frame your shot.
Use the rule of thirds to create a compelling composition and check all corners for potential distracting elements.
- Interval: Choose intervals wisely – too short and you’ll fill up memory cards rapidly; too long and you might miss crucial action.
- Shutter Speed: Adapt this based on the light available and the dynamic of the scene – fast for bustling cityscapes, slow for serene sunsets.
With your camera set up and scene perfectly framed, you’ll be well on your way to capturing a mesmerizing time lapse.
Remember, test shots are invaluable; they help to iron out any exposure or framing issues before committing to the shoot.
Selecting The Right Interval And Duration
When crafting a time lapse, the interval between shots is a determining factor in the fluidity of your final video.
It’s crucial to get this right – too short, and you’ll end up with an excessively long and possibly choppy video; too long, and the action may seem jumpy and disjointed.
The duration of your time lapse affects the total number of images captured and, hence, the length of your video.
As a rule of thumb, a standard playback rate of 24 frames per second is ideal for a smooth viewing experience.
Considering the subject matter is key when setting the interval for your shots.
Here’s a brief guideline:
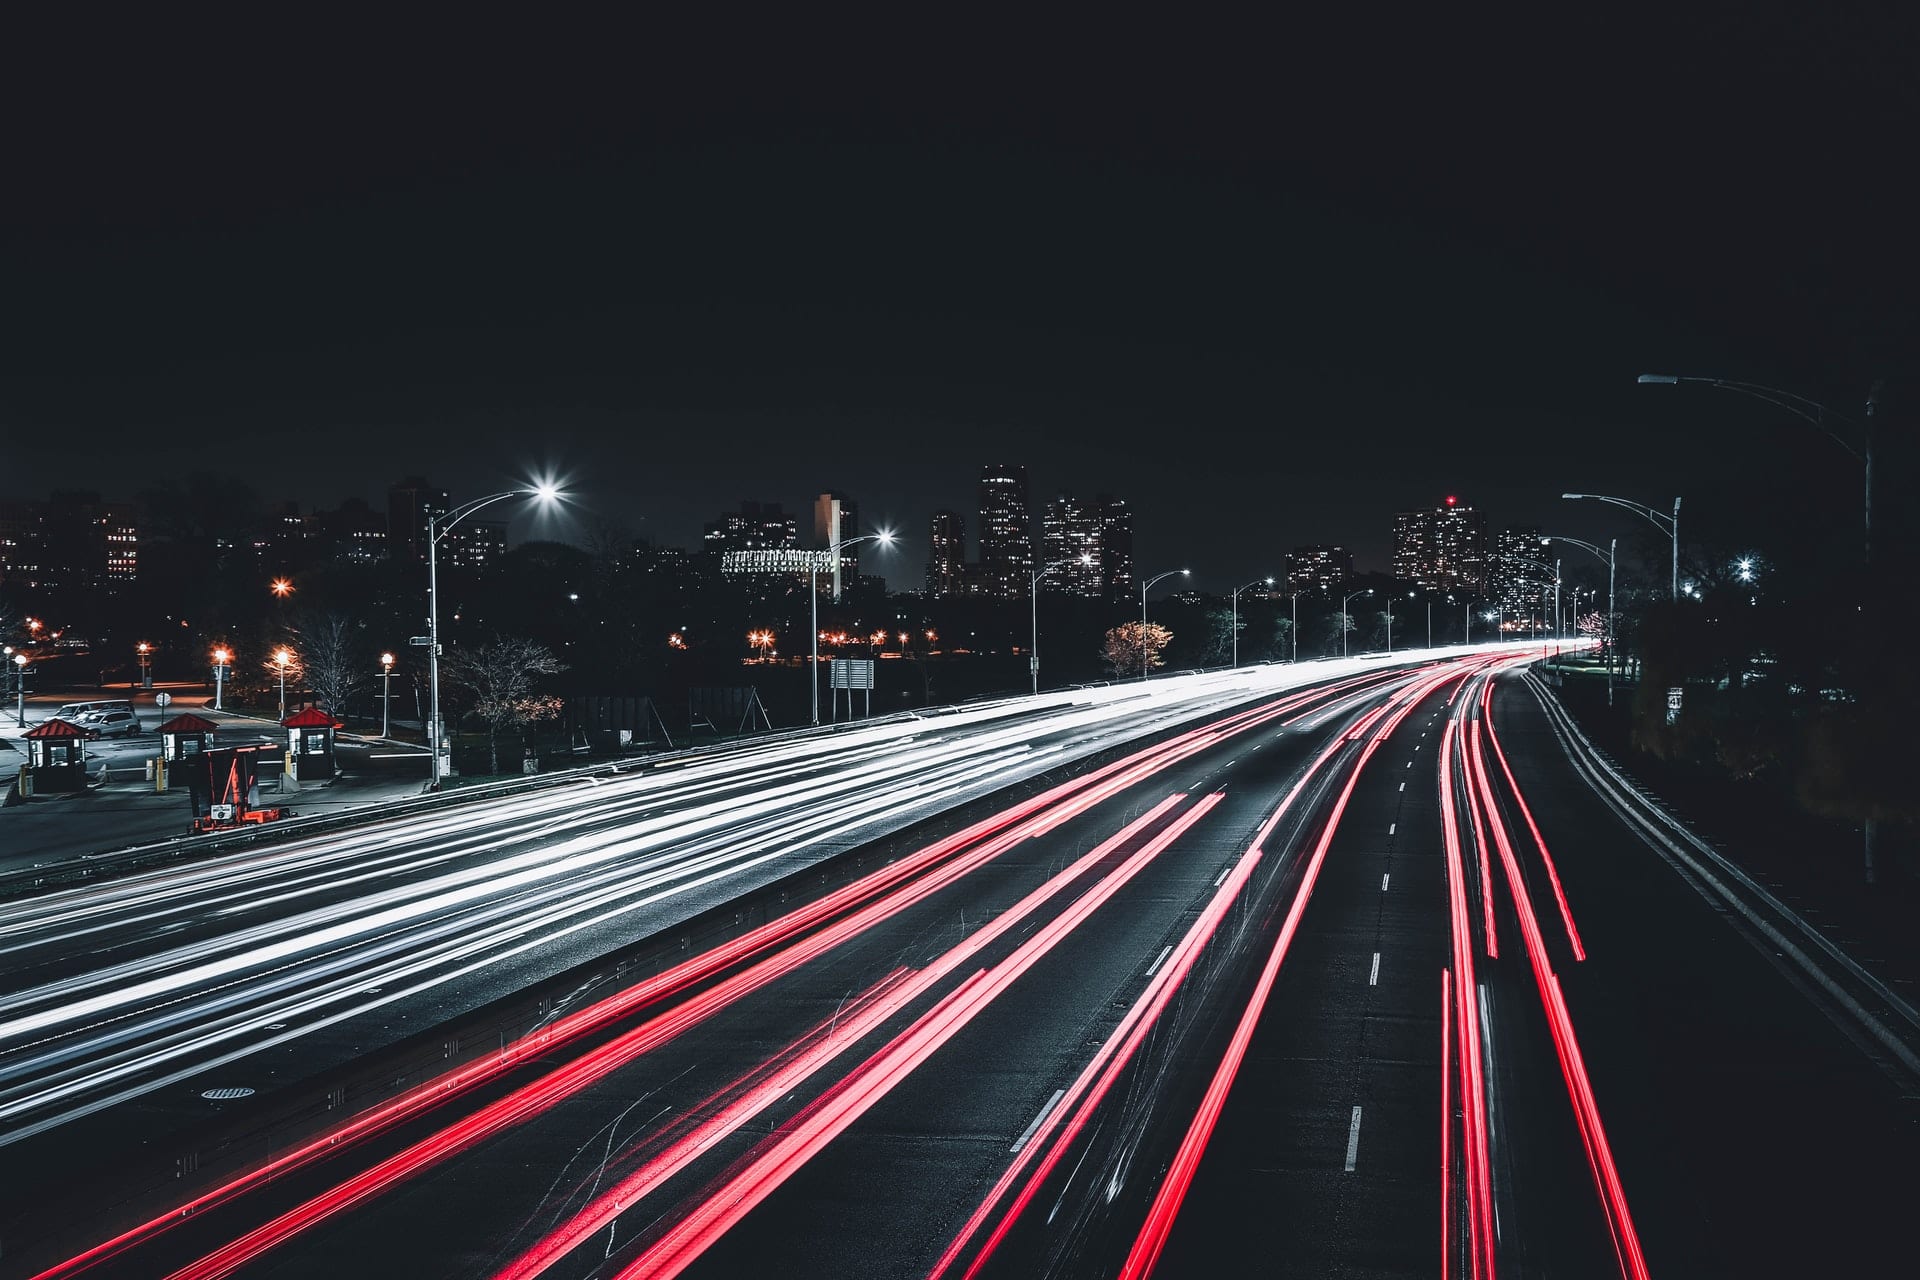
- Fast-moving clouds or busy street scenes – intervals of 1 to 3 seconds,
- Slower changes like sunsets or plant growth – intervals of 30 seconds to several minutes.
Keep in mind that the duration of your shoot must align with the desired video length.
Shooting for three hours at a 3-second interval provides enough frames for a 20-second video.
For historical events or longer-term projects, intervals can stretch to hours or even days.
This technique was used masterfully in films like Baraka where time lapse helped illustrate the grand scale of change.
Remember, battery life and storage space are significant factors in long-duration time lapses.
It’s essential we plan accordingly and ensure that our setup can handle the task.
Capturing The Footage
When setting up for time lapse photography, it’s crucial to maintain a sturdy camera position throughout shooting.
Tripods are our best friend here, ensuring our footage stays smooth and consistent from start to finish.
We’ll want to dial in the camera settings before we hit record.
Manual mode gives us control over exposure and focus, reducing the likelihood of unwanted flicker between shots.
Let’s pick the right time of the day for our shoot – golden hour brings out those stunning hues, while blue hour gives a cool, serene feel.
The natural lighting can dramatically enhance our time lapse, turning it into a cinematic piece.
Imagine capturing a bustling city scene or the slow dance of stars across the night sky.
Our choice of subject sets the tone for our time lapse video.
We’ll frame our shot to lead the viewer’s eye, employing the rule of thirds for a compelling composition.
Remember to check the weather ahead of time.
Unpredictable conditions can add an unexpected edge to our time lapse but can also pose challenges.
It’s smart to be prepared for anything Mother Nature throws our way.
Capturing a high-quality time lapse requires patience and attention to detail.
We manage camera battery life and memory storage, swapping out batteries or memory cards when necessary.
Choosing the right file format is pivotal – RAW files offer the highest quality and flexibility in post-production.
But, they take up significant space so we should have ample storage if we go this route.
We also consider the aspect ratio of our final video.
Whether we’re aiming for a cinematic widescreen or a standard 16:9 aspect, we make these decisions early to ensure consistency.
When the shooting process begins, we stay vigilant.
Monitoring our setup occasionally ensures everything runs smoothly until it’s time to wrap up.
Stabilizing Your Camera
When crafting time-lapse videos, stabilization is crucial.
Any movement can disrupt the continuity of your footage and detract from the final product.
hence, securing your camera on a reliable tripod is one of the first steps in producing a smooth time-lapse video.
The right tripod provides a steady base that can withstand external conditions like wind or vibrations.
Beyond merely using a tripod, it’s important to ensure that your camera is level.
Horizon lines that are off-kilter can lead to a disorienting effect that ruins the cinematic quality of your time lapse.
Most tripods have built-in levels, but we always recommend double-checking with your camera’s electronic level if available.
Weighting down your tripod can also add an extra layer of stability.
This can be especially useful in windy conditions when even a heavy tripod might not be enough.
Here’s how we secure our tripods for maximum stability:
- Attach a weighted bag to the center column of the tripod,
- Use stakes or weights around the tripod’s feet if you’re on soft ground,
- Consider using sandbags for additional anchoring in extreme conditions.
Investing in a high-quality tripod head is equally essential.
You’ll want one that allows for precise adjustments and locks securely.
Pan and tilt heads often provide the control needed for fine-tuning your composition without risking the camera’s position once set.
Remember, even the slightest movement between shots can be noticeable in the sequence, so every precaution to lock down your camera helps.
Checking and rechecking the stability of your setup can seem tedious, but it’s a small price to pay for flawless time-lapse footage.
We always remind ourselves that patience and attention to detail go a long way in filmmaking.
Ensure you periodically assess your setup to guarantee that nothing has shifted or loosened over time.
Importing The Photos
Once we have captured the essence of time through our camera’s eye, we move onto the crucial phase – importing the photos.
This step is the bridge between raw footage and a captivating time-lapse video.
Initially, we must select a reliable photo importing software.
We prefer tools that not only import but also allow us to organize and batch edit images.
The process should be streamlined for efficiency.
We usually:
- Connect the camera or SD card to the computer,
- Open our preferred importing software,
- Create a new project or folder for the time-lapse sequence,
- Begin the import process.
Paying attention to file names and storage location is vital.
We set clear naming conventions to avoid confusion during the editing process.
Sorting photos is a crucial step which often gets overlooked.
We use the software’s sorting functionality to arrange images in chronological order.
After importing, we immediately back up the files.
We can’t stress enough the importance of this step – losing data can be catastrophic.
Depending on the total number of frames, the import can take time.
During this, we ensure our computer does not enter sleep mode which could interrupt the transfer.
Our work during post-production heavily relies on the success of this importing phase.
We’ll examine the photos for any discrepancies and ensure all images are consistent in exposure and color balance.
Once we’ve secured our imagery, we’re prepared to jump into the realm of editing.
We’re ready to bring our time-lapse to life with the right software and a touch of creativity.
Editing The Time Lapse Video
Once we’ve imported our photos, it’s time for the crux of time-lapse production – editing.
A seamless edit starts with the meticulous organization of files.
We employ software like Adobe Premiere Pro or Final Cut Pro due to their robust editing platforms.
Here, we piece together our time-lapse narrative in a cohesive story flow.
The first step is to create a sequence.
We ensure each image is displayed for the right duration to reflect the passage of time effectively.
In Premiere Pro, this can be streamlined by importing images as a sequence, instantly creating a clip.
Frame rates are crucial.
Typically, we set our sequence to 24 frames per second (fps) for a cinematic look, but for a smoother effect, we might increase it to 30 fps.
Color Correction and Grading
- Ensuring visual consistency – Enhancing the image to match our creative vision.
The visual magic happens in color correction and grading.
It’s essential that our time-lapse doesn’t jump in color or exposure from frame to frame.
We meticulously tweak settings like contrast, saturation, and brightness across all images.
Our aim is to keep the audience immersed in the time-lapse without distracting variances.
Transitions deserve special attention.
They bridge the gap between disparate scenes and maintain the narrative fluidity.
Besides standard cuts, we often use subtle fades or motion blurs for a more natural progression of time.
Sound design can’t be overlooked.
We select music and effects that enhance the time-lapse, bringing a sense of scale and emotion to the footage.
Audio synchronizes with visual cues.
For example, a crescendo aligning with a sunrise brings a dramatic flair to our work.
Each edit adds a layer of complexity and artistry to our time-lapse.
Yet, the secret lies in not overcomplicating the visuals.
We aim for a balance – where the edit enhances the story but doesn’t overshadow the natural beauty captured in our footage.
Our editing philosophy is to complement nature’s spectacle, not compete with it.
Adding Music And Effects
Our choice of music significantly shapes the mood and rhythm of our time-lapse videos.
Soundtracks can either complement the visual feast or clash with the imagery.
We prefer sourcing music from royalty-free music libraries to ensure we have the proper licensing – options like PremiumBeat or AudioJungle provide a plethora of genres to choose from.
Selecting the right track involves aligning the pace and mood of the music with the visual flow and the story we’re trying to convey.
Sound effects have their own crucial role to play.
While our visuals tell the story, sound effects can enhance the viewers’ sensory experience.
Adding natural sounds like birds chirping or city noise can add a realistic layer to our footage, making it more immersive.
We make sure these effects are subtle and not overpowering – they’re not meant to take center stage but to complement it.
The synchronization of music and visual elements is essential in creating a profound impact.
Here are some tips to ensure a harmonious blend:
- Timing key points in the music with shifts in the video can emphasize important moments.
- Keeping an ear out for the rhythm helps us align our cuts and transitions smoothly with the beat.
Layering multiple audio tracks might be necessary for a rich sound design.
Ambient sounds mixed with a musical score can help build an atmosphere that captures the essence of the time-lapse.
We layer tracks carefully, paying close attention to volume levels so one does not drown out the other.
Using audio software like Audacity or Adobe Audition enables precise editing of sound levels and effects.
This step is where we fine-tune our audio to perfection, ensuring it supports our footage without distracting from it.
Sound editing can be as intricate as the visual editing process – both require an attentive and creative approach to achieve the best results.
Exporting And Sharing The Final Video
Once we’ve fine-tuned the audio and visual elements of our time-lapse video, it’s time to export the final product.
Exporting is a critical step where the format and quality we choose can significantly affect the playback on various devices.
We must ensure that our export settings are aligned with our distribution plan.
For instance, 4K offers stunning detail but requires more storage and has a longer upload time, whereas 1080p is widely compatible and quicker to share.
We typically recommend using H.
264 compression for a balance of quality and file size.
When it comes to exporting, the following settings are key to maintaining high quality while also ensuring that the video is shareable:
- Bitrate encoding – higher for better quality, balanced with final file size,
- Resolution – match with your source footage or the intended display medium,
- Frame rate – typically the same as the source to maintain the same temporal effect.
Sharing our time-lapse video requires a strategy that resonates with our intended audience.
Platforms like Vimeo offer high-quality streaming for a more cinematic experience, which is perfect when artistic quality is the priority.
YouTube, on the other hand, provides a broader reach but compresses videos more, which can sometimes reduce the quality.
also, social media platforms can be ideal for short clips that tease the full time-lapse, capturing quick attention and directing viewers to the full video.
Assessing the best platform also involves considering the ease of access for our audience along with the potential for engagement and sharing.
We should think about where our target viewers are most active and how the video’s resolution and length will fit the platform’s limitations.
It’s not just about creating fantastic content; it’s also about making sure it’s seen and appreciated by as many people as possible.
An understanding of our audience’s preferences informs our sharing strategy and plays a crucial role in the video’s success.
How To Make A Time Lapse Video – Wrap Up
We’ve walked through the steps to create a stunning time-lapse video that’s sure to captivate your audience.
Remember, it’s not just about capturing the footage but also about presenting it in the best possible light.
By carefully selecting your export settings and tailoring your sharing strategy, you’ll ensure your time-lapse stands out.
Whether you’re aiming for cinematic flair or wide appeal, the effort you put into the final touches will make all the difference.
Now it’s time to set your sights on your next project, armed with the knowledge that you can bring dynamic perspectives to life through the power of time-lapse videography.
Let’s keep pushing the boundaries of creativity together!
Frequently Asked Questions
What Is The Ideal Resolution For Exporting Time-lapse Videos?
For most platforms, 1080p is a good standard for high-quality time-lapse videos.
However, if you’re targeting a more cinematic feel or want to future-proof your content, 4K resolution is an excellent choice.
How Does Bitrate Encoding Affect Time-lapse Video Quality?
Bitrate encoding determines the amount of data used to encode a second of video, directly impacting quality and file size.
A higher bitrate typically means better quality but larger file sizes, so balance is key to ensure quality without unnecessarily large files.
What Frame Rate Should I Use For My Time-lapse Video?
The frame rate for time-lapse videos should generally be 24 to 30 frames per second (fps).
This range ensures smooth playback on most devices and platforms while providing a cinematic look.
Where Is The Best Place To Share My Time-lapse Video?
The best place to share your time-lapse video depends on your audience.
Vimeo is great for a more professional, cinematic audience, while YouTube has a broader reach for general viewership.
Consider your target audience’s preferences when choosing a platform.
How Can I Make Sure My Time-lapse Video Reaches My Intended Audience?
To ensure your time-lapse video reaches your intended audience, develop a sharing strategy that includes using keywords, writing engaging descriptions, and promoting your video on social media and relevant online communities.
Understanding viewer preferences and platform algorithms can also help in maximizing visibility and engagement.