
Underexposure leaves us with darker images than we might like, so what exactly is underexposed photography?
In the simplest terms, underexposed photography is when the shutter speed is too slow, or the aperture is too small – allowing less light to reach the sensor.
Why does this happen? It could be because you’re using a high ISO number which amplifies any light available.
It could be because you’re using a slow shutter speed which allows less light to enter your camera. It could be because you’re shooting at night and there simply isn’t enough light.
It could be because you have an older camera and a small sensor, meaning your images are likely to look darker anyway.
Finally, it could just be that you failed to anticipate how much light would actually be available in a given situation.
For example, when shooting indoors on overcast days.
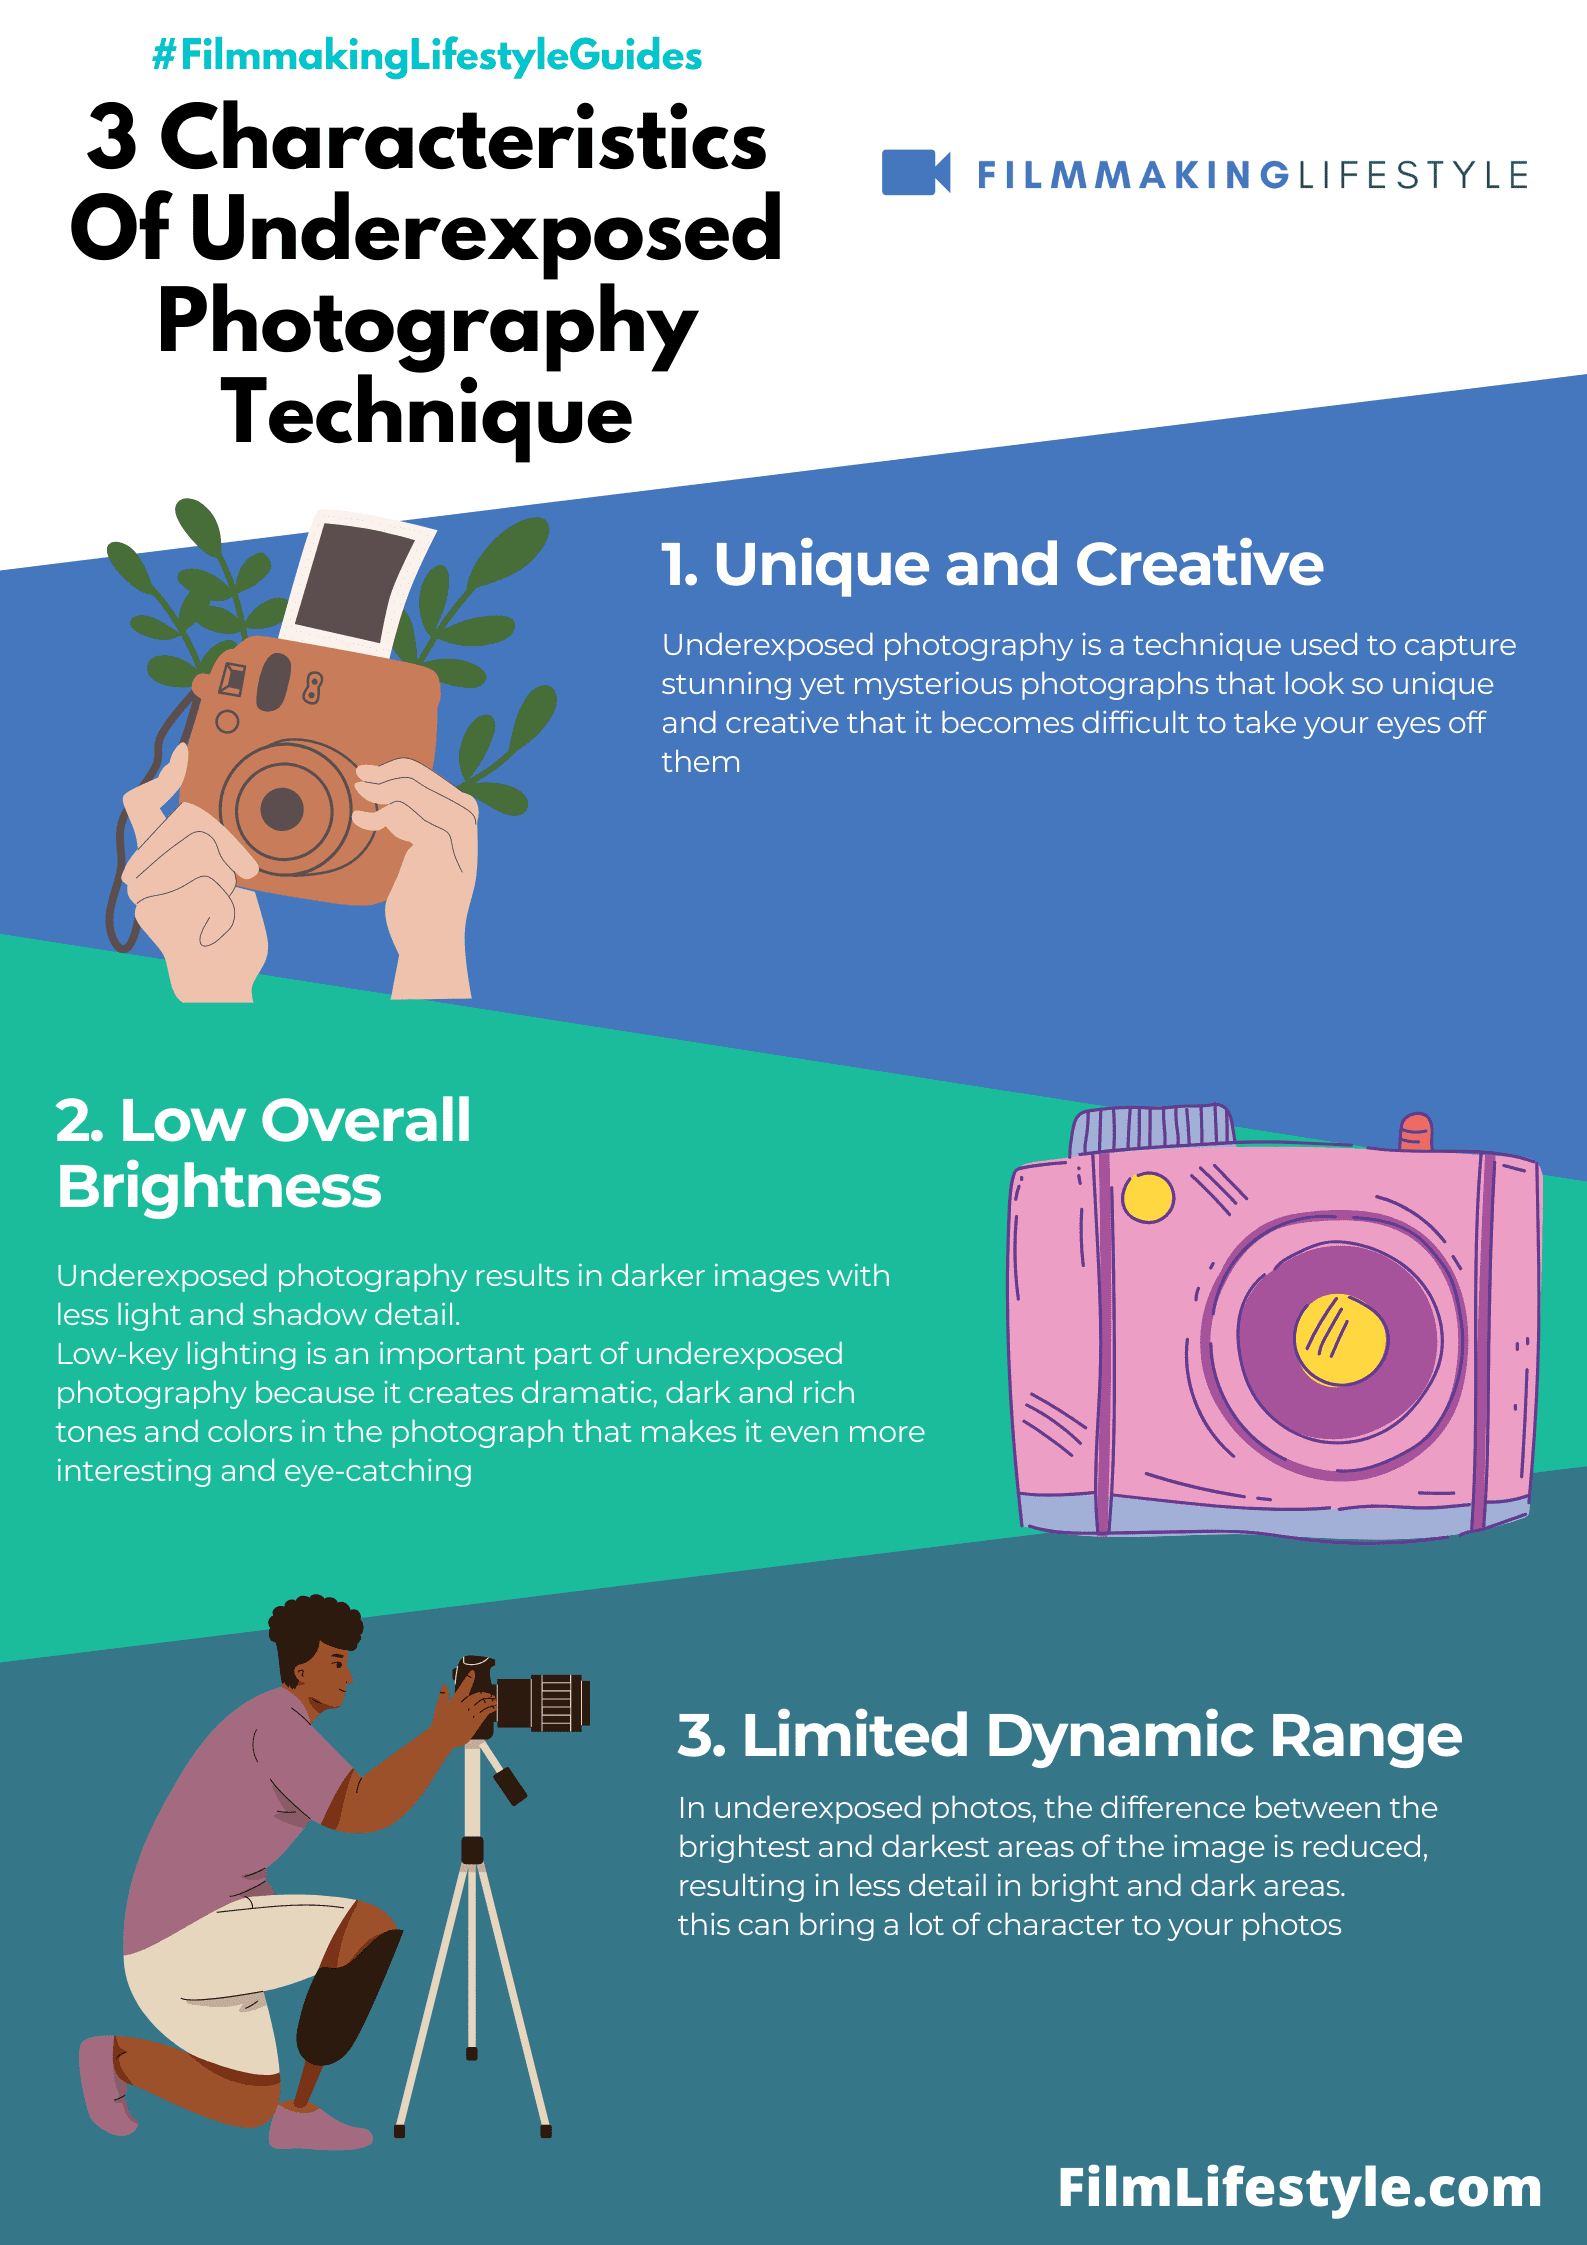
underexposed photography technique
What Is underexposed photography?
The term underexposed photography refers to any photo that is lacking in light. In a digital photograph, this is usually due to the camera’s sensor not gathering enough light to produce a properly exposed image.
Underexposed images are also sometimes referred to as dark or low key photos.
Underexposed photos are often associated with darker scenes, but this isn’t always the case. A brightly lit scene can be underexposed if the camera’s settings aren’t adjusted properly.
Underexposure can be corrected in post-processing, but it’s best to avoid it by adjusting your camera’s settings manually instead of relying on automatic exposure modes.
However, underexposure can also be a creative photography technique.

Underexposed photography isn’t just a mistake—it’s an artistic choice.
It’s a technique that intentionally darkens an image to evoke mood, highlight details, or tell a story in a way that fully lit photos can’t.
We’ll explore how mastering underexposure can add depth and drama to your images, turning what many see as a technical error into a powerful tool for visual storytelling.
Stay tuned as we jump into the nuances of this compelling photographic approach, showing you how to harness shadows and contrast to create truly captivating shots.
What Is Underexposed Photography?
Underexposed photography occurs when an image has not been exposed to enough light.
As a result, it appears darker than what the human eye would normally perceive.
This effect is not always unintentional; when applied deliberately, it can enhance the visual storytelling of a photograph.
We often see this technique adding a sense of mystery or drama to an image.
By manipulating light and shadow, photographers can direct the viewer’s focus to specific areas or convey a particular emotion.
Our role as creators imbues us with the responsibility to guide our audience through a visual journey, and underexposure is one of the tools at our disposal.
This approach to photography must be executed with precision – too little light and the desired effect is lost to obscurity.
We aim for a balance that allows the subject to emerge subtly from shadows.
Key elements to consider when practicing underexposed photography include:
- Scene Selection: Natural scenes with inherent contrast work well.
- Subject Matter: Identifying a compelling subject that can stand out even in reduced lighting is crucial.
- Camera Settings: Mastery of ISO, shutter speed, and aperture is vital to achieving the right level of underexposure.
Embracing the Underexposed Technique can inspire a unique aesthetic in your creative portfolio.
Mastering the nuances of exposure settings equips us to craft images that resonate with emotional depth and visual impact.
We find that playing with underexposure challenges us to explore the boundaries of light and composition, eventually leading to a more refined artistic expression.
Importance Of Underexposed Photography
When we jump into the art of photography, underexposed photography emerges as a critical technique for producing images with compelling atmospheres.
Its importance lies in the narrative potency – a single underexposed shot can convey a spectrum of emotions, from melancholy to suspense.
By mastering this technique, we ensure our visuals are not just seen, but felt.
Underexposure isn’t about haphazardly capturing dark frames; it’s about control and intentionality.
We use it to sculpt light in a way that accents the core message of our photographs.
Here are some reasons why underexposure is vitally important:
- Highlighting Texture and Form – Underexposure can enhance the raw textures and strength of forms within a composition, drawing the viewer’s attention to areas that might go unnoticed in a well-lit shot.
- Creating Mood and Ambiance – It allows us to set a particular mood, whether it’s the haunting eeriness of a barely-lit alley or the quiet repose of a dimly-lit room.
- Emphasizing Mystery and Intrigue – Shadows envelop scenes in mystery, compelling viewers to lean in and explore the nuances of our images.
Underexposed photography is not devoid of technical challenges, but therein lies its value.

It’s a deliberate departure from the comfort zone of standard exposure, asking us to engage deeply with the elements of light and shadow.
Whether conveying the brooding heaviness of a storm cloud or the delicate structure of a silhouetted leaf, the beauty of underexposure is its capacity to infuse imagery with a palpable sense of depth.
As we integrate underexposure into our creative workflow, we find it offers a distinct aesthetic that differentiates our work.
It’s a choice that not only elevates our photographic practice but also encourages a thoughtful consideration of the stories we aim to tell through our lenses.
By embracing the subtleties of underexposure, we craft a visual language all our own.
Techniques For Achieving Underexposure
Achieving underexposure in a photograph is an art form, one that requires us to master the manipulation of camera settings and understand the interplay of light and shadow.
Firstly, let’s jump into the essentials of camera control – the exposure triangle.
It consists of:
- ISO: Lower ISO values result in a darker image.
- Aperture: A smaller aperture allows less light to reach the sensor.
- Shutter Speed: Faster shutter speeds mean less light exposure.
Each element of this triangle must be balanced to sculpt an underexposed image intentionally.
Reducing ISO is often our first step towards underexposure, as it diminishes digital noise and maintains image quality.
But, there’s more to underexposure than just tweaking numbers.
It’s about envisioning the final image and then using our tools to create that vision.
The correct use of natural lighting or selective shade can Help underexposure without sacrificing detail.
Positioning our subject against a bright background, like the sky or a lit window, can achieve a silhouette effect – enhancing the feeling of mystery in our images.
We mustn’t overlook post-processing applications.
Programs like Lightroom and
They offer control over the degree of underexposure, allowing us to bring out textures and forms in post-production without altering the originally captured emotion.
Knowledge of these techniques enriches our creative toolkit.
Practice with intent, understanding why we underexpose certain elements, strengthens our ability to craft captivating photographs.
With these tools at hand, the possibilities are as vast as our imagination.
The Role Of Shadows And Contrast
Underexposed photography isn’t just about dim images.
Shadows play a crucial role in defining the mood and depth of a photograph.
By embracing the darker elements, we invite viewers to focus on areas often overlooked when an image is evenly lit.
Contrast, the disparity between light and dark, underpins the emotional tone in our imagery.
In The Girl with a Pearl Earring, Johannes Vermeer masterfully uses shadow to sculpt the subject’s face, creating an enigmatic allure.
This interplay between light and shadow gives life to textures and contours, emphasizing what might otherwise remain hidden.
- Underexposure deepens shadows,
- Enhanced contrast emphasizes texture.
By thoughtfully balancing the dark and light, we forge a visual narrative that’s as compelling as any vividly colored canvas.
Let’s explore how strategic underexposure can accentuate contrast and invoke stronger reactions from our audience.
In cinematography, think of the deep, rich scenes in The Godfather, where shadow and contrast are not mere backdrops but characters themselves.
In a world where stark clarity often prevails, opting for shadowed nuance introduces a layer of mystery and storytelling.
Through this technique, everyday scenes are transformed, and subjects emerge with a newfound gravitas.
Photographs like these provoke a potent dialogue between the image and the viewer, where the unseen is just as significant as what’s revealed.
Using Underexposed Photography For Mood And Storytelling
Underexposed photography isn’t just about the technical aspects of managing light, it’s about harnessing shadows to sculpt mood and atmosphere in images.
We often see this technique in genres where tension and introspection are key.
Think of film noir classics like The Maltese Falcon; the dark, shadowy scenes add layers of ambiguity and suspense.
There’s no denying that lighting sets the tone of an image.
When we talk about the storytelling capability of photography, the conversation often centers around how underexposure can manipulate emotion:
- Mood reinforcement – using darker tones to underscore the seriousness or solemnity of a scene,
- Focus manipulation – drawing the eye to specific points of interest by cloaking the rest in relative darkness,
- Emotional depth – creating a sense of mystery or unease that encourages viewers to linger and search for more within the photo.
By fine-tuning the balance between the available light and the camera settings, we create a dance of visibility and obscurity.
Underexposure is our silent narrative tool, allowing us to guide viewers through a crafted visual story, leading them to moments of profound understanding or leaving them tantalizingly at the brink of countless interpretations.
We play with these elements, not just to display a subject, but to convey a message, evoke feelings, and connect with our audience on a deeper level.
Through mastery of the underexposed technique, every photograph is a chance to tell a story, influence emotions, and craft a conversation without words.
Examples Of Underexposed Photography
Underexposed photography often conveys a mood that can’t be captured with standard exposure settings.
Classic examples include the dramatic silhouettes that leverage the minimal light to outline subjects.
In The Godfather, underexposure creates an iconic aesthetic that amplifies the drama and intensity of the film’s narrative.
Images that embrace shadows illustrate underexposure’s power to add mystery and depth.
Renowned photographers like Annie Leibovitz often Use underexposure to draw attention to specific elements, allowing the rest to fade into darkness.
In Vanity Fair spreads, the subtle details emerge through the shadows, compelling the reader to jump deeper into the photograph.
The deliberate choice to underexpose can transform the mundane into the extraordinary.
Our experience with photography has shown us that:
- Playing with low key lighting emphasizes emotion,
- Allowing areas to fall into shadow can focus the viewer’s eye,
- Underexposure can evoke nostalgia through its subdued tones.
Timeless black and white photos are a testament to underexposure’s ability to strip away the distractions of color and highlight the raw essence of a subject.
In Schindler’s List, Steven Spielberg uses underexposure effectively to convey a haunting absence, deeply resonating with the audience.
Moments captured just before sunrise or after sunset, often referred to as the “blue hour”, are prime opportunities for underexposed photography.
Here, the natural light provides a cool, ethereal quality that can create an atmosphere of calm and introspection.
Outdoor photographers capitalize on this time for its unique lighting conditions.
What Is The Underexposed Photography Technique – Wrap Up
We’ve delved into the art of underexposed photography and its potential to infuse images with mood, depth, and mystery.
By mastering the exposure triangle and embracing the interplay of light and shadow, we can transform ordinary scenes into visually stunning narratives.
Whether it’s through the use of natural light during the blue hour or the strategic application of post-processing tools, underexposure remains a powerful technique in our photographic arsenal.
Let’s continue to explore and practice this technique, pushing the boundaries of our creativity to see the world through a different lens.
Frequently Asked Questions
What Is Underexposure In Photography?
Underexposure occurs when a photo has less light than required, making it darker than usual.
This effect highlights shadows, contrast, and can evoke certain moods in an image.
How Can You Intentionally Underexpose An Image?
To intentionally underexpose an image, you can adjust the camera settings for the ISO, aperture, and shutter speed.
Lowering the ISO, using a smaller aperture, or a faster shutter speed can contribute to underexposure.
What Role Does The Exposure Triangle Play In Underexposure?
The exposure triangle consists of ISO, aperture, and shutter speed.
Balancing these elements helps you control the amount of light reaching the camera’s sensor, thus allowing for underexposure techniques.
Can Underexposure Be Achieved With Natural Light?
Yes, underexposure can be achieved with natural light by positioning subjects in shaded areas or shooting during times with less light, such as the “blue hour.
“
What Tools Can Enhance Underexposed Photographs In Post-processing?
Tools like Adobe Lightroom and
Why Might A Photographer Choose To Underexpose A Photo?
A photographer might underexpose a photo to create mood, depth, and mystery, or to focus the viewer’s attention on specific areas while embracing the beauty of shadows and darkness.
What Is The “blue Hour” In Photography?
The “blue hour” refers to the period just before sunrise or after sunset, where the sky has a deep blue hue and the light is soft and diffused, ideal for underexposed photography.