So you know that green screen can add some extra value to your production, but you don’t know how to make a green screen?
In this article, we’ll take a look at how to make a green screen, and walk you through some options to create a green screen affordably.
Do you want to start your own video production company but don’t have the money for green screens? There are affordable solutions available!
These screens are perfect for creating backgrounds in your studio or on location to set the mood and scene without having to spend thousands of dollars on an expensive backdrop.
HOW TO MAKE A GREEN SCREEN
What Is Green Screen?
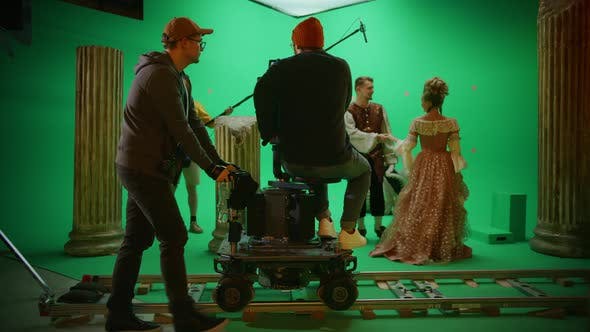
A green screen is used in film and video production to create the illusion that an actor or object is standing in front of a different background, such as a blue sky.
A green-screen works by having the subject stand on a specially designed platform while holding two pieces of PVC piping attached to either end of what looks like an old-fashioned TV antenna.
The camera films them from behind, recording their movements while they hold onto the pipes.
If you were to film someone with this setup against any surface – be it paper, fabric, or wood – then you can digitally remove all other surfaces around them and replace them with your own design.
Ever wondered how filmmakers pull off those incredible visual effects that transport characters to alien worlds or bustling cityscapes?
It’s all thanks to the magic of green screens.
We’re diving into the nitty-gritty of creating your own green screen setup, ensuring you’re equipped to add some Hollywood flair to your next project.

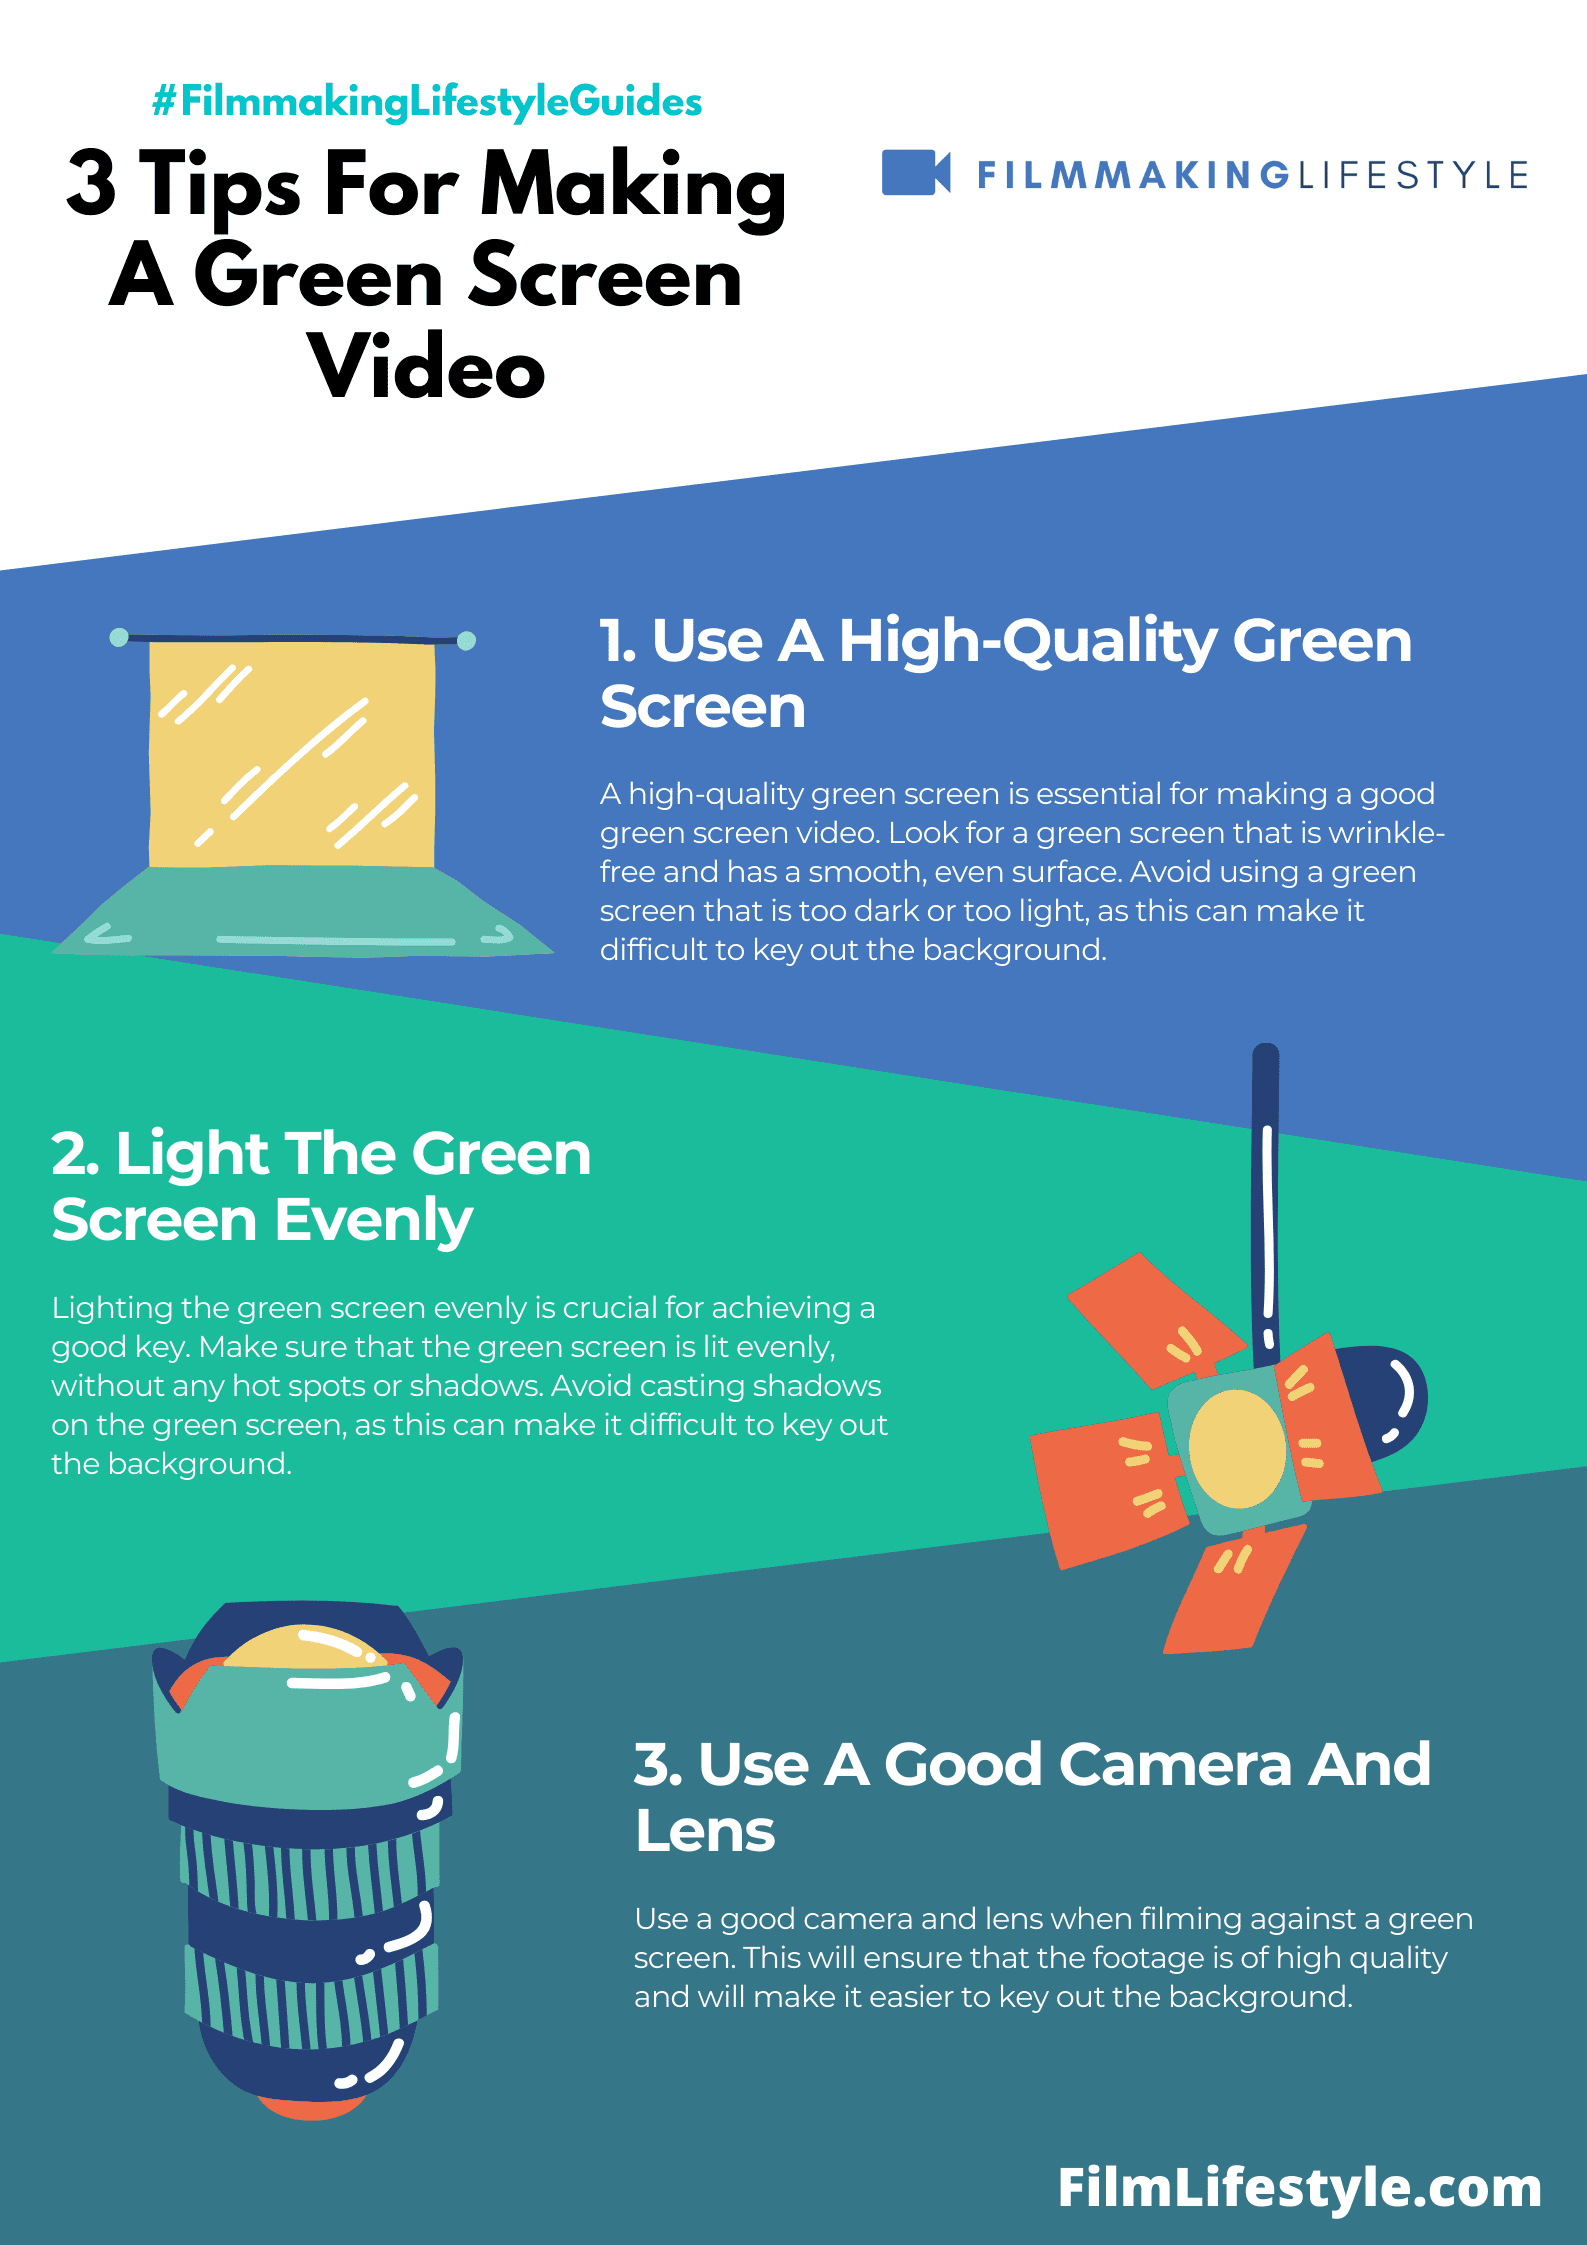
Choosing The Right Screen
When diving into the realm of visual effects, selecting the right green screen is critical.
The color must be highly saturated and distinct from clothing or props.
The material of the screen greatly influences the final result.
Fabrics like polyester or muslin offer a wrinkle-resistant surface, ideal for a smooth key.
Size matters depending on the scope of your filming project.
A larger screen accommodates wide shots and dynamic movement.
Lighting is integral to achieving an even chroma key.
We recommend avoiding reflective materials to prevent light spill and ensure an optimal effect.
Portability can be a deciding factor for filmmakers on the move.
Collapsible and lightweight screens promise ease of setup and transportation.
We’ve observed that certain shades of green work better under specific lighting conditions.
Test swatches can help determine the best hue for your setup.
Here are a few points to remember when making your choice:
- A uniform color that’s not present on actors or props,
- A material that minimizes shadows and wrinkles,
- Appropriate size for the types of shots you plan to film,
- Non-reflective surface for even lighting,
- Easy to transport and quick to set up if required.
Paying attention to these details ensures your green screen elevates the production value of your next film.
With the right screen in hand, the only limit is your imagination.
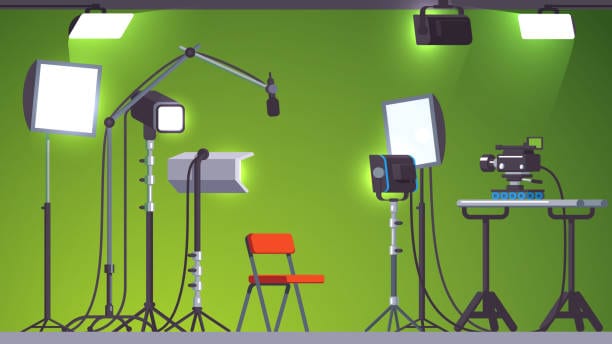
Setting Up The Screen
Once you’ve selected the ideal green screen based on color saturation, material, and size, it’s time to set it up properly.
We’re aiming for a seamless chroma key effect, which requires meticulous attention to detail during setup.
The first step is finding a location that offers enough space and controlled lighting conditions.
Ideally, this should be indoors where natural light can’t interfere with your lighting setup.
Next, position your green screen ensuring it’s taut and wrinkle-free – any folds can cause shadows, making keying out the background more difficult.
Now let’s talk about lighting:
- Place lights evenly around your green screen to cast a uniform glow – Use softbox lights or diffusers to avoid harsh shadows – Keep the screen well-lit but remove any direct light that may cause reflection.
Remember that the goal is to have the screen evenly lit, with a consistent shade of green that digital software can easily recognize and replace.
This lighting setup may take a few adjustments, but it’s crucial for the post-production process to go smoothly.
Finally, consider the distance between your subject and the green screen.

We recommend a separation of at least six feet to avoid any green spill – where the green color casts onto your subject, causing issues during keying.
When experimenting with these aspects, it’s essential to take test shots.
This practice can reveal any potential problems with your setup before you commit to filming.
Once you’re satisfied with the test results, you’re ready to start production confident in the knowledge that your green screen is set up for success.
Lighting Considerations
Proper lighting is essential to green screen success.
It’s the key to avoiding shadows and ensuring an even color for chroma keying.
Diffused lighting helps to create a smooth, consistent effect.
Softbox lights are ideal as they reduce harshness and spread light evenly.
Keep the light sources symmetrical.
This approach maintains a balanced illumination and prevents uneven green hues on your green screen.
Distance is just as significant as the lighting setup itself.
We’re aiming for a sweet spot where lights are neither too close nor too far from the screen.
Here’s what we consider:
- Ensure there’s no direct light on the green screen – it causes reflection,
- Position lights at the screen’s edges for an even wash,
- Use flags or gobos to manage spill onto other areas of the set.
The subject should be lit separately.
We’ve found this to be non-negotiable for crisp edges and to reduce green spill on the subject.
Color temperature consistency is
Mixed temperatures can lead to post-production headaches, so stick to one type of bulb.
Let’s not forget the importance of testing.
We always do a few test shots, checking the lighting on both our subject and the green screen through the camera.
Adjust as necessary.
The camera doesn’t lie, and even what may appear as subtle shadows to our eyes can be problematic in post.
Selecting The Right Software
Once we’ve perfected our green screen setup with ideal lighting and a smooth, well-lit background, it’s time to focus on the next crucial component – selecting the right software.
The choice of software can make or break your green screen effect, playing an integral role in the post-production phase.
Professional-grade software typically offers a wide range of features designed specifically for keying, tracking, and compositing.
Some of the top choices in the industry include Adobe
These programs come equipped with robust keying tools that allow for precise edge detail and minimal spill.
Free and open-source options are available as well, such as HitFilm Express and Lightworks.
These can be great for beginners or those on a tight budget.
Though they might not have all the high-end features, they do deliver adequate results for basic green screen projects.
For a successful key, the following points need to be considered:
- Chroma key quality,
- Spill suppression tools,
- Edge refinement capabilities,
- Ease of use for beginners.
It’s essential that the software aligns with our project’s complexity and our team’s skill level.
While Adobe
Davinci Resolve strikes a balance with its comprehensive color grading suite.
We should also keep an eye on software updates and community forums.
They’re invaluable resources for learning new techniques and staying up-to-date with the latest advancements in green screen technology.
Forums often feature user experiences and creative solutions to common problems that we might encounter during our editing process.
Tips For Filming On A Green Screen
When filming with a green screen, wardrobe matters.
Actors should avoid wearing colors that are close to the hue of the green screen, as these could be keyed out along with the background.
Proper camera settings are crucial.
We need to ensure the aperture, shutter speed, and ISO are adjusted to avoid overexposing or underexposing the green screen.
We can’t stress enough the importance of cleaning the green screen before filming.
Any wrinkles, dust, or stains could cause shadows that disrupt the keying process.
It’s also beneficial to maintain a reasonable distance between the subject and the green screen.
This helps in minimizing green spill, which occurs when the green color reflects onto the subject.
Pay attention to the green screen’s edges.
We must ensure that they are well within the frame to avoid cropping issues in post-production.
When filming, we often adhere to the following best practices:
- Use markers for tracking motion if the shot requires it,
- Lock down the camera to reduce motion blur which can affect keying,
- Employ flat lighting across the green screen to prevent shadows.
Software plays a significant role, so it’s important that we choose one that compliments our skillset and the project requirements.
Whether it’s Adobe
Remember, it’s all about creating the illusion of a seamless environment.
By following these tips, we lay the groundwork for a successful green screen shoot that brings our creative visions to life.
How To Make A Green Screen – Wrap Up
We’ve equipped you with the tools and knowledge to create a professional green screen setup.
Remember, the key to success lies in meticulous attention to lighting, software selection, and filming techniques.
By following our guidance, you’ll achieve that seamless chroma key effect that’ll elevate your projects.
Don’t forget to experiment and refine your approach as you go – it’s the best way to learn and grow in the dynamic world of green screen effects.
Stay creative and keep pushing the boundaries of what you can achieve with the magic of green screen technology!
Frequently Asked Questions
What Type Of Lighting Is Recommended For Green Screen Use?
Softbox lights that provide diffused lighting are recommended to create a smooth and consistent effect on a green screen.
How Can You Avoid Uneven Green Hues On The Green Screen?
Avoid uneven green hues by ensuring symmetrical lighting placement when illuminating the green screen.
Why Should The Subject Be Lit Separately From The Green Screen?
The subject should be lit separately to ensure crisp edges and to reduce green spill, which contributes to a cleaner key in post-production.
How Does The Distance Between The Lights And The Green Screen Affect The Final Result?
The distance between the lights and the green screen affects the result by preventing reflections and ensuring an even spread of light, reducing the chance of hotspots on the screen.
What Should Be Considered When Choosing Software For Green Screen Effects?
Consider chroma key quality, spill suppression tools, edge refinement capabilities, and ease of use.
Also, align the software with the project’s complexity and the team’s skill level.
Why Is It Important To Stay Updated With Software Updates In Green Screen Technology?
Staying updated with software updates allows you to benefit from improved features and learn new techniques and creative solutions from community forums.
What Wardrobe Choices Are Important When Filming With A Green Screen?
Choose wardrobe colors that do not closely match the green screen to avoid keying out parts of the clothing, and stay away from reflective materials.
What Camera Settings Are Crucial For Filming On A Green Screen?
Use camera settings that avoid motion blur and provide a deep enough depth of field to keep the subject in focus while maintaining a sharp edge for easier keying.
Why Is It Important To Keep The Green Screen Clean And Avoid Shadows?
Keeping the green screen clean and avoiding shadows ensures a consistent color for keying out and prevents any spots or shadows from complicating the post-production process.