
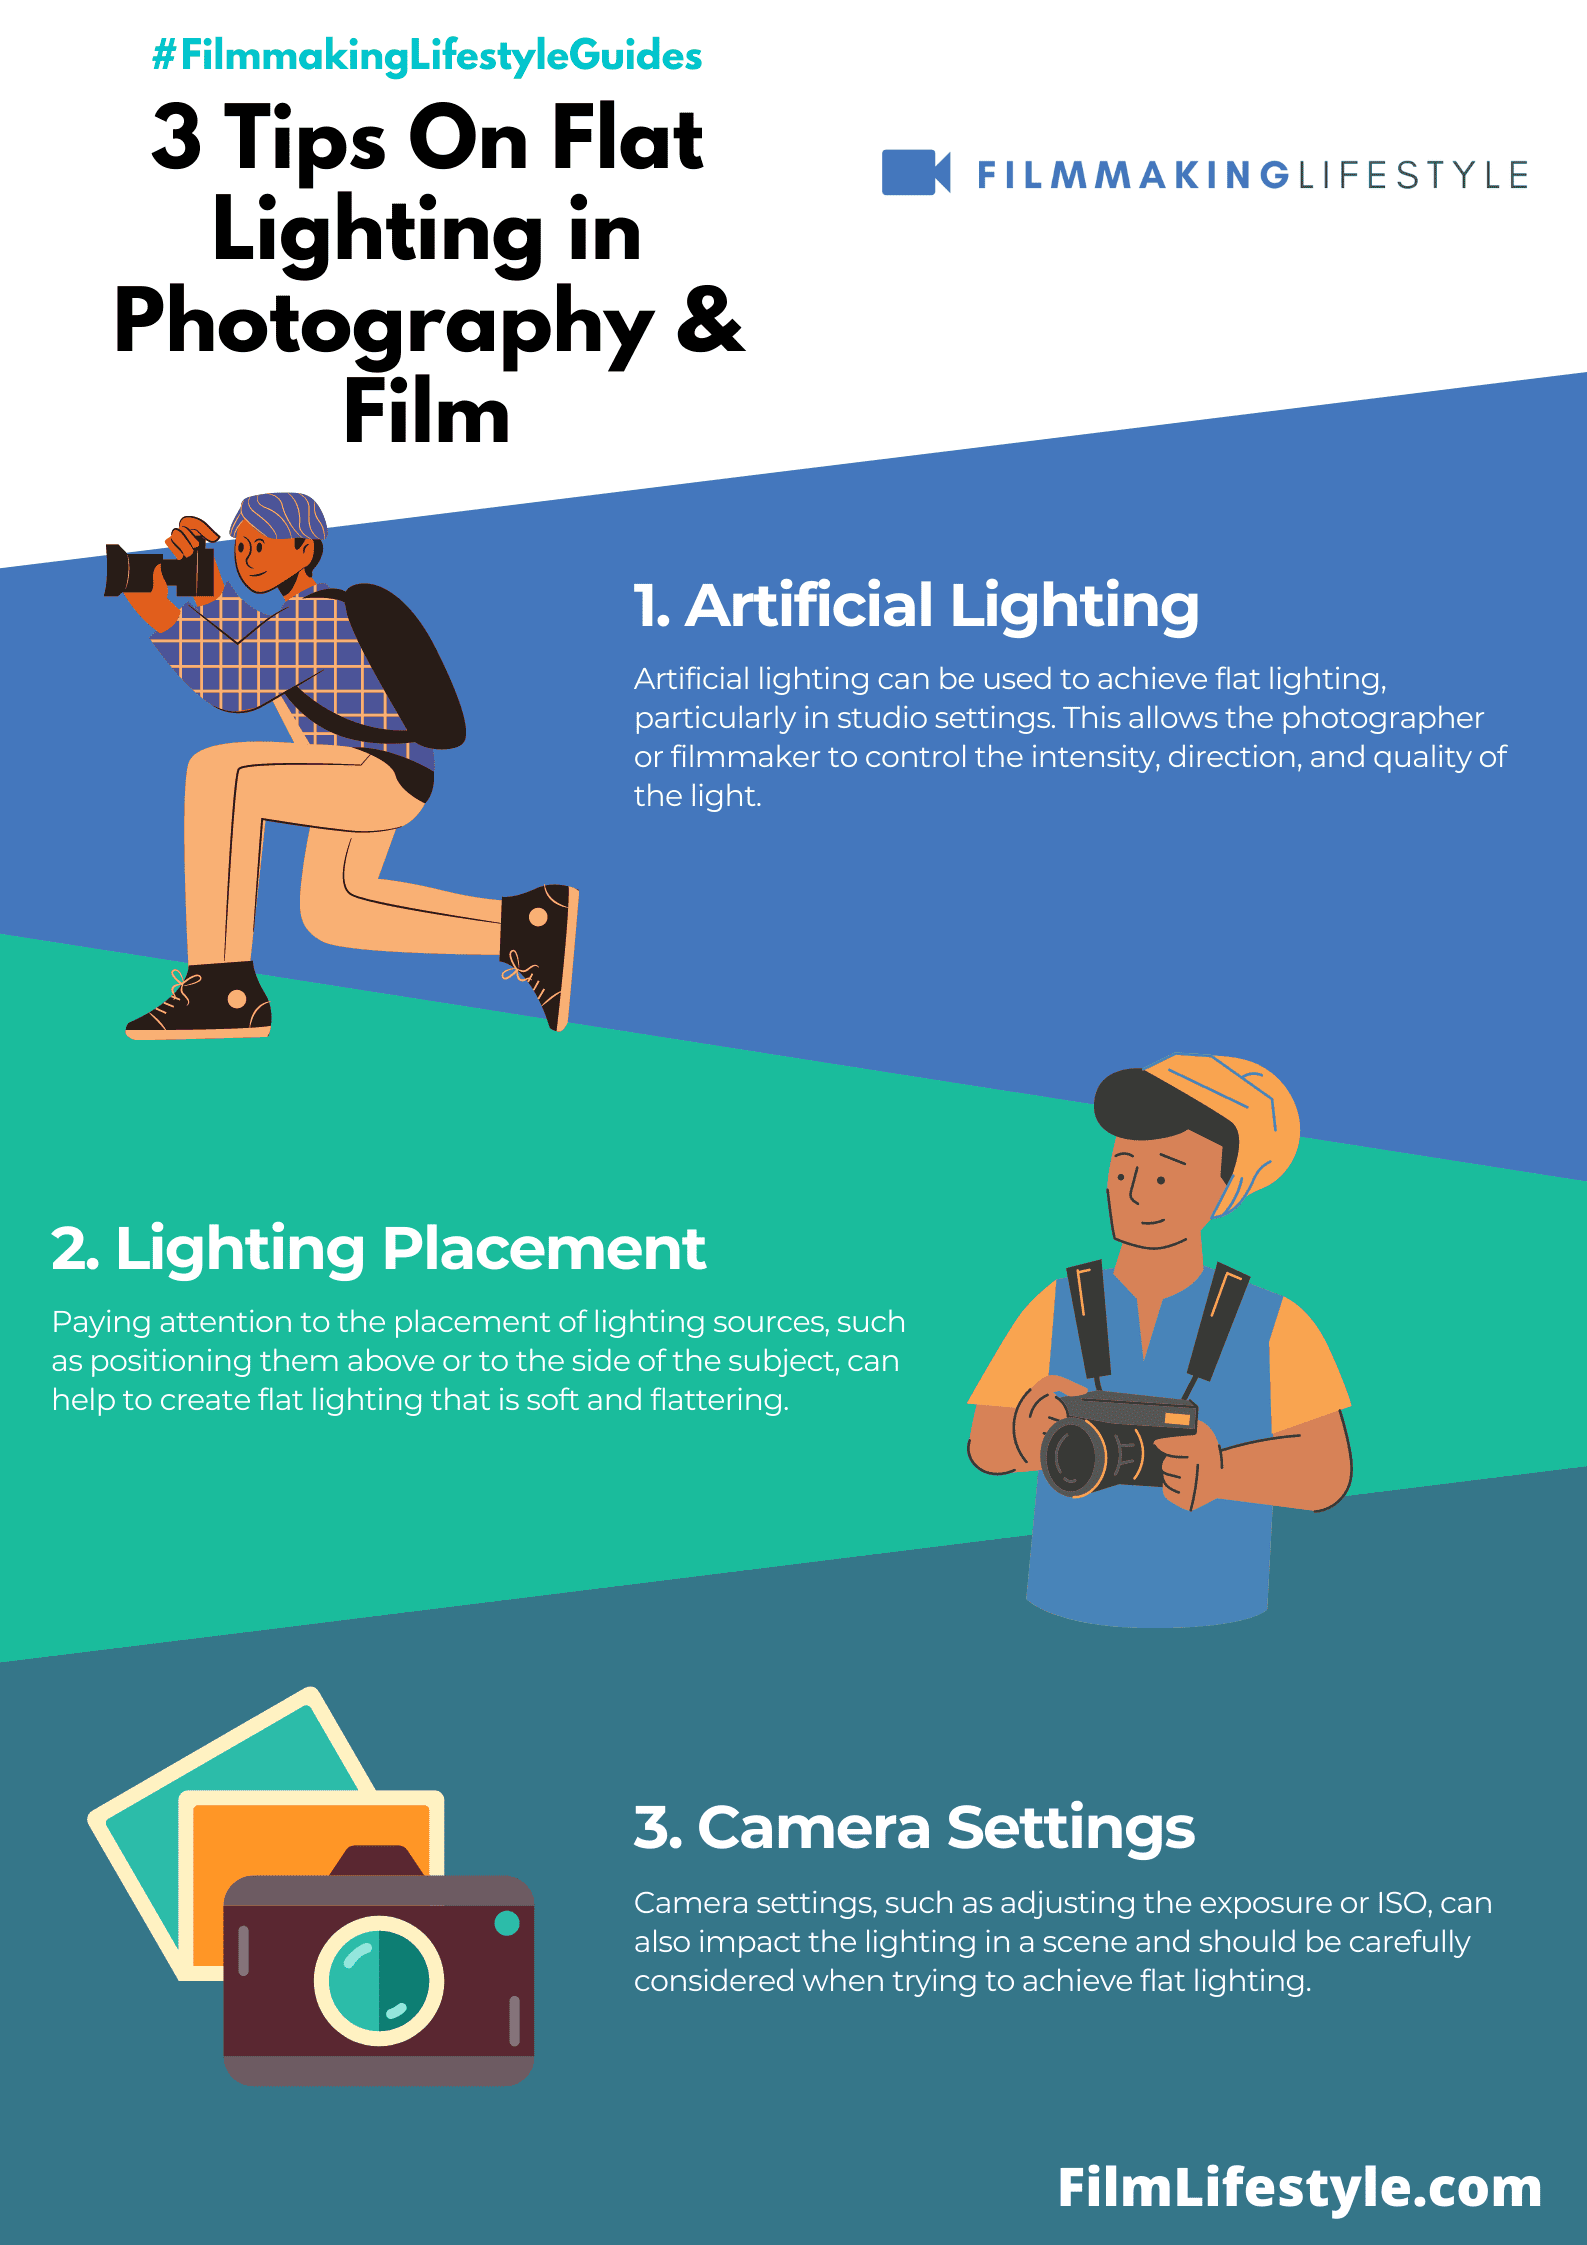
Flat lighting is a term that is widely used in the world of photography. It refers to the use of one light source, or a limited number of light sources, to create a flat image.
Flat lighting can be created using one light and no fill light at all or by using multiple lights and creating a strong contrast between them.
Flat lighting is often used when shooting portraits. The use of flat lighting gives an image an overall soft look and makes it ideal for showcasing the subject’s face and eyes.
In addition, it can help create an ethereal feel by making the model seem as though they are floating above the ground.
What Is Flat LightingWhat Is Flat Lighting
What Are What Is Flat Lighting
Flat lighting is a type of lighting that uses a single light source to illuminate the scene. The light source can be a point light or an area light, and it can be positioned anywhere in the scene.
Flat lighting is often used in computer graphics to simulate natural sunlight. A flat lit scene has a uniform distribution of light across each pixel in the image, so there’s no variation in luminance across the image. This makes it easier to render realistic looking images using computer graphics.
In the world of photography and videography, flat lighting is a technique that can either be your best friend or a creative challenge.
It’s a style that eliminates shadows, reduces contrast, and can produce a clean, minimalist aesthetic.
We’ll jump into the nuances of flat lighting, exploring how it’s used and why it’s a go-to for certain visual narratives.
Stick with us as we unpack the secrets of achieving that perfectly even illumination that can make your subjects pop without the drama of deep shadows or high contrast.
What Is Flat Lighting?
Flat lighting has become a staple in both the worlds of photography and filmmaking, often distinguished by its soft, direct light that minimizes shadows on the subject’s face.

It showcases the subject evenly, illuminating features without casting harsh shadows or bright spots that could be visually distracting.
This lighting method is achieved by positioning the light source directly in front of the subject.
The light is often diffused, meaning it’s spread out widely, to soften any potential shadows and create that desired uniform look.
For filmmakers and photographers alike, mastering flat lighting is crucial as it can be used to:
- Ensure clarity in product shots,
- Highlight details in portrait sessions,
- Establish a clean and professional look in interview settings.
In filmmaking, flat lighting can serve specific storytelling purposes as it may reveal more of the subject’s features, So inviting the audience to view the character in a straightforward and transparent way.
Films like Her and Frances Ha Use flat lighting to create a more intimate, almost confessional visual style, which results in a greater focus on the characters and their stories.
also, flat lighting is praised for its versatility across different genres and formats.
Its simplicity can aid in creating a neutral canvas, from which filmmakers and photographers can build upon, depending on the narrative or aesthetic needs of the project.
Whether it’s through documentaries or high-end fashion films, flat lighting provides a consistent, foundational look that can be customized with additional lighting techniques and angles.
The Benefits Of Flat Lighting
Flat lighting is a filmmaker’s tool that affords several advantages in both pre-production and post-production stages.
One of the foremost benefits is the ability to reduce unwanted shadows on the subject’s face, ensuring actors look their best.
With flat lighting, there’s less need for intricate makeup to hide imperfections.
This not only saves time on set but also makes the post-production work smoother as there’s less need for touch-ups and color correction.
When we apply flat lighting, we see a notable reduction in harsh contrasts.
This lessens the need for expensive dynamic range capabilities in our cameras, thereby potentially reducing production costs.
also, flat lighting provides us with a blank canvas.
We can add depth and drama with additional lighting setups as needed, making it a highly flexible option for various cinematographic styles.
Let’s consider some key advantages:
- Simplifies the coloring process during editing,
- Ensures a uniform look that is crucial for continuity,
- Accentuates colors without creating distracting shadows,
- Ideal for shooting in controlled environments like studios where consistent output is key.
Finally, flat lighting is forgiving for less experienced cinematographers.
It’s an excellent starting point for learners to understand the impact of lighting without the complications of more advanced setups.
The Challenges Of Flat Lighting
As versatile as flat lighting may be, it’s not without its challenges.
Filmmakers, in particular, might find that the very features that make flat lighting so appealing can sometimes be a drawback.
One such challenge is the lack of depth.

Flat lighting tends to diminish the visual cues that convey a three-dimensional space, potentially leaving scenes to appear less dynamic.
Without shadows and highlights, characters and settings can look two-dimensional, reducing the overall cinematic impact.
also, flat lighting can sometimes dilute emotional intensity.
In genres where mood and tone are pivotal, such as noir or horror, the absence of dramatic lighting may fail to complement the narrative effectively.
While lighting should serve the story, overly flat lighting might strip away the depth required to evoke the desired audience reaction.
In fast-paced productions, relying solely on flat lighting can lead to complications with setting consistency.
While it’s designed to ensure a uniform look, variations in natural light or other environmental factors can disrupt the flat light setup – making continuity a challenging aspect to maintain.
Our cinematographer’s toolkit must include strategies to address these challenges:
- Understanding when and where to integrate flat lighting,
- Balancing flat lighting with other techniques to add depth,
- Adjusting flat lighting dynamically in response to on-set changes.
Subtle shifts in the flat lighting arrangement can make significant changes in the visual narrative.
Adjustments in angle and diffusion might be required to prevent a scene from appearing stagnant.
These considerations are essential for us to maintain the desired cinematic quality and keep our audience engaged.
How To Achieve Flat Lighting
Achieving flat lighting in filmmaking doesn’t have to be a complex Try.
Often it’s the simplest setups that yield the cleanest and most effective results.
Understanding The Basics
First and foremost, we need to understand the basic principle behind flat lighting – even illumination.
By positioning a large, soft light source directly in front of the actors or subjects, we ensure there are minimal shadows cast across their features.
Choosing Your Equipment
Selecting the right equipment is essential for creating effective flat lighting:
- A broad light source, such as a softbox, is ideal for softening shadows,
- LED panels can be both economical and practical for filmmaking,
- It’s important to avoid harsh lighting instruments that create deep shadows.
Setting The Scene
When it comes to the setup, we typically place our light source at camera level and point it straight at our subject.
This arrangement maintains the shadowless look that flat lighting is known for.
In The Social Network, for instance, flat lighting was used in several scenes to keep focus on the characters and their dialogues.
Such thoughtful application can elevate a film’s narrative without the audience consciously noticing the lighting technique.
Diffusing The Light
The key to great flat lighting is diffusion.
We use materials like diffusion fabric or frosted gels in front of our lights to spread the light evenly across the scene.
Monitoring The Effect
Throughout the shooting process, we keep a close eye on our monitors:
- Checking for uniformity
- Ensuring there are no unintended shadows
- Adjusting the intensity of the light as necessary
This helps us maintain the desired visual consistency and keeps our storytelling clear and focused.
Examples Of Flat Lighting In Photography And Videography
When looking at the world of photography, flat lighting is often used in portrait sessions where fine details are critical and when photographers aim to achieve a clean, straightforward look.
In e-commerce product photography, flat lighting helps highlight the product without casting distracting shadows.
Videography, on the other hand, employs flat lighting in a variety of settings, each with its own creative intent.
Documentaries, for instance, use flat lighting to focus attention on the subject and maintain a sense of realism, whereas certain genres of YouTube content make use of it to maintain a clear and consistent visual quality.
It’s especially prevalent in scenes that prioritize detail over drama.
Films like The Social Network took advantage of flat lighting to spotlight characters in dialogue-heavy scenes, ensuring that the audience’s attention remained on the actors’ performances and the sharp dialogue.
Let’s also explore some common applications of flat lighting in visual media:
- Interviews, where the subject’s expressions are pivotal,
- Fashion shoots that emphasize clothing details,
- corporate videos aiming for a sterile or neutral aesthetic.
Regularly, music videos are crafted with flat lighting to establish a particular mood or style, often in cohesion with other lighting techniques to provide visual interest without overpowering the scene.
It’s crucial to recognize that while flat lighting is less dramatic, its use can be incredibly effective for conveying information clearly and keeping viewers focused on the subject.
What Is Flat Lighting – Wrap Up
We’ve explored the nuances of flat lighting and its pivotal role in visual storytelling.
Whether we’re capturing the subtle expressions in a portrait or ensuring product details pop in e-commerce photography, mastering this technique can elevate our work.
By using the right tools and techniques, we can create a consistent, detail-rich visual narrative that keeps our audience engaged.
Let’s harness the power of flat lighting to tell our stories with clarity and focus, making every shot count.
Frequently Asked Questions
What Is Flat Lighting In Photography And Videography?
Flat lighting is a technique where a large, soft light source is positioned directly in front of the subject to minimize shadows, thus creating an even and nondirectional light.
How Do You Achieve Flat Lighting?
To achieve flat lighting, use a softbox or LED panels, position the light at camera level, and use diffusion materials to spread the light evenly across the subject.
Why Is It Important To Monitor Flat Lighting During Shooting?
Monitoring flat lighting is crucial to ensure visual consistency and maintain the clarity of storytelling, as the lighting can significantly affect the mood and focus of the content.
What Are Some Examples Of Flat Lighting In Photography?
Flat lighting is commonly used in portrait sessions, e-commerce product photography, and any scenario where fine details need to be highlighted and shadows minimized.
How Does Flat Lighting Benefit Videography?
Flat lighting provides a clear and consistent visual quality, ideal for interviews, documentaries, corporate videos, and music videos, where a distraction-free focus on the subject is required.
Can Flat Lighting Impact Storytelling?
Yes, flat lighting can impact storytelling by focusing the viewer’s attention on characters and dialogue, as seen in films like “The Social Network,” where it’s used to draw viewers into the narrative.