
Broad Lighting can be defined as having a broad light source that faces the subject. It gives you a soft hair light look and it is ideal for most portraits.
However, there are times when you don’t want to have that look. The Broad Lighting is also known as Belly Lighting or Short Lighting.
It’s used when photographing subjects facing the light source. It’s typically used on younger subjects or children because it focuses on their facial features, but not on their bodies.
In addition to all of these benefits, broad lighting photography also has some disadvantages.
For one thing, it’s not always as flattering on people as some other types of lighting are, particularly when they’re trying to look their best for an important occasion like a wedding or when they want a glamour shot taken during a photoshoot.
This is especially true if you have uneven skin tones or discoloration in your face or if your face has shadows under the eyes or other imperfections that are brought out by broad lighting.
broad lighting photography
What Is broad lighting photography?
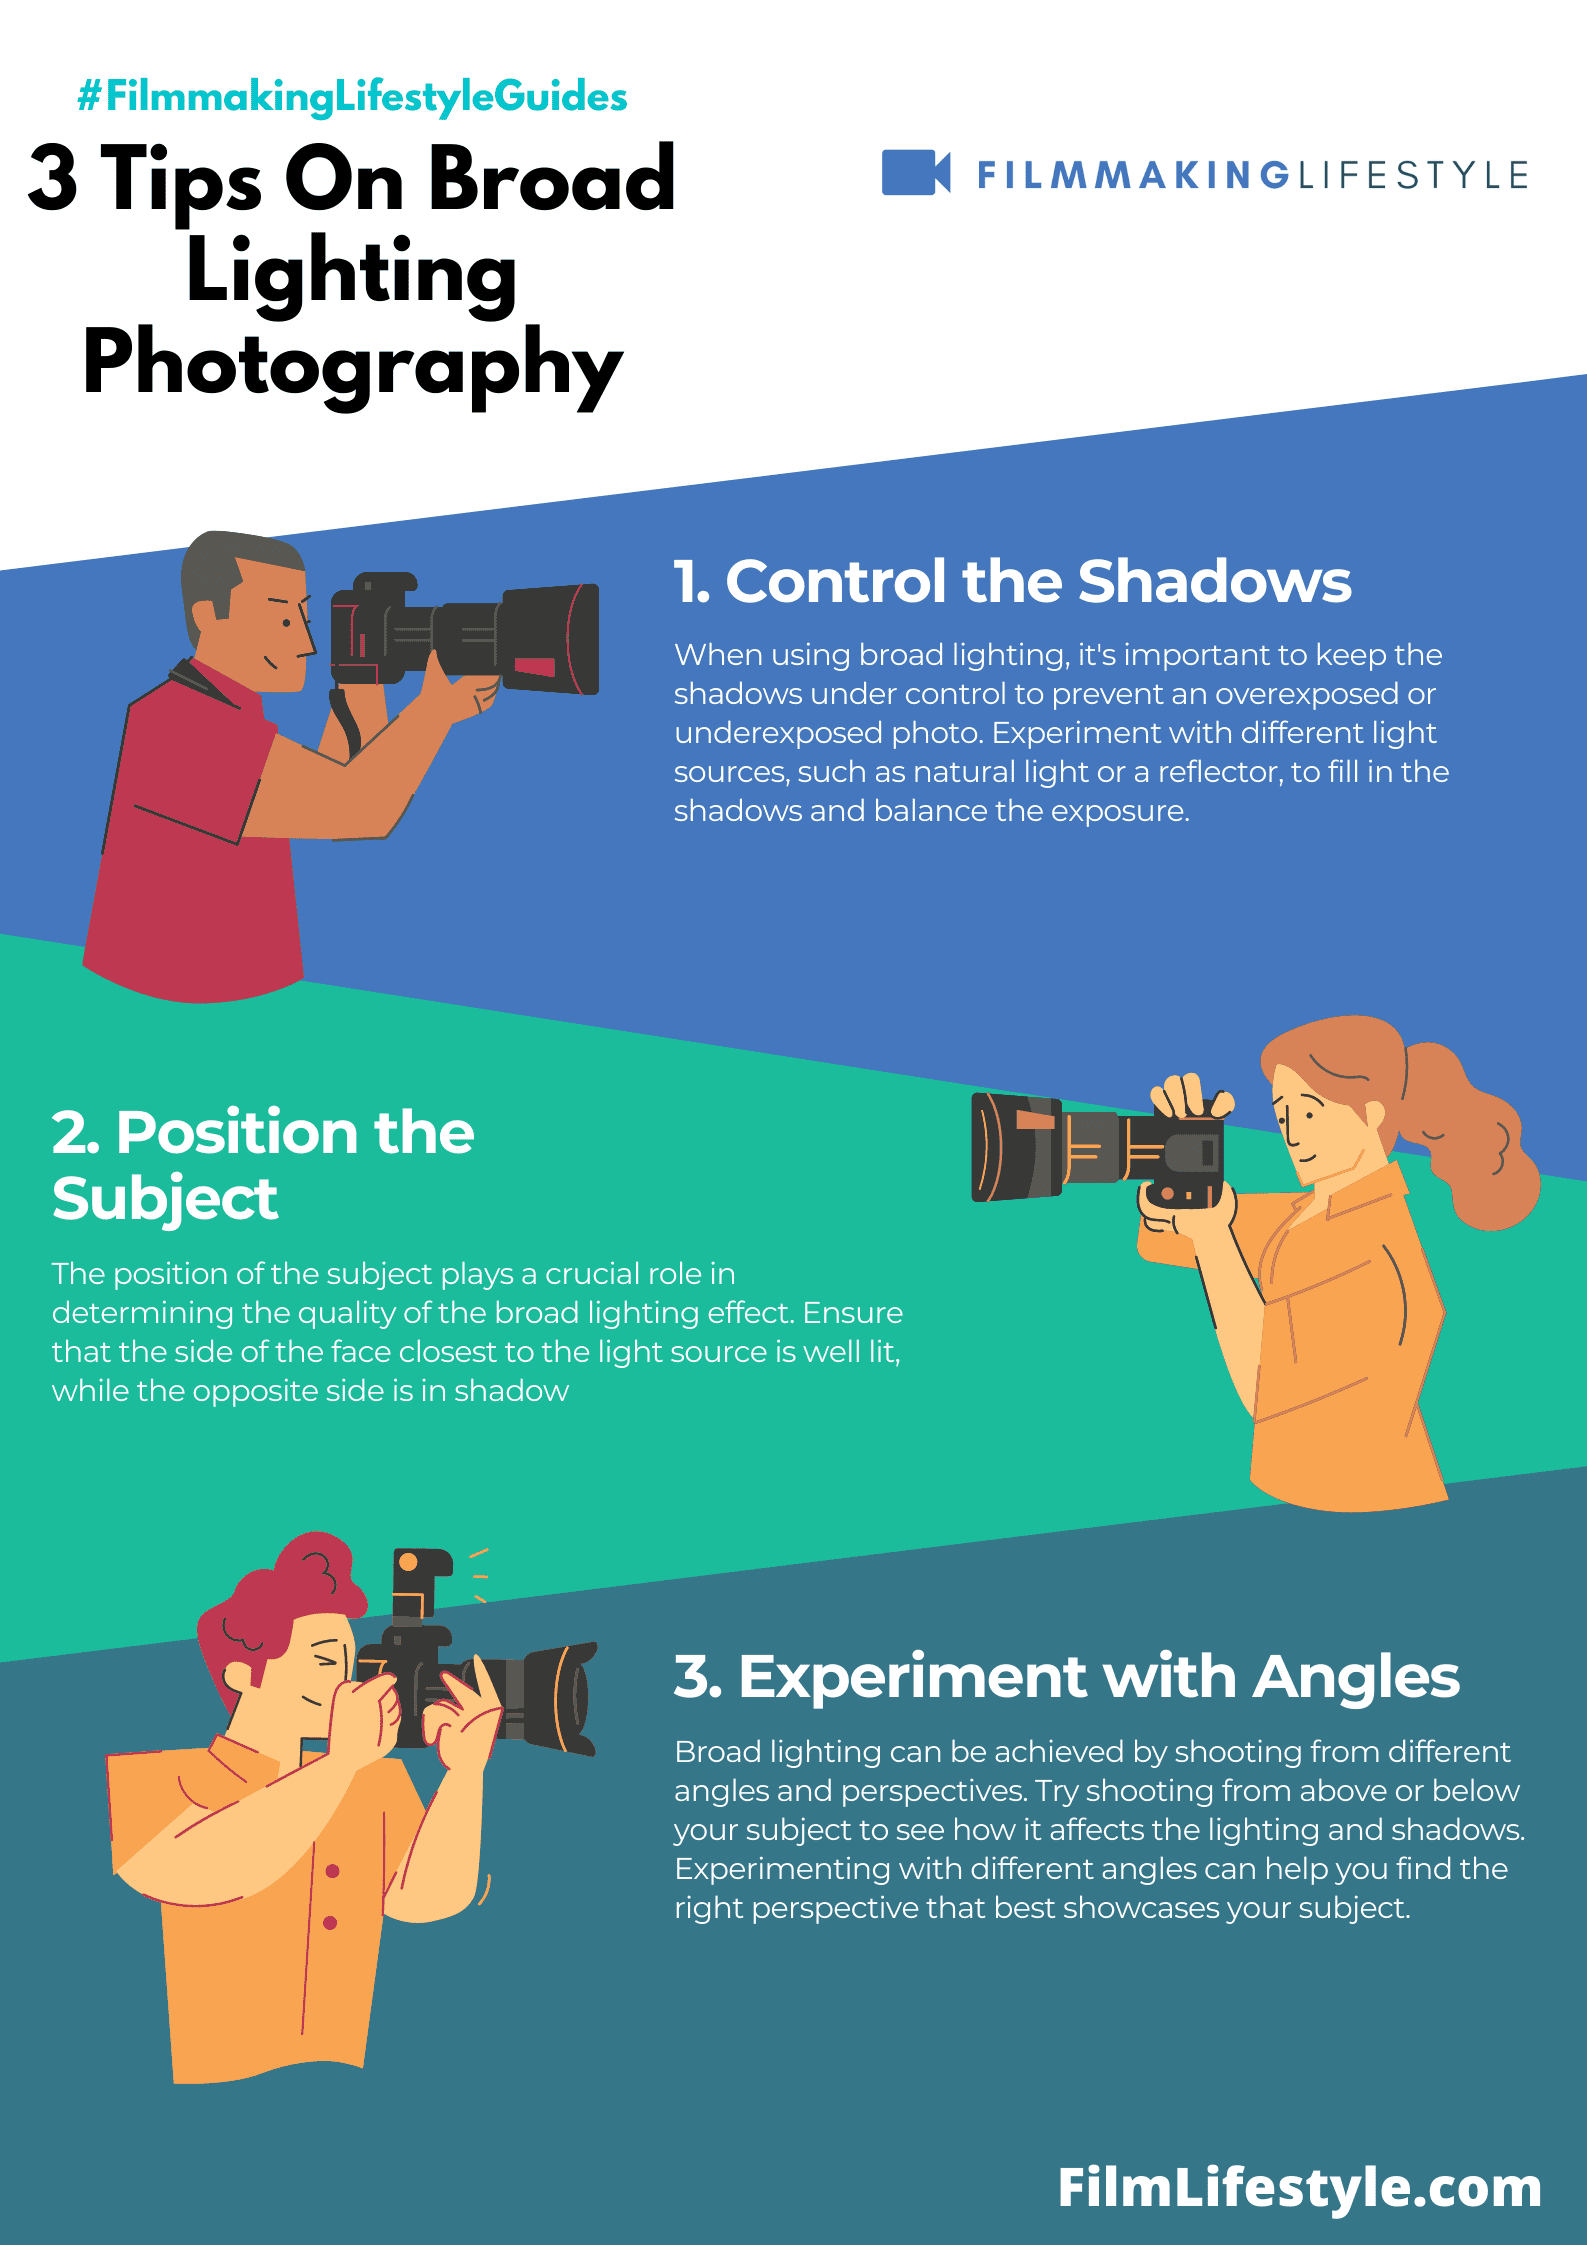
Broad lighting is a photography technique in which the main light source illuminates the side of the subject’s face that is turned toward the camera.
This is likely to be the left side in most cases, because most photographers are right-handed and will choose to stand on their subject’s left side for easy access to the camera controls.
This is a great technique when you want to make your subject look wider or rounder.
It can also be used to make someone look slimmer, but it should only be used if they have a very strong jawline and chin.
Broad lighting works well with men who have wide shoulders and a small waistline or women who have broad shoulders and hips but a small waistline (i.e., hourglass figure).
In the world of photography, broad lighting isn’t just a term; it’s a game-changer for portraits that demand a certain vibe.
It’s a technique that bathes the subject’s face in light, highlighting features and creating a sense of openness.

We’ll jump into the nuances of broad lighting, showing you how it’s a key player in shaping mood and character in a photograph.
Stick with us to master this illuminating skill that can transform your photographic storytelling.
What Is Broad Lighting Photography?
When we talk about broad lighting in photography, we’re referring to a technique that’s all about direction and quality of light.
At its core, broad lighting illuminates the side of a subject’s face that is closest to the camera, creating a bright visual focal point.
This approach is favored for its ability to bring forth a sensation of depth, making it a powerful tool in portrait photography.
Broad lighting isn’t just about the light – it’s also about shadows.
By brightening one side, the other side falls into softer shadow, which naturally models the face with a subtle gradient.
This effect can be quite flattering, and here’s why:
- Subtle Shadow Play – The play between light and shadow adds dimension to the subject’s features, emphasizing contours without harsh contrasts.
- Perceived Openness – Faces appear more open and engaging, drawing the viewer’s eye and creating a connection.
- Highlight Emphasis – Key facial features catch the light beautifully, allowing for strategic emphasis where desired.
Implementing broad lighting is straightforward, but mastering it requires an understanding of light diffusion and angle.
Our fascination with this style comes from the way it can alter the mood of a portrait.
It’s quite transformative, with the potential to turn a simple image into a story told through light and shadow.
Photographers who harness broad lighting effectively can captivate their audience and convey personality and emotion with sublime subtlety.
Understanding The Technique
Broad lighting is not just about the placement of lights.
It’s about creating a narrative with shadows and highlights.
As experts in visual storytelling, we believe in the power of broad lighting to transform an ordinary shot into a captivating scene.
Here’s how to get started:
- Identify the key side of your subject – the side that naturally connects with the audience.
- Position your main light source to illuminate this side, ensuring it’s the brightest part of the image.
- Use reflectors or additional lights to manage contrast and fill in any unwanted shadows.
This approach can significantly impact the mood and story conveyed in your photos.
The main takeaway here is that we’re not just illuminating a subject, we’re sculpting their features with light.
When executed properly, broad lighting can highlight the subject’s best attributes and set the tone for the entire portrait.
It’s essential to experiment with different intensities and angles to find the perfect balance for each unique subject.
Our top tip – always be mindful of the background.
A well-lit subject against a distracting backdrop can undermine the benefits of broad lighting.
Utilizing this technique doesn’t stop at equipment setup:

- Pay close attention to the subject’s pose and expression,
- Adjust the light to enhance the natural contours and texture of the face,
- Keep an eye out for any changes in ambient lighting, as it can alter the look of your shot.
Remember, the ultimate goal of broad lighting is to produce images that tell a story, evoke emotion, and captivate viewers.
With the right approach, photographers and filmmakers alike can turn a simple portrait into a masterpiece of light and expression.
Whether you’re working on a feature film or a personal photography project, broad lighting is a valuable skill to refine.
The Impact Of Broad Lighting In Portraits
When we jump into the nuances of portrait photography, the use of broad lighting takes on a pivotal role.
This technique can have a profound effect on the mood and visual perception of a portrait.
It’s the breadth and play of light across the face that can accentuate features, create depth, and contribute to the overall story being told.
In portraits where broad lighting is applied, it’s easy to perceive a transition from merely capturing a subject to creating a piece of art.
The technique focuses on illuminating the side of the face that’s closest to the camera, So showcasing certain aspects of the subject’s personality.
For instance, in The Girl with a Pearl Earring, the broad lighting technique helps to highlight the innocence and contemplative nature of the figure, drawing us into her world.
This lighting style brings several key benefits to portrait photography:
- Dimension: By casting light across the face, broad lighting adds volume and a sense of three-dimensionality.
- Detail: The well-lit side of the face reveals intricate features and textures which may otherwise be lost.
- Atmosphere: The strategic play of light and shadow can elicit different emotions, depending on the subject’s pose and expression.
Our understanding of how light shapes our perception of images cannot be understated.
Broad lighting not only enhances the contours of the face but often acts as a narrative tool.
We see how the careful distribution of light can suggest a mood or even hint at a backstory without having to explicitly state it.
Photographers have been using broad lighting to their advantage across various genres.
It’s a style that works well not just in classic portraiture but also in fashion, editorial, and commercial photography.
The adaptability of broad lighting means that it has a place in modern studios and in outdoor settings alike, bringing out the best in a subject regardless of the environment.
Tips For Achieving The Perfect Broad Lighting
Broad lighting is a vital technique in photography, and mastering it can take your portraits to the next level.
We’re here to share some pearls of wisdom that will help you harness the power of broad lighting in your work.
Firstly, it’s essential to understand the direction of light.
The key to broad lighting is to position your light source so it illuminates the side of the subject’s face that is facing the camera.
This may require experimenting with the angle and distance of your lighting setup to find the perfect balance that highlights facial features without causing harsh shadows.
Creating soft, diffused light often yields the most flattering results.
Using softboxes or umbrellas can help you achieve this effect by spreading light evenly across the subject’s face.
Reflectors are also invaluable tools – they bounce light back onto the subject, filling in shadows gently and adding depth to the portrait.
Here are a few practical tips for setting up your lighting:
- Ensure the main light source is at a slight angle to the subject to maintain dimension.
- Use a reflector on the opposite side to soften shadows.
- Try varying the height of the light to accentuate different facial features.
- Always take the time for a few test shots to adjust the setup before the final shoot.
Keep in mind that every subject is unique, and there’s no one-size-fits-all approach.
The shape of the face, skin tone, and intended mood all play significant roles in how you should tailor your broad lighting technique.
The best strategy is to remain flexible and ready to adjust the elements of your setup in real-time.
Remember, broad lighting isn’t just about illumination – it’s about storytelling.
Think of The Girl with a Pearl Earring or the dramatic scenes in Citizen Kane.
These iconic works leverage the power of light to convey emotion and character, and with practice, you can too.
Examples Of Broad Lighting In Photography
When diving into the vast world of photography, we often encounter images that leave us breathless.
Broad lighting plays a pivotal role in such striking visuals.
Masters of this technique understand its ability to highlight features and craft an atmosphere in portraits that captivates viewers.
Take for instance the timeless appeal of Renaissance paintings.
Artists like Leonardo da Vinci utilized a primitive form of broad lighting to illustrate depth and character in works like Mona Lisa.
Even before photography, the technique was
In modern cinematography, broad lighting sets the tone in many iconic scenes.
Movies like The Godfather leverage broad lighting to create an imposing presence for the characters.
This type of lighting accentuates facial contours, adding to the narrative without the need for dialogue.
Here’s what we can draw from these examples:
- Broad lighting adds depth and dimension to subjects.
- It enhances facial features, which is vital for character-driven visuals.
- The right lighting approach can contribute significantly to storytelling.
Photographers often turn to famous portraits for inspiration.
Broad lighting in shots of celebrities and influential figures has crafted some of the most revered images in pop culture.
These photos use broad lighting to create iconic, unforgettable representational artwork.
In the world of advertising, broad lighting is indispensable.
It showcases products and models in a way that portrays affluence and desirability.
Such lighting invites consumers into a luxurious experience, making the product the hero of the story.
Our exploration of broad lighting doesn’t have to be confined to famous works.
Every photographer engaged with portrait work uses this technique, consciously or subconsciously.
It’s in the way we illuminate a friend’s face during a casual shoot or how we position our lamps when taking product photos for our online store.
Broad lighting isn’t just a professional tool; it’s an artistic asset we all wield in our creative endeavors.
What Is Broad Lighting Photography – Wrap Up
We’ve explored the dynamic range and visual impact broad lighting can bring to photography.
Whether we’re capturing the allure of a celebrity portrait or aiming to add narrative depth to our shots, this technique is a powerful addition to our creative toolkit.
It’s clear that broad lighting isn’t just for the pros—it’s accessible for photographers at all levels who want to enhance their work with a touch of artistry.
Let’s embrace broad lighting and watch our images transform with the added dimension and character it provides.
Frequently Asked Questions
What Is Broad Lighting In Photography?
Broad lighting is a technique in photography where the main light source illuminates the side of the subject facing the camera.
This approach is used to add depth and dimension to the subject, enhancing facial features and contributing to the narrative of the image.
How Does Broad Lighting Affect Portraits?
In portraits, broad lighting can make a subject’s face appear fuller and more dimensional.
It is particularly useful for highlighting cheekbones, jawlines, and other facial features, making the portrait more dynamic and engaging.
Can Broad Lighting Be Used In Cinematography?
Yes, broad lighting is also utilized in cinematography.
It is a key lighting technique that contributes to the mood, setting, and character development within a scene, providing depth and visual interest to the shot.
Is Broad Lighting Suitable For Beginners In Photography?
Broad lighting is not just for professionals; it is an artistic asset that is accessible to all photographers.
Beginners can use this technique to explore the effects of lighting on their subject matter and enhance their creative expression.
Was Broad Lighting Used In Renaissance Paintings?
Indeed, broad lighting can be traced back to Renaissance art, where painters used this technique to create a sense of three-dimensionality and drama in their work, making it an enduring method that transcends different art forms.