
In the world of photography, short lighting is a technique that sculpts the subject’s face with shadows, creating depth and drama.
It’s a go-to method for photographers aiming to convey emotion and character in their portraits.
We’ll explore how short lighting can transform your photography, from the basics of setting it up to mastering its subtle nuances.
Stay with us to uncover the secrets of capturing stunning images that speak volumes with just a play of light and shadow.
short lighting photography
What Is short lighting photography?
Short lighting in photography refers to a lighting technique where the main light source illuminates the side of the subject that is turned away from the camera.
This creates more shadows on the face or body closest to the camera, often resulting in a more dramatic, moody, and sculptural effect.
It’s commonly used in portrait photography to add depth and dimension to the subject’s features, as well as to convey a certain mood or atmosphere.
Short lighting is particularly effective for creating striking and artistic portraits.
Understanding Short Lighting
Short lighting is key for crafting moody and evocative portraits.
It’s distinguished by the light source hitting the side of the face which is turned away from the camera, carving out strong shadows and high contrast that accentuate features.
Ideal for drama and mystery, it’s a technique cherished by photographers eager to communicate a story within a single frame.
By manipulating shadows and light, we can control the mood and feel of the photograph.
The position and quality of light play crucial roles – a steeper angle and more focused light source produce darker shadows and a more intense mood, while a softer light can evoke a sense of subtlety and depth.
Photographs taken with short lighting tend to reveal texture and detail, offering a tactile quality that can be visually gripping.
Short lighting isn’t solely about creating a stark contrast.
It also involves the strategic use of lighting to shape and define the subject’s facial contours.

This approach truly shines when highlighting:
- Character and emotion – emphasizing the depth of a subject’s personality,
- Physical features – enhancing cheekbones, jawlines, and facial structure,
- Artistic intent – adding layers to the story that unfolds within the imagery.
Remember, in photography, the interplay of shadow and light is as essential as the subject itself.
Short lighting brings out the chiaroscuro effect, reminiscent of techniques used by the Renaissance masters.
By mastering this style, we unlock the potential to elevate our imagery to the realm of art, akin to famous works like those of Rembrandt and Caravaggio.
The nuances of short lighting make it a pivotal skill in crafting portraits that go beyond mere representation, touching on the very essence of photographic art.
The Impact Of Shadows In Portraits
In portrait photography, shadows are not just absence of light; they are vital elements that sculpt the subject’s features.
Effectively leveraging shadows can transform a flat image into a three-dimensional work of art, bringing depth and character to the shot.
In short lighting, shadows play a pivotal role – they are the brushstrokes that imprint mood onto the canvas of our photos.
The interplay between light and dark within a portrait dictates the emotional undertone perceived by viewers.

Shadows can hint at untold stories or evoke certain moods:
- Contemplation,
- Melancholy,
- Mystery.
It’s the control over these hushed details that make short lighting so powerful.
By manipulating the direction and intensity of light, we can coax out textures and define the planes of the face in remarkable ways.
Deep shadows can accentuate the jawline, highlight the cheekbones, or draw attention to the eyes, depending on our intent as photographers.
Too often, shadows are mistakenly viewed as secondary to light, yet they hold equal value in the creation of striking imagery.
It’s their very presence that gives weight to the importance of lighting in portrait photography.
The chiaroscuro effect – the dance of light and dark – found in works like The Girl with the Pearl Earring has long inspired photographers to explore the dramatic potential that shadows offer.
Shadows indeed dictate the narrative of a portrait.
When positioned thoughtfully, they add layers of complexity to an image, compelling viewers to linger and wander through the subtleties etched in the half-lit contours.
In short lighting, it’s not just what is illuminated that counts; it’s also what is concealed in the embrace of shadow that holds the power to captivate.
Setting Up Short Lighting
Creating the signature look of short lighting requires some preparation and an understanding of the interplay between light and shadows.
We start by positioning our light source at a 45-degree angle to the side of the subject that is further from the camera.
This primary light, often referred to as the key light, will sculpt the subject’s features and create the defining shadows that tell a story.
To achieve a profound effect, we’ll make sure the key light is intense enough to cast distinct yet nuanced shadows.

The position of the subject relative to the light source plays a crucial role – we adjust until we see the desired interplay of lights and shadows on the subject’s face, looking for that balance where the far side of the face is lit subtly, creating intrigue and dimension.
- Adjust the intensity of the key light to avoid harsh contrasts,
- Direct your subject to position themselves in a manner that enhances the short lighting effects.
We’ll often incorporate reflectors or fill lights to soften the shadows and highlight certain areas without losing the drama that short lighting is known for.
A softbox or umbrella can be used with the key light to diffuse the light, softening the shadows and smoothing the transition from light to dark.
Manipulating the light modifiers – – Position reflectors to bounce light into the shadows gently – Diffuse the key light with softboxes for a more forgiving shadow
Portraits taken with short lighting benefit from a thoughtful background choice.
We select backgrounds that complement the shadows without overpowering the subject.
Subtle gradients or darker tones allow the subject to stand out, with the shadows adding a richness to the image that can’t be achieved with flat lighting.
Tips For Effective Short Lighting
When we’re delving into short lighting, the setup can make or break the outcome.
We want to ensure that our readers are equipped with the knowledge to master this technique.
Here are some pointers to refine your short lighting skills:
- Position the key light at a 45-degree angle to the side of the subject’s face – this creates the iconic shadow that short lighting is renowned for,
- Keep the light source close for a softer shadow that’s more flattering on the subject’s features,
- Experiment with the height of the light – raising or lowering it can drastically change the mood conveyed in the photograph.
Understanding shadow intensity is crucial.
A harsh shadow can result in a more dramatic effect, while a softer shadow exudes tranquility.
Here’s how to control it:
- Use a diffuser to soften the light if the shadows become too pronounced,
- Adjust the power settings of your lights to fine-tune the intensity,
- Employ a reflector to fill in the shadows slightly without diminishing their form.
Choosing the right background is just as important as the lighting.
We look for hues and textures that complement the subject while enhancing the overall mood of the portrait.
Tips for an optimal backdrop include:
- Opt for muted colors that won’t distract from the subject,
- Select textures that add depth to the image without overpowering it.
Effective short lighting isn’t only about the position of the light or the choice of background.
We consider the subject’s clothing, the camera angle, and the lens choice to be integral elements that contribute to the nuanced interplay of light and shadow.
Mastering short lighting takes practice, but with these tips, we’re confident you’ll create portraits with dimension and emotional depth that capture the viewer’s gaze.
Mastering The Subtle Nuances
Short lighting isn’t just about setting up the light and snapping a picture.
It’s understanding how each subtle change can alter the narrative of your photography.
We’ll jump into the nuances that turn a good short-lit portrait into a compelling story.
The dance between light and shadow defines the mood in your image.

But what about the subtleties like a subject’s facial features or the emotion you want to convey?
We focus on the tiny shifts in lighting to accentuate the creases of a smile or the furrow in a brow.
These intricacies can elevate a photograph from a mere image to a poignant moment frozen in time.
Choosing the right equipment is crucial –
- Light stands with adjustable angles and heights,
- Various diffusers for softening intensity,
- Reflectors to fill the shadows just enough.
We understand that the background plays a supporting role in the portrayal of each subject.
Colors and textures shouldn’t compete but rather complement.
Ensuring that the backdrop contributes to the story you’re telling is part of the finesse needed in short lighting photography.
Eye contact with the lens can invite viewers into the scene, while a thoughtful gaze away can create a sense of mystery.
Our focus is to guide the subject to the right pose that reflects their character and the essence of the portrait.
Details like hair highlights and clothing textures come alive with short lighting.
We carefully select the camera settings to showcase these features, sometimes choosing a lower key light to cast a delicate glow on silk or to highlight the intricate patterns in a lace garment.
Short lighting is an art that also extends to post-production enhancements.
We take into consideration how the play of shadows in the editing process can further define the contours of the face or clothing.
This manipulation is subtle but intentional, ensuring that the image portrays the exact mood and style we envision.
In our journey to perfect short lighting, we’re always learning and experimenting.
It’s a process that requires patience, practice, and a keen eye for detail – one that we’re passionate about sharing with our readers.
What Is Short Lighting Photography – Wrap Up
We’ve explored the transformative power of short lighting and its ability to create mood and depth in photography.
By manipulating shadows and light, we can accentuate the best features of our subjects and convey a story.
Remember, the key to stunning short lighting lies in the subtle interplay between light and shadow.
It’s about finding that perfect balance that complements your subject and your artistic vision.
As we continue to hone our skills, let’s embrace the nuances of this technique and the dramatic results it can yield.
With practice and a keen eye for detail, we’ll master the art of short lighting and elevate our portrait photography to new heights.
Frequently Asked Questions
What Is Short Lighting In Photography?
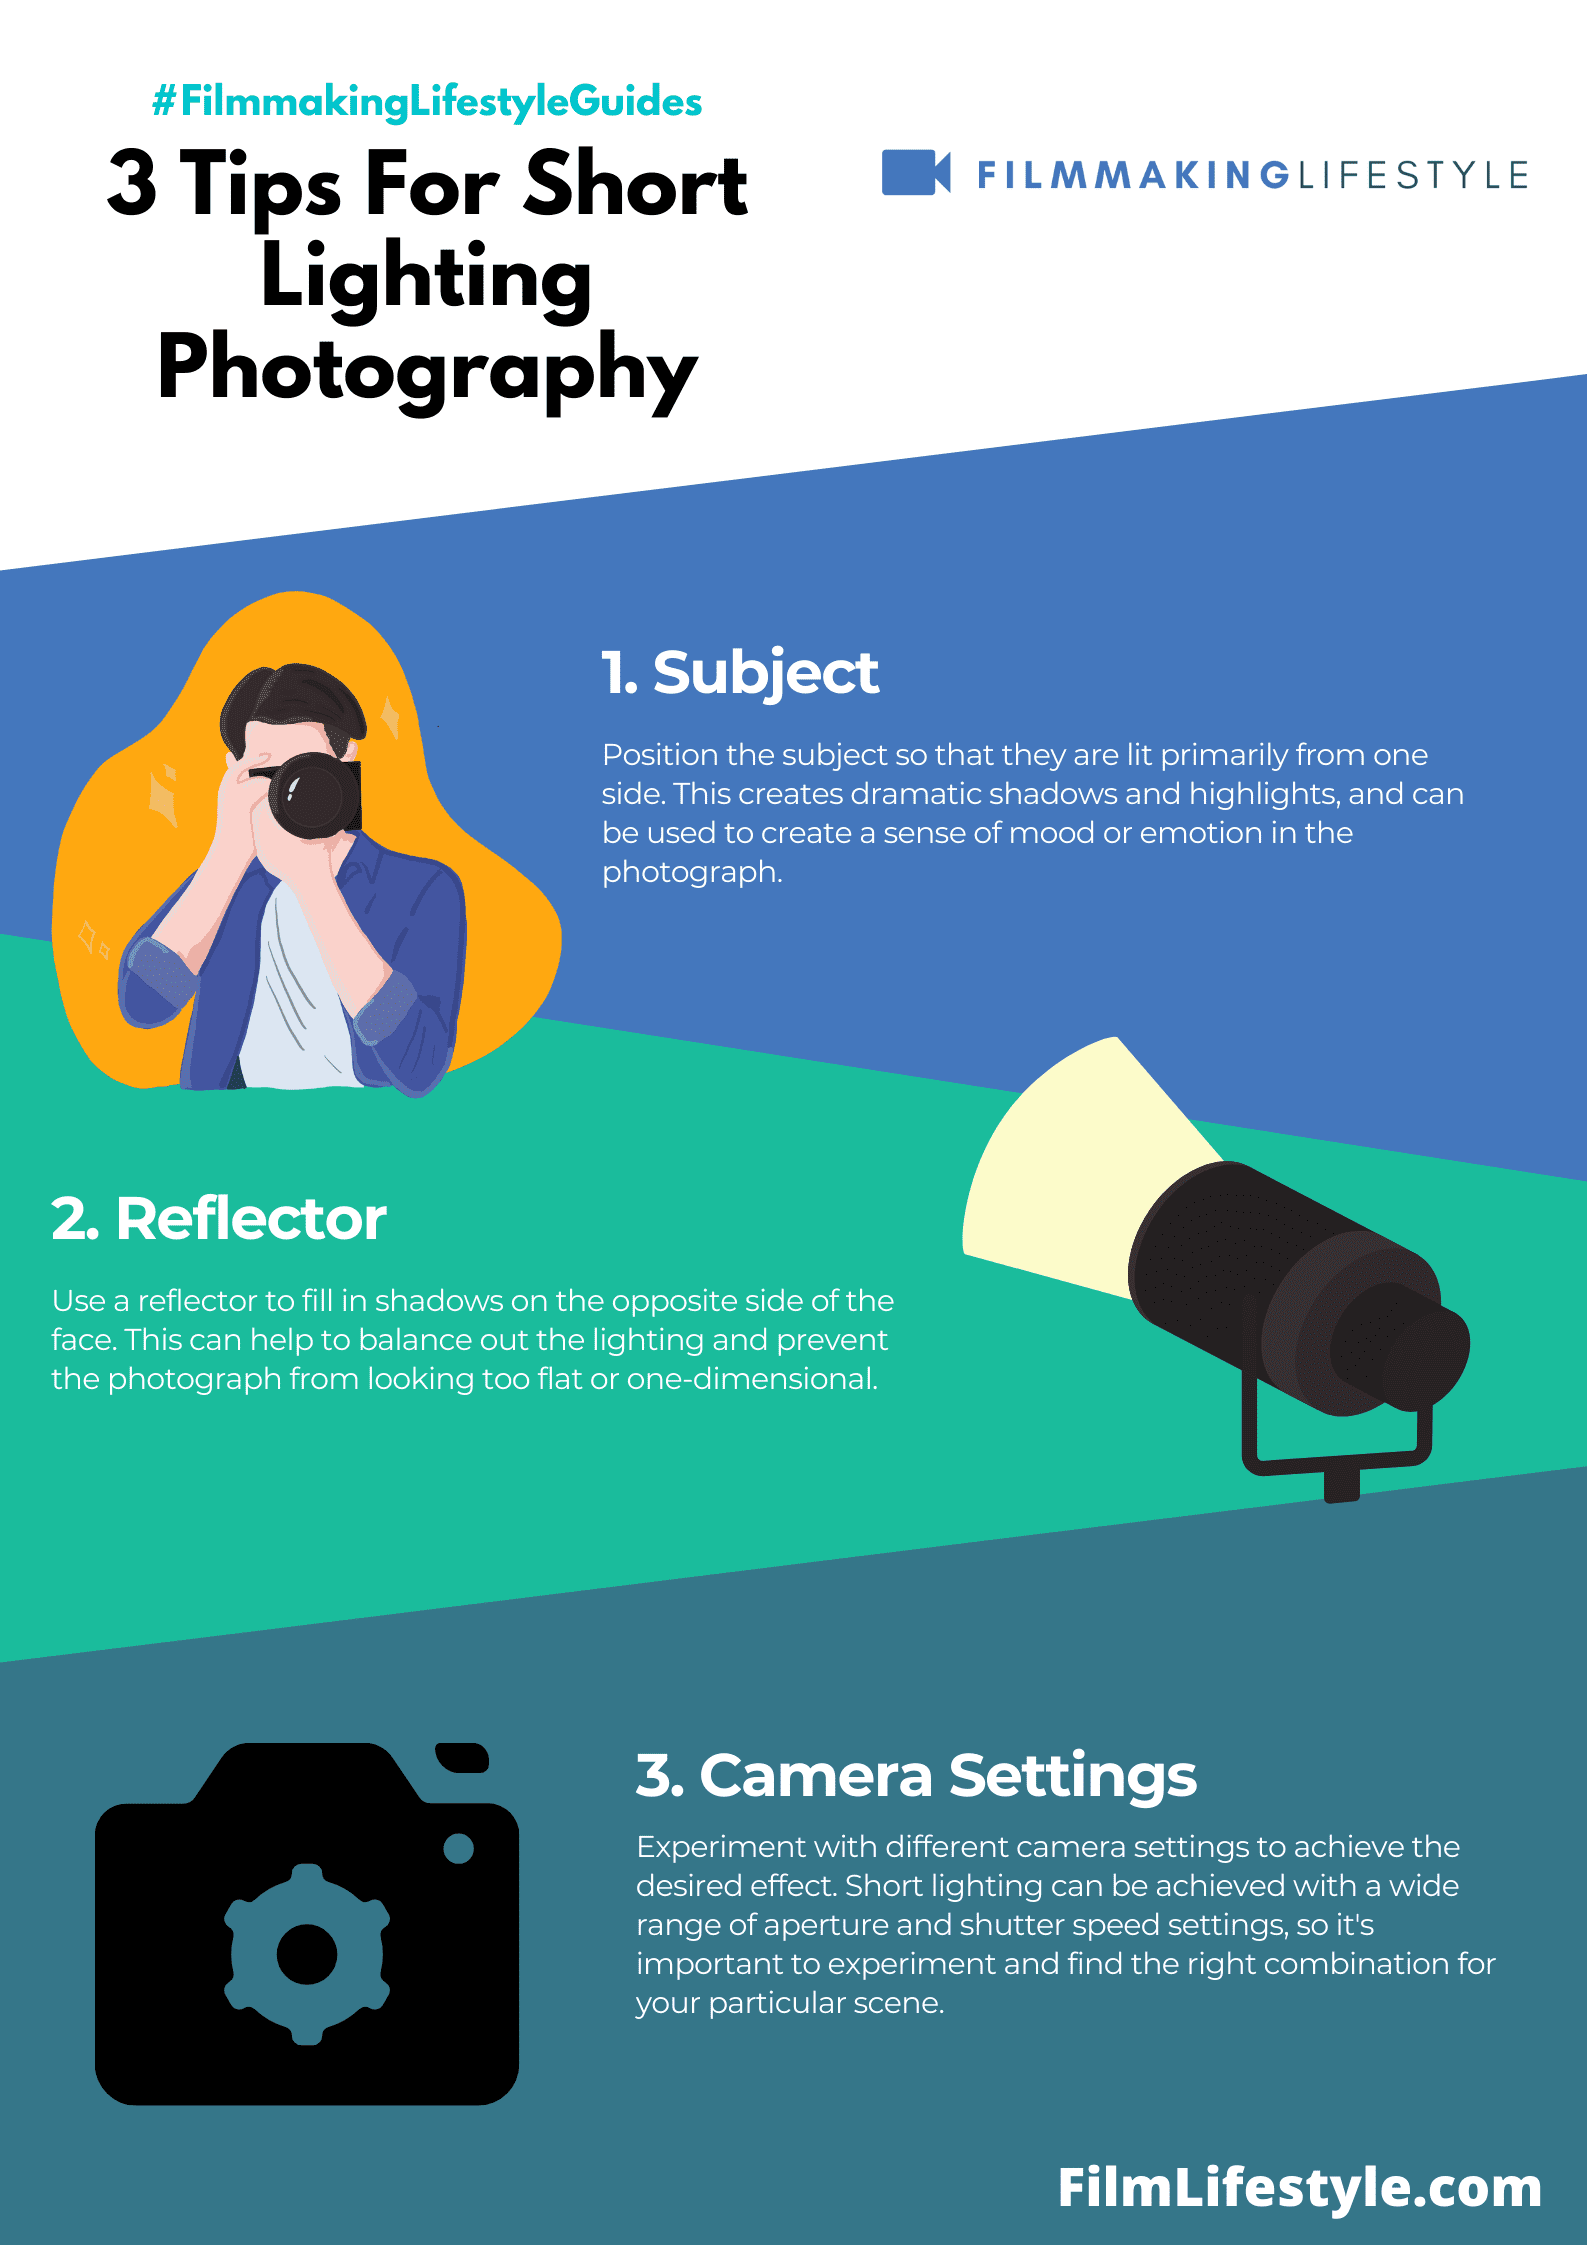
Short lighting is a technique where the main light source illuminates the side of the subject’s face that is furthest from the camera, creating deep shadows on the near side and emphasizing facial contours.

How Do You Set Up Short Lighting?
To set up short lighting, position the key light at a 45-degree angle to the side of the subject’s face, keep the light source close for softer shadows, and adjust the height to change the mood of the photo.
What Can Be Used To Control The Intensity Of Shadows In Short Lighting?
You can control shadow intensity in short lighting by using a diffuser to soften the light, adjusting the power settings of the lights, and using a reflector to fill in shadows.
What Is The Best Background Color For Short Lighting Portraits?
Opt for muted colors and textures in the background that complement the subject and enhance the overall mood of the portrait without competing for attention.
How Do Slight Changes In Short Lighting Affect A Photograph?
Subtle changes in short lighting can alter the narrative of a photograph by accentuating certain facial features, conveying different emotions, and affecting the perceived mood.
Which Equipment Is Important For Mastering Short Lighting?
Key equipment for mastering short lighting includes light stands, diffusers, and reflectors that help shape and control the lighting on the subject.
How Can The Background Support The Subject In Short Lighting?
The background should be chosen to support the subject by not distracting from them, and to enhance the portrait by complementing the mood created by the lighting and the subject’s pose.
Why Is Post-production Important In Short Lighting?
Post-production allows photographers to further define the mood and style of the image, adjust exposure, enhance details, and correct any imperfections to achieve the desired result.
