
Editing 4K video can be a challenging job, especially if you’re not working with top-of-the-line hardware.
We’ve all experienced the frustration of choppy playback and slow rendering times.
But don’t worry, we’ve got you covered.
In this article, we’ll show you how to edit 4K video smoothly on any computer, ensuring a seamless editing process regardless of your system’s specs.
Stay tuned as we jump into the tips and tricks that will empower you to create stunning 4K content without the need for a supercomputer.
Understanding The Challenges Of Editing 4k Video
Editing 4K video is a demanding process that can strain even the most advanced systems.
Unlike standard 1080p footage, 4K has a resolution of 3840×2160 pixels – that’s four times the number of pixels.
The increased resolution means larger file sizes, which in turn require more storage space and more powerful hardware to process and render the footage.
Computers with limited RAM and processing power struggle to keep up with the demands of 4K video editing.
Higher bitrates are often associated with 4K content, leading to better picture quality but at the cost of even greater demand on system resources.
This can result in choppy playback or long render times on computers that aren’t specifically configured for high-resolution video editing.
Here are some of the specific challenges we face when editing 4K video:
- Data Transfer Speeds – Slower hard drives can’t read or write large 4K files quickly.
- Heat Dissipation – Processing 4K can cause computers to overheat if they’re not equipped with adequate cooling systems.
- Software Optimization – Not all video editing software is optimized for handling 4K content.
To tackle these issues, knowing the capabilities of your equipment is essential.

RAM, GPU power, the speed of your storage, and the efficiency of your cooling system become crucial factors in deciding how to approach a 4K video project.
Optimizing Your Computer For 4k Video Editing
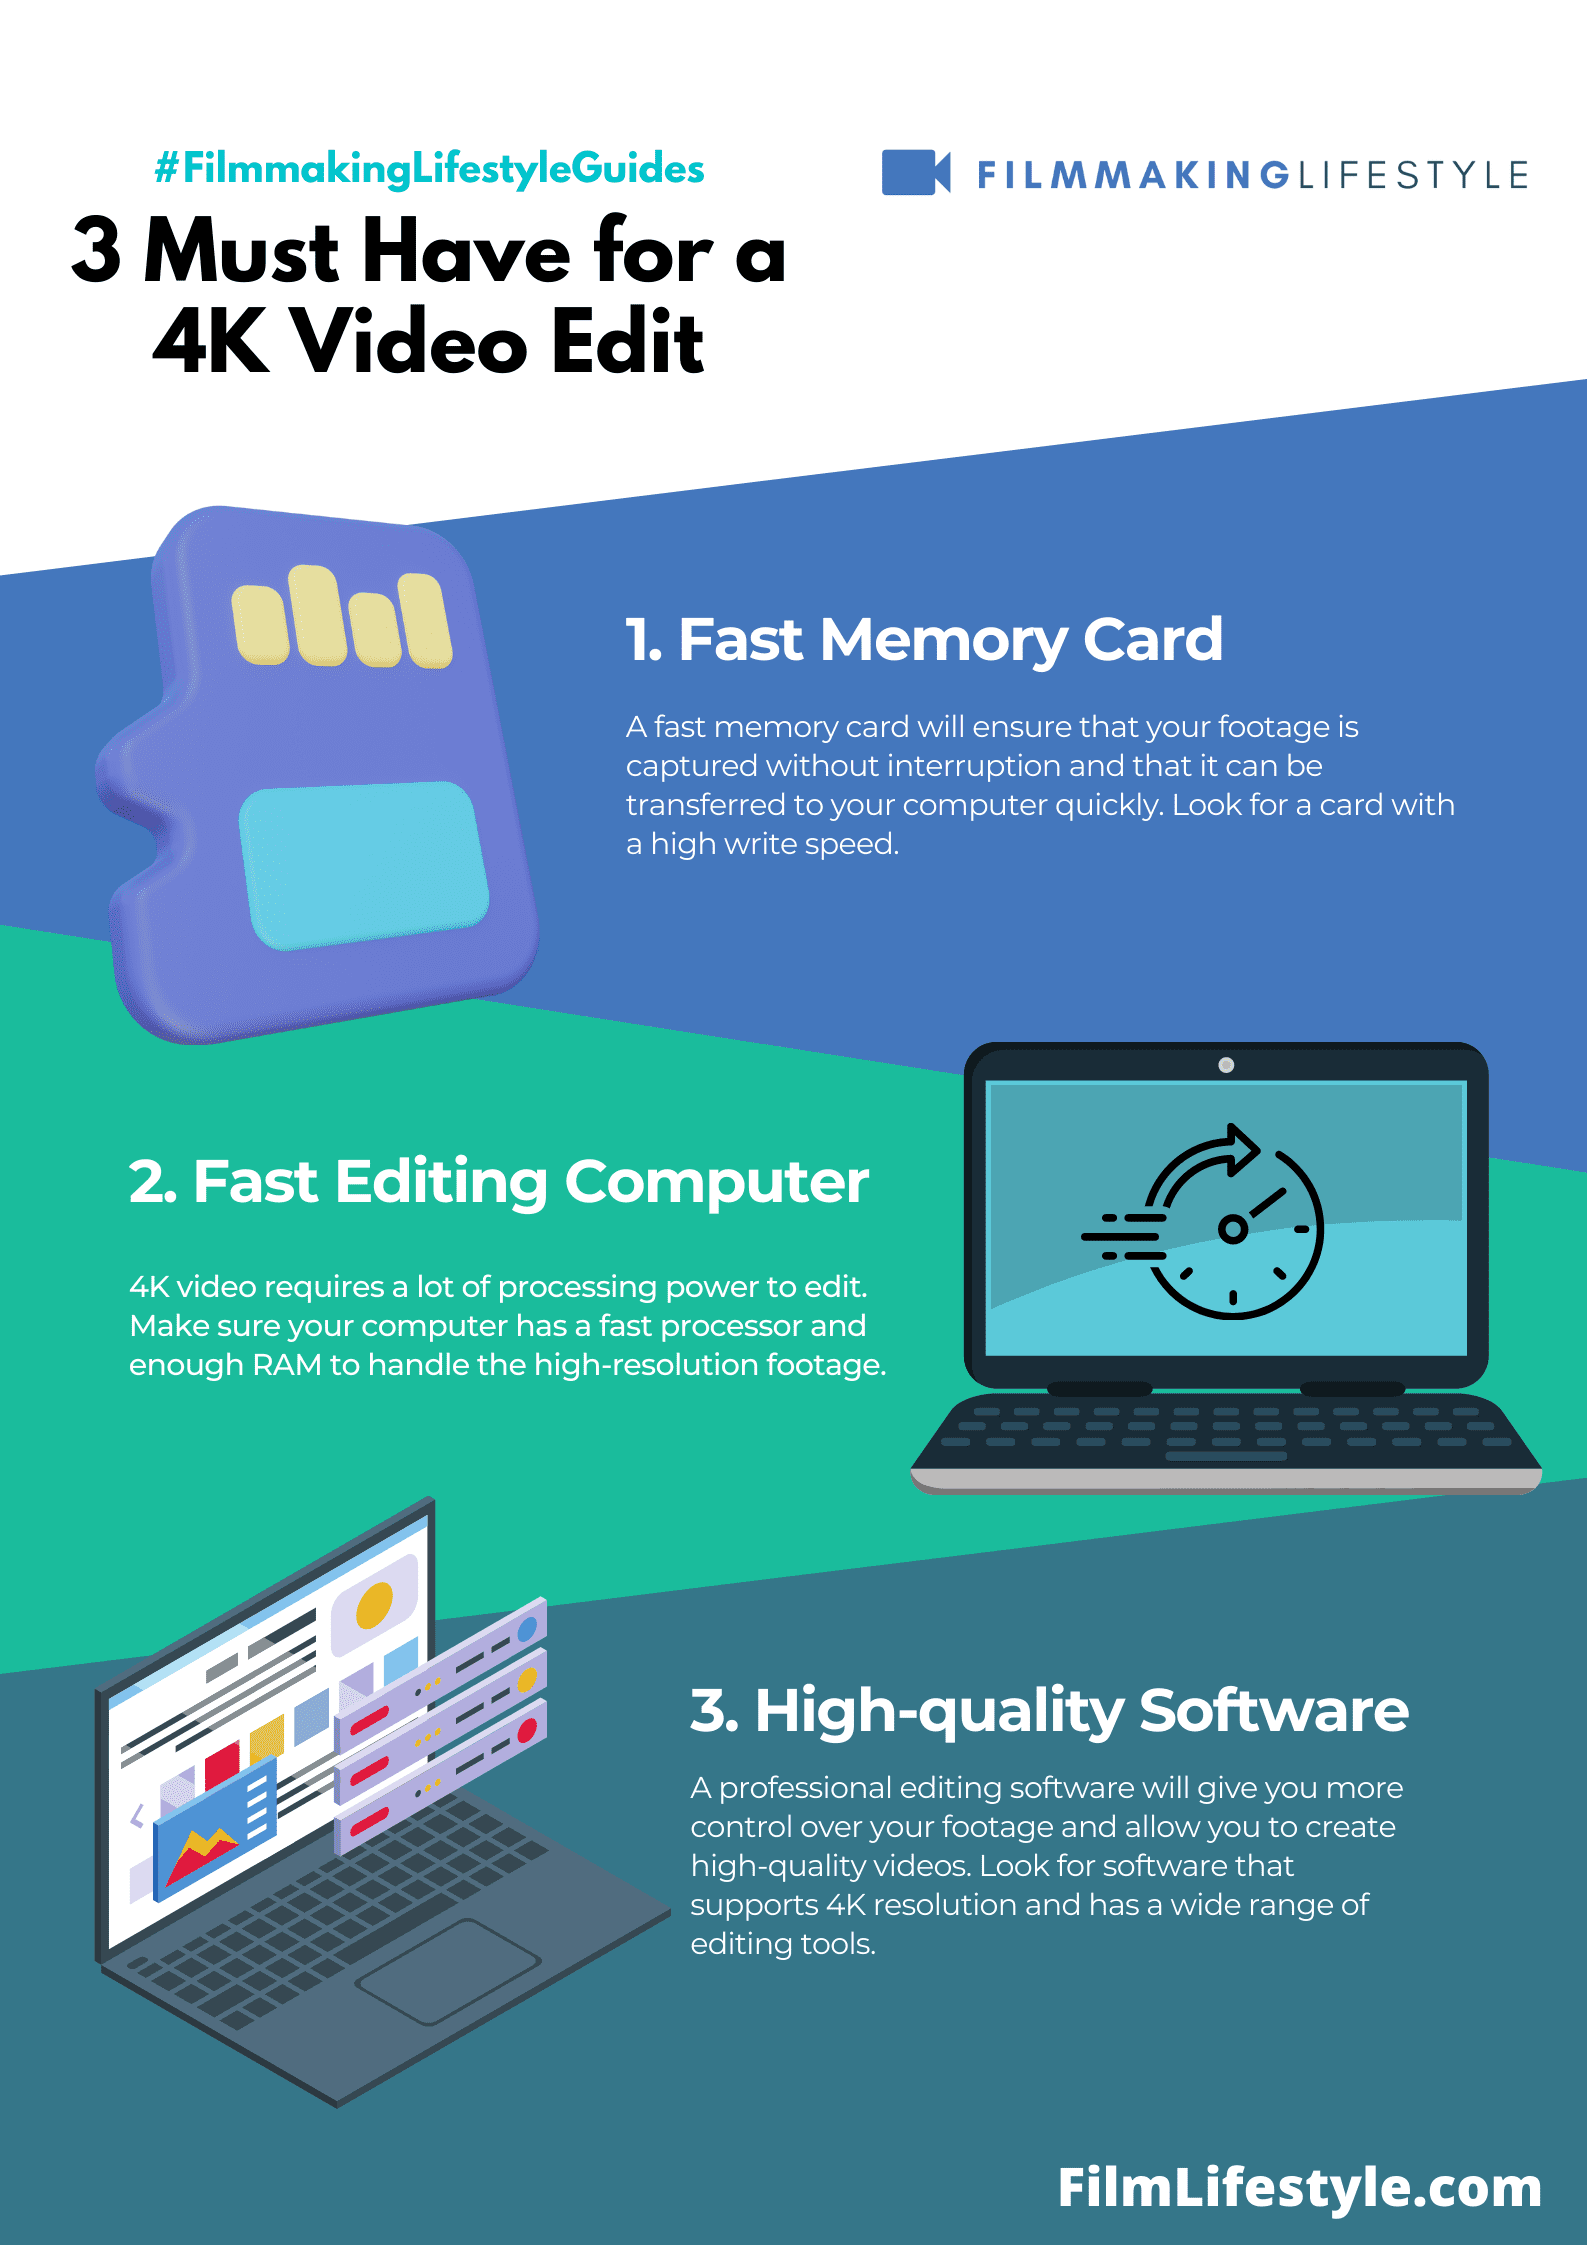
Upgrading Hardware Upgrading your computer’s hardware is a quintessential step for handling the demanding nature of 4K video editing.
It’s essential to focus on key components including the RAM, Graphics Processing Unit (GPU), and storage solutions.
Focusing on RAM and GPU More RAM allows for smoother multitasking and handling of large video files, while a powerful GPU accelerates rendering times.
We recommend at least 32GB of RAM and a GPU with substantial VRAM to effectively manage 4K content.
Enhancing Storage Speed For storage, consider a Solid-State Drive (SSD) for your operating system and editing software.
We advise utilizing an additional SSD or even an NVMe drive for your video files due to their faster read and write speeds compared to traditional hard drives.
Effective Cooling Solutions Heat management can’t be overlooked as it significantly impacts performance.
Optimizing your computer’s cooling system is vital – invest in high-quality fans or liquid cooling systems to maintain optimal temperatures during intensive editing sessions.
Software Adjustments Adjust your editing software preferences to better Use your computer’s capabilities.
Assign more memory for video processing and adjust playback resolution to reduce strain on your system.
Ensuring Compatibility Check for software and driver updates frequently.
Keeping your system up-to-date ensures compatibility with your editing software and can improve overall performance.
Remember, optimizing your computer is not a one-size-fits-all solution.
Evaluate your specific needs and upgrade accordingly.
With the right setup, you’ll be editing 4K videos with ease and efficiency.
Choosing The Right Video Editing Software
When diving into the intricacies of 4K video editing, selecting the right software is pivotal.
Our workflow and productivity hinge on the efficiency and capabilities of the tools we use.
The ideal video editing software should offer robust support for 4K media, but that’s just the tip of the iceberg.
We must consider the software’s compatibility with existing hardware.
While some programs boast extensive feature sets, they may also demand high-end computing resources.
A balance is key – look for software that delivers both power and performance without overstressing the system.
Here’s what we generally look for in video editing software for 4K projects:

- Non-Linear Editing – Allows for versatile manipulation and arrangement of clips.
- Multi-Track Editing – Enables complex layering and sequencing.
- Color Correction and Grading – Essential for achieving that cinematic look.
- Rendering Speed – Determines how quickly we can view and export our finished product.
- Real-Time Playback – A must-have for editing on the fly.
- File Compatibility – Supports a wide range of file formats without the need for constant conversions.
Ease of use should not be overlooked.
An intuitive user interface can dramatically reduce the learning curve and accelerate our editing process.
Consider software that provides customizable layouts and shortcuts to tailor the workflow to our unique style.
Up-to-date support and a strong community are indispensable.
Access to tutorials, forums, and customer service can make or break our experience, especially when tackling complex 4K editing tasks.
We strive for software backed by a robust support system that constantly evolves to meet our growing demands.
finally, budget plays a crucial role in our decision-making.
While some premium software may offer extensive features, there are also cost-effective and even free solutions that are surprisingly competent.
It’s about finding that sweet spot where cost efficiency meets our editing requirements without compromising on quality.
Organizing Your Files And Projects For Efficient Editing
Efficient 4K video editing begins with organized files and projects.
Before diving into the editing process, we make sure all our footage is systematically catalogued.
This involves creating a folder structure on our storage device that mirrors our project’s workflow.
Each project gets a dedicated main folder.
Within the main folder, we typically structure subfolders as follows:
- Raw Footage – storage for all original clips,
- Project Files – where the editing software’s project files are kept,
- Exports – for the finalized videos and versions,
- Graphics and Assets – where we place any additional media used in the project,
- Audio – separate tracks, music, and sound effects.
By naming our files with clear descriptors and version numbers, we avoid confusion.
For example, ‘Interview_A_001’ tells us the content, subject, and version at a glance.
Consistency in naming your files and a meticulous approach to version control can save hours in the editing room.
We also employ metadata tagging to enhance searchability.
Utilizing a reliable backup system ensures that none of our hard work is lost.
We often use cloud storage plus to physical drives for redundancy.
Regular maintenance of our file system is as crucial as the organization itself.
We allocate time to weed out any unused files and duplicates.
Project autosave settings are a lifesaver when it comes to unforeseen issues.
We set our software to frequently autosave our progress.
Syncing audio and video files before starting the edit can streamline the entire workflow.
Batch sync features found in modern editing software are time-efficient options worth utilizing.
Each step we take towards organizing our files fortifies our editing process against potential hiccups.
It’s all about making our future selves grateful for the time and hassle saved during those marathon editing sessions.
Utilizing Proxy Workflow For Smoother Editing
Editing 4K video can be taxing on even the most robust computer systems.
To alleviate this strain, we turn to a technique known in filmmaking as the proxy workflow.
Working with high-resolution footage directly can bring even high-spec computers to a crawl.
That’s when proxies – lower-resolution versions of our footage – become invaluable.
Proxies offer a smooth editing experience by reducing the file size and minimizing the demand on our computer’s resources.
This process allows for real-time playback and quicker, more responsive edits.
When the edit is locked, we can easily reconnect the original 4K files for final output.
The beauty of the proxy workflow lies in its simplicity and efficiency.
Setting up a proxy workflow involves a few key steps –
- Converting original footage to lower resolution,
- Editing with proxy files seamlessly in our chosen video editor,
- Relinking to the original 4K files once we’ve completed our cuts and transitions.
Our recommended video editing programs support proxy workflows, making them ideal for 4K projects.
Adobe Premiere Pro, Final Cut Pro X, and DaVinci Resolve all have built-in proxy creation and management features.
By mastering the proxy workflow, we make 4K video editing accessible on any computer without the need for expensive hardware upgrades.
The focus remains where it should – on the creative process, not the technical limitations.
Adjusting Playback Settings For Improved Performance
Optimizing playback settings is essential when editing 4K video, especially on computers that aren’t top-of-the-line.
We’ve found that tweaking these can provide smoother playback and a more responsive editing experience.
First off, consider lowering the playback resolution.
Most video editing software allow you to preview your footage at a reduced resolution while maintaining the 4K quality in the final export.
This simple step can substantially decrease the load on your system.
Another useful tip is to disable unnecessary visual effects in the preview.
Some effects, particularly those that are GPU-intensive, can slow down real-time playback.
Temporarily turning these off while editing can lead to a significant boost in performance.
Here’s a quick checklist of changes that can improve playback:
- Lower the resolution of the preview window,
- Turn off high-quality playback,
- Disable fullscreen effects,
- Adjust the I/O buffer size,
- Use fast or draft quality settings for effects.
By reducing the strain on your computer’s processing power, these adjustments allow you to focus on the creative aspects of editing without being bogged down by technical hiccups.
Remember, these changes are for preview purposes – they won’t affect the final export quality, ensuring your film retains its stunning 4K resolution.
Finally, playing around with the software’s I/O hardware settings can also be advantageous.
Adjusting the input/output buffer size may help in improving the sync between audio and video during playback, which is crucial when cutting dialogue-heavy scenes or syncing audio to action.
Keep in mind that each video editing suite has its own unique settings and preferences.
It’s always a great idea to explore these and find the perfect setup that matches your system’s capabilities.
With these adjustments, you’ll be well on your way to editing 4K video fluidly, no matter the caliber of your hardware.
Utilizing Hardware Acceleration For Faster Rendering
We understand that time is of the essence when editing 4K video.
That’s why hardware acceleration is a game changer.
It taps into your computer’s graphics processing unit (GPU) to expedite rendering times and improve overall efficiency.
Even on less powerful computers, hardware acceleration can make a substantial difference.
To enable this feature, you’ll typically need to jump into your video editing software’s settings and find the relevant options.
Here’s what to look out for:
- Video rendering and playback options,
- Encoder settings specific to your hardware.
It’s also vital to ensure that your graphics drivers are up-to-date.
Graphics card manufacturers frequently release updates that enhance performance and compatibility with video editing software.
Many popular video editing applications support hardware acceleration.
Names like Adobe Premiere Pro, Final Cut Pro X, and DaVinci Resolve come with built-in capabilities that leverage the power of GPUs from NVIDIA, AMD, and Intel.
Here are the steps we generally follow:
- Access the software’s preferences or project settings,
- Enable GPU acceleration for rendering and playback,
- Select the appropriate renderer for your GPU brand.
Understanding your software’s hardware requirements is crucial.
Some applications may work better with specific GPUs, and it’s worth researching which combination of hardware and software works best for your setup.
In optimizing our 4K video editing workflow, we’ve seen firsthand how utilizing hardware acceleration can reduce rendering times dramatically.
This allows for a smoother editing experience, even on machines that aren’t top-of-the-line.
Optimal Export Settings For High-quality 4k Videos
Uploading or distributing a 4K video means ensuring the right export settings to maintain quality.
The bitrate is key – too low and you’ll lose clarity, too high and your file size balloons.
For 4K, aim for a bitrate of 35-45 Mbps for a balance of quality and file size.
But, if you’re targeting high-end platforms, you may push this to 60-80 Mbps to preserve the most details.
Exported codec plays a major role too.
H.
264 is widely accepted but for 4K, consider upgrading to H.
265 (HEVC) which offers similar quality with nearly half the file size.
Choosing the right format is critical for compatibility and playback.
While MP4 is universal, MOV offers higher quality thanks to the Apple ProRes or Avid DNxHR codecs.
Frame rate selection should match your project’s shooting frame rate.
Never upconvert – it does not improve quality and only increases file size.
Export resolution must be set at 3840 x 2160 or the full 4096 x 2160 if you’re using true 4K.
Here’s where precision is non-negotiable; any discrepancies can downgrade your footage quality.
Audio settings matter as well, with a sample rate of 48000 Hz being the standard.
Keep your audio bitrate high – around 320 kbps to ensure crystal-clear sound.
We can’t overlook the importance of aspect ratios either.
Most 4K videos use 16:9 but cinematic projects may opt for the wider 21:9.
Ensure your export settings align with your intended display format.
Exporting 4K videos also means a consideration for color depth.
For deep colors and better gradients, 10-bit color depth is the go-to choice.
It’s key for color grading and achieving that film-like look.
finally, it’s vital to select an appropriate color profile.
The Rec.
709 is standard for HD, but for 4K, Rec.
2020 or DCI-P3 will offer a much wider gamut, adding to that high-quality finish.
Don’t hesitate to incorporate these tips into your next project; the differences they’ll make are nothing short of remarkable.
And remember, always run a test export to prevent any surprises before finalizing your video.
How To Smoothly Edit 4k Video On Any Computer – Wrap Up
We’ve armed you with the knowledge to tackle 4K video editing and exporting with confidence.
Remember that the right settings are key to achieving high-quality results while keeping file sizes manageable.
By carefully selecting your bitrate codec format and other critical parameters you’ll ensure your projects stand out.
Don’t forget to run that all-important test export to iron out any kinks before sharing your masterpiece.
Now go forth and create stunning 4K content that’s sure to impress!
Frequently Asked Questions
What Is The Ideal Bitrate For Exporting 4k Videos?
The ideal bitrate for exporting 4K videos depends on the content, but it generally ranges from 30 to 60 Mbps for standard projects.
For high-action footage, you might need a bitrate of up to 100 Mbps.
Which Codec Is Recommended For 4k Video Exports?
The recommended codec for 4K video exports is H.
264 for compatibility or H.
265 (HEVC) for better compression with minimal quality loss.
What Format Should I Export My 4k Video In?
Export your 4K video in an MP4 format for broad compatibility or in MOV format if using Apple devices or editing software that supports ProRes.
What Frame Rate Should Be Used When Exporting 4k Video?
Use the same frame rate at which you shot your video.
Commonly, 24fps is used for a cinematic look, and 30fps or 60fps for smoother motion.
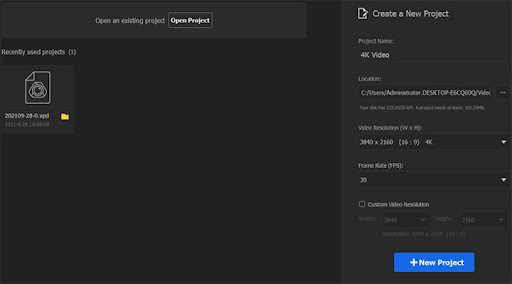
What Are The Optimal Resolution Settings For A 4k Video Export?
The optimal resolution setting for 4K video export is 3840 x 2160 pixels.
Ensure your export settings match your project’s native resolution.
How Should Audio Be Set For 4k Video Exports?
For 4K video exports, the audio bit depth should be 24-bit with a sample rate of 48kHz.
Use AAC codec with a bitrate of at least 320 kbps for good quality sound.
What Aspect Ratio Is Best For 4k Exports?
The best aspect ratio for 4K exports is typically 16:9, which is the standard for 4K UHD video.
How Important Are Color Depth And Color Profile Settings For 4k Video Exports?
Color depth of at least 10-bit and the proper color profile (such as BT.
2020 for UHD) are important for achieving high-quality color reproduction and gradations in 4K video exports.
Should I Run A Test Export Before Finalizing My 4k Video?
Yes, running a test export is crucial to ensure that all settings produce the desired quality and that there are no issues with playback or compatibility.


I seriously love your website.. Very nice colors & theme.
Thanks, Shayne.