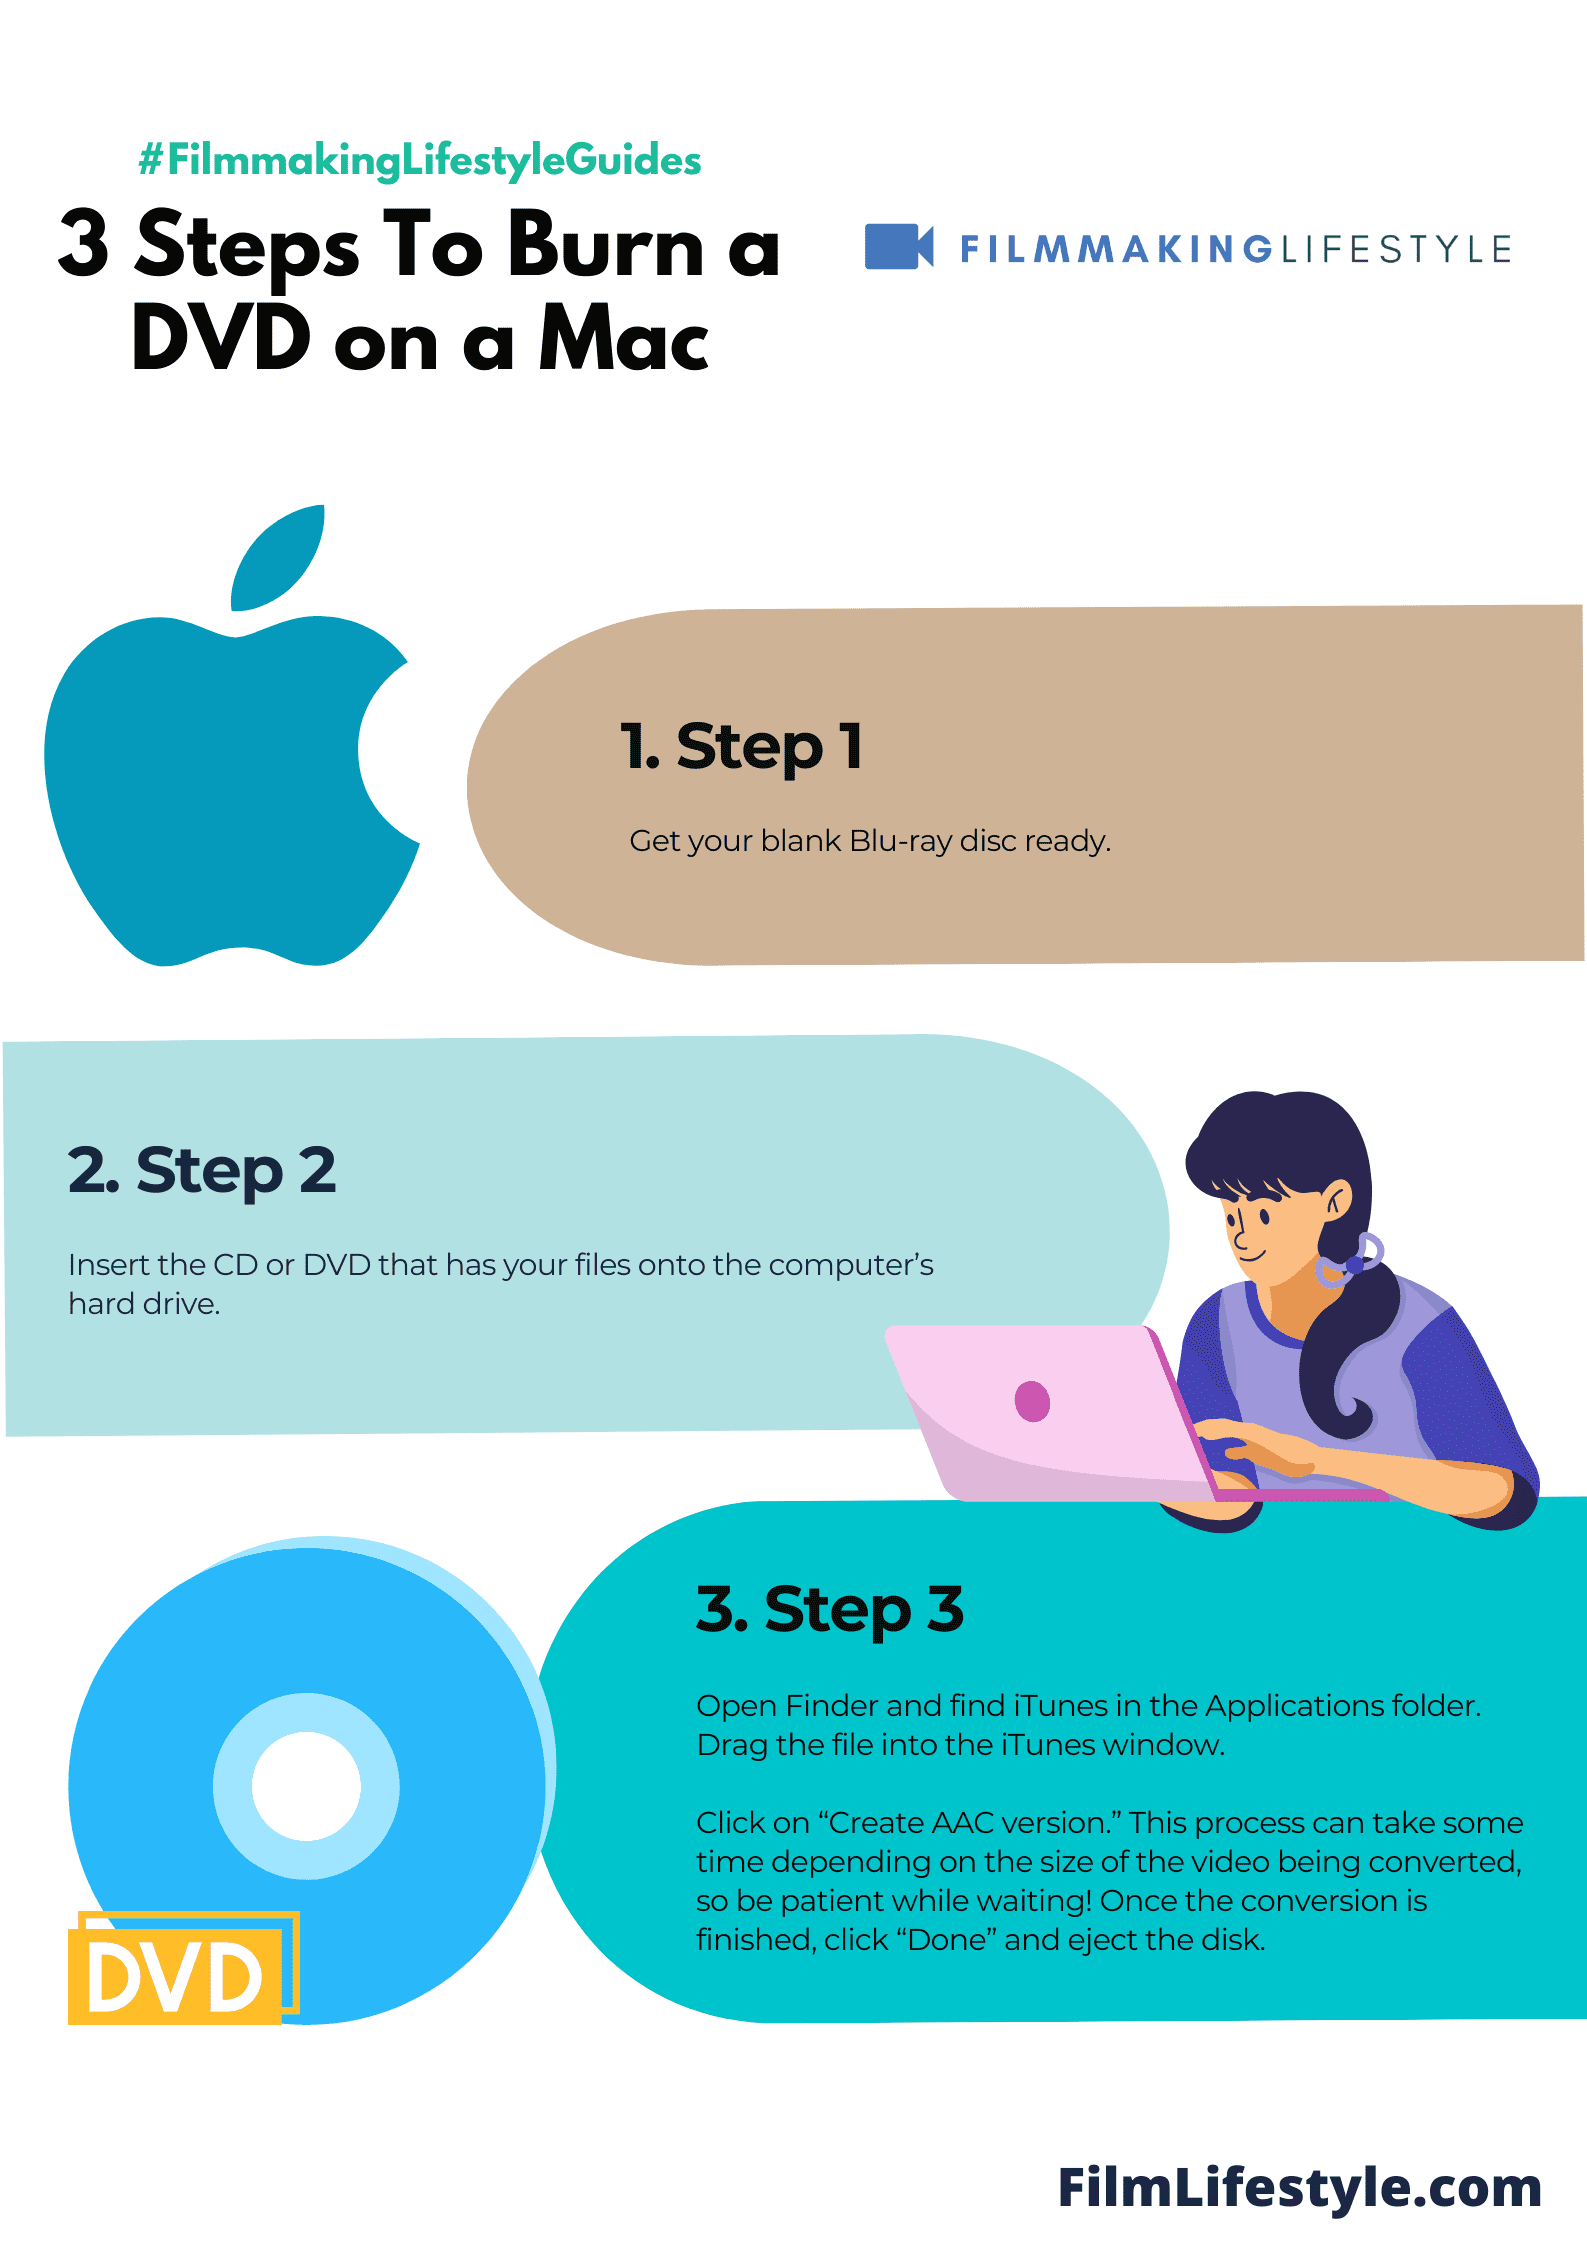
Burning a DVD on a Mac doesn’t have to be a trip down tech-trouble lane.
We’ve got the lowdown on how to easily transfer your precious files to a physical disc.
Whether you’re archiving family memories or prepping a professional presentation, we’ll guide you through each step.
Stay tuned as we reveal the tools you’ll need and the tricks to make the process smooth and hassle-free.
Understanding Dvd Burning On Mac
Burning a DVD on a Mac involves transforming your digital files into a standard format that DVD players can read and play.
It’s a process that can give your film projects a physical form or safeguard your data in a tangible way.
There are various formats to consider when burning a DVD such as DVD-5 or DVD-9.
The former holds up to 4.
7GB while the latter can contain up to 8.
5GB.
To start the DVD burning process you’ll need the right software.
Macs come with built-in tools like Finder and iDVD though the latter is no longer supported on the newest MacOS versions.
Third-party applications offer additional features and can streamline the DVD creation process.
Some popular choices include Burn and Roxio Toast among filmmakers.
Key steps in the DVD burning process are straightforward – – Compile your video files – Choose the right aspect ratio for your film – Determine the DVD format that suits your project’s needs
It’s crucial to ensure your video files are encoded correctly before burning.
Most DVD players require standard video formats like MPEG-2.
Remember that the quality of your burned DVD depends largely on the original file.
Always begin with the highest quality source material you can.
Disc label and menu creation are final touches that make your DVD look professional.
Customize these elements to reflect the content and style of your film.
With Retina displays and 4K quality becoming standard the thought of burning DVDs might seem archaic.
Yet it’s undeniable that there’s a certain charm to having a physical copy of your work.
We must adapt to the times and integrate cutting-edge digital strategies with traditional distribution methods.
This ensures our films reach the widest audience possible in formats that everyone can enjoy.
While digital copies are convenient nothing beats the satisfaction of popping your film into a DVD player and enjoying your work on the big screen.
Whether for private viewings or professional submissions a well-crafted DVD is a filmmaker’s asset.
Choosing The Right Dvd Burning Software
Selecting the ideal DVD burning software is crucial for ensuring your video project transitions smoothly from digital masterpiece to a tangible, shareable disc.
We understand that each filmmaking project has its unique requirements and, similarly, each DVD burning software offers a different set of features and tools.
Our primary goal is to match the project’s needs with the software’s capabilities.
We consider compatibility not just with the macOS version but also with the file formats we’re working with.
The versatility of the software matters, as films often involve various file types.
Key features we look for in DVD burning software include:
- Ease of use – with intuitive interfaces that guide users through the DVD burning process,
- Customization options – for creating interactive DVD menus and stylish disc labels,
- File conversion – supporting a wide range of video formats for hassle-free encoding,
- Editing tools – that enable last-minute tweaks and improvements to our videos,
- Speed and efficiency – because no one wants to wait hours for a DVD to burn.
Some well-known DVD burning applications for Mac such as Burn, Disc Burner, and iDVD have their strengths.
Burn is renowned for its simplicity and no-frills approach, perfect for quick and basic projects.
Disc Burner offers a more robust platform with a wider range of customization features.
And while iDVD was once a go-to for Mac users, its discontinuation has made it less accessible for the latest macOS environments.
Each software gathers a unique following based on user experience.
In our network, we often share insights and reviews on various applications to better inform our choices.
It’s through these community-based evaluations that we’re able to discern which software aligns best with the scope and scale of our projects.
eventually, the right software not only burns DVDs but also enhances our storytelling by providing the finishing touches to our physical media outputs.
Whether it’s a personal project or a commercial release, the chosen DVD burning software is a silent partner in showcasing our creative endeavors.
Gathering Your Files For Burning
Before you start the DVD burning process on your Mac, it’s essential to get all your ducks in a row.
The key here is preparation – ensuring your files are ready to go makes the burning process seamless and trouble-free.
Firstly, consolidate all the video content you intend to include on the DVD.
Check if the files are in a compatible format.
The most common video file types for DVD burning include MP4, MOV, and AVI.
If you’ve created a cinematic masterpiece or an informative documentary, ensure the final version is edited and ready for the audience.
Any.
.
.
Scratch disks are vital during the editing phase, but now’s the time to compile the assets.
Remember to include any additional files that will make the DVD comprehensive.
This may consist of subtitles, alternate audio tracks, or bonus content.
A structured file hierarchy is helpful.
Having the files named logically is a step you’ll thank yourself for later.
Consider a naming convention that includes the project title – Ascent of the Serpent, scene number, and a description.
Well-organized files not only speed up the burning process but also prevent potential hiccups during it.
Here are things to keep in mind:
- Indicate file sequence clearly,
- Include only necessary supplementary files,
- Verify file compatibility – Double-check file integrity.
Audio files are just as critical, especially when they’re separate from your video files.
Ensure they sync up with your visuals perfectly.
The goal is to create a DVD that conveys your story exactly as you envisioned.
Images and artwork for your DVD menu and case should be high resolution and in the correct format.
They play a key role in how users interact with and perceive your DVD so give them the attention they deserve.
Gathering these elements might seem tedious but attention to detail here pays off when your audience experiences the DVD.
The process can be an organizational challenge, but it’s an invaluable step toward a polished, professional end product.
Setting Up Your Dvd Burner
Once we’ve organized our video content and gathered the necessary files, it’s time to set up the DVD burner on our Mac.
Ensuring the burner is correctly connected and recognized by the Mac is
We’ll go through the process, which often involves checking the system report to confirm the device’s connection and functionality.
Connectivity is only part of the setup – we must also select the right software for our DVD burning project.

While Mac’s built-in tools cater to basic needs, we might opt for third-party software with more features.
These provide greater control over video formats, menu creation, and burning speeds, enhancing the final product’s quality.
Choosing the correct format for our DVD is critical.
Whether it’s DVD-5 or DVD-9, the format will dictate our project’s storage capacity and compatibility.
If we’re aiming to distribute our DVDs, ensuring compatibility with a wide range of DVD players is essential.
Here are some considerations:
- Capacity – DVD-5 holds 4.7GB, while DVD-9 can store up to 8.5GB,
- Compatibility – We consider the types of players our audience uses,
- Cost – Dual-layered discs like DVD-9 are typically more expensive.
Not all DVD burners are created equal, and the burning speed greatly influences the time it takes to produce a batch of DVDs.
A faster burner can save us precious time, especially when we’re working on a tight timeline.
But, we also weigh the risk of potential errors with higher speeds against the need for efficiency.
Compatibility and speed are crucial, but we mustn’t overlook the quality of the blank DVDs themselves.
Higher quality discs mean fewer burn errors and a more professional presentation of our video work or feature film like The Grand Escape.
We always recommend using reputable brands that promise longevity and compatibility, ensuring that our content stands the test of time.
By carefully setting up our DVD burner and preparing meticulously, we create DVDs that truly showcase the effort and creativity put into our filmmaking endeavors.
With everything in place, our project inches closer to fruition, transitioning smoothly into the burning phase where our visions become a tangible product.
Burning Your Dvd On Mac
Once the preparation is in place, it’s time to move onto the actual DVD burning process on your Mac.
With the right tools and steps, creating a top-quality DVD depicting your latest project, like Sunset Boulevard or a cherished memory collection, can be straightforward and rewarding.
First up, we’ll need to open our chosen DVD burning software.
We recommend solutions like Burn or iDVD for their user-friendly interfaces and robust feature sets.
Ensure the software is up-to-date to avoid any compatibility issues.
Next, we’re faced with the task of importing our movie files into the application.
Drag and drop functionality usually comes in handy here, providing a seamless transition from our files to the DVD layout screen.
Here’s the crucial part – selecting the right DVD template or menu layout:
- Customizing the DVD menu sets the tone for the viewing experience,
- We can add a personal touch to our project, aligning the visual design with our film’s aesthetic.
After customizing the menu, we proceed to preview our project.
It’s critical to scrutinize every detail before the burning process begins – there’s no undo button once we start!
Following our meticulous preview, we’re ready to initiate the burning process.
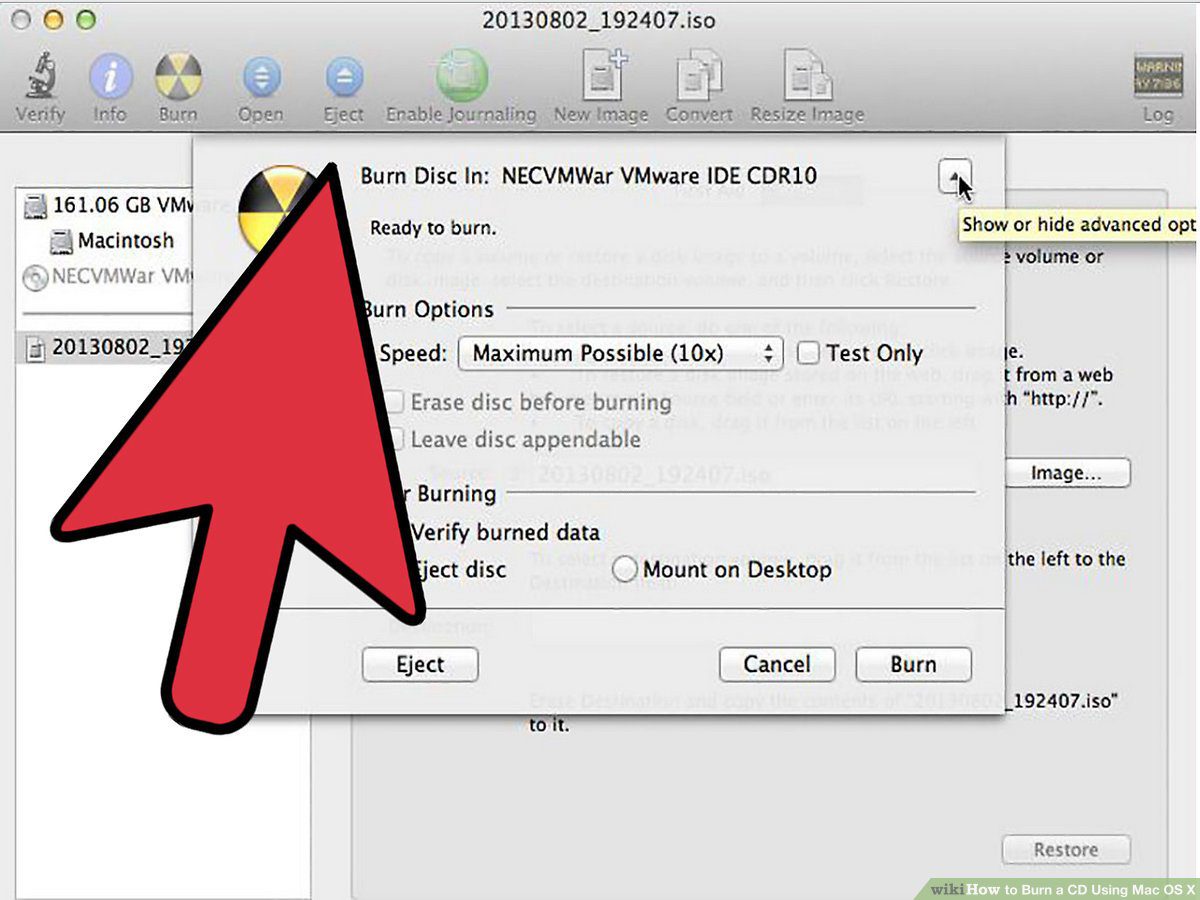
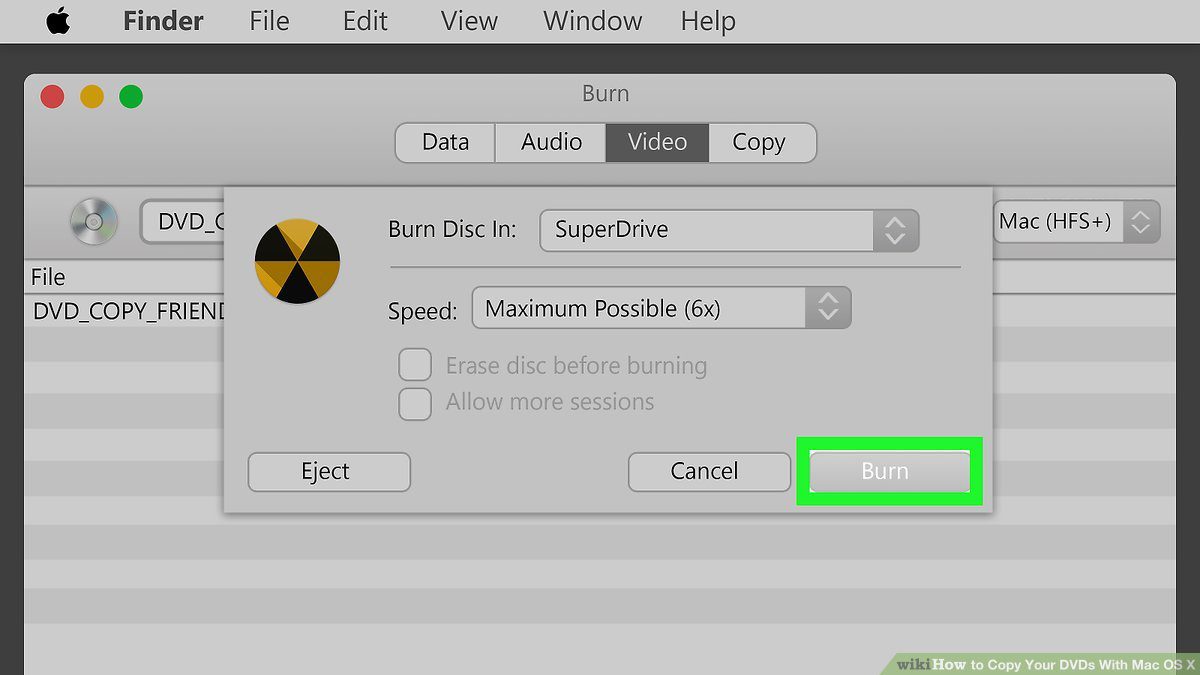
We select the ‘Burn’ option and wait as our Mac transforms the digital files into physical DVD form.
Be sure to keep an eye on the process:
- This is our chance to ensure everything runs smoothly,
- We might need to troubleshoot if any errors pop up.
The software will notify us once the burning is complete.
We then have the option to test the DVD in a player, confirming our creative work has been flawlessly immortalized onto the disc.
Remember, the key to successfully burning a DVD on a Mac lies in patience and attention to detail.
Whether it’s for a film festival submission or sharing our latest work with friends and family, taking the time to meticulously follow each step will yield the best results.
How To Burn A Dvd Mac – Wrap Up
We’ve walked through the steps to ensure your DVD burning process on a Mac is smooth and error-free.
Remember, choosing the right software and template sets the stage for a polished final product.
Always preview to catch any last-minute changes and keep a keen eye for errors during the burn.
With these tips in hand, you’re ready to create professional-looking DVDs right from your Mac.
Here’s to your success in preserving memories or sharing media in a classic format!
Frequently Asked Questions
What Software Is Recommended For Burning Dvds On A Mac?
Burn and iDVD are recommended DVD burning software for Mac users.
Ensure the software is up-to-date before starting the burning process.
How Do I Choose The Right Dvd Template Or Menu Layout?
Select a DVD template or menu layout based on your viewing experience preference.
Software typically provides several customizable options to choose from.
Should I Preview My Dvd Project Before Burning It?
Yes, always preview your DVD project to check for errors or issues before initiating the burning process to ensure the final output meets your expectations.
What Should I Do If I Encounter Errors During The Dvd Burning Process?
Pay close attention to any errors that may occur during the burning process.
Consult the software’s help resources or online forums for troubleshooting tips and solutions.
Is There Anything Important To Remember When Burning A Dvd On A Mac?
Patience and attention to detail are crucial for successfully burning a DVD on a Mac.
Follow step-by-step processes carefully and don’t rush the burning phase.


