
Mastering the art of perfect exposure is crucial in film and photography, and that’s where a light meter comes in.
It’s our trusty sidekick, ensuring that every shot we take is lit to perfection.
Whether we’re dealing with the soft glow of dawn or the harsh midday sun, knowing how to use a light meter can make or break our images.
In this article, we’ll jump into the ins and outs of using a light meter effectively.
We’ll explore its importance in achieving the right exposure and how it can elevate our visual storytelling.
Stick with us, and we’ll show you how to harness the power of light to create stunning, well-exposed photographs and films.
Importance Of Using A Light Meter
In the realm of filmmaking, precision is everything.
A light meter is not just a tool, it’s an essential part of the creative process – it’s where the science of exposure meets the art of cinematography.
These devices help us achieve a consistent look across various scenes.
By measuring the light reflecting from a subject or emanating from a source, they ensure that our visuals maintain a consistent quality, scene to scene.
We rely on light meters to tell us the optimal settings for our cameras – crucial when aiming for the highest quality.
Think of them as a roadmap to the perfect shot that aligns with our vision.
Without a light meter, we’re essentially guessing, which can result in shots that are visually inconsistent.
Even with modern cameras’ advanced built-in meters, a dedicated light meter provides finer control.

Here are a few perks of using a standalone light meter:
- Accuracy – Even in tricky lighting conditions, they give precise readings.
- Speed – They allow us to adjust lighting setups quickly, saving time during shoots.
- dynamic range – They assess the dynamic range better, avoiding over or underexposed footage.
Films like The Revenant utilized light meters to master natural lighting.
This ensured that each frame contributed to a coherent and immersive visual story.
A well-exposed shot is the foundation upon which color grading and other post-production processes build.
With a light meter, we’ve got a solid base that makes the colorist’s job a whole lot easier.
And a solid base is what sets apart memorable films from the rest.
Whether shooting on a soundstage or on location, light meters help us adapt.
They are not a sign of inexperience but rather a hallmark of professionalism and dedication to craft.
Our audiences may never know we used one, but the flawless visuals speak for themselves.
Understanding The Basics Of Light Meter
Light meters are indispensable tools in filmmaking, empowering us to accurately measure the illumination of a scene.
They guide us in selecting the optimal settings for our cameras, ensuring the look matches our vision.
These devices operate by measuring the intensity of light.
Then they suggest the ideal combination of aperture, shutter speed, and ISO for a well-exposed image.
Some light meters offer spot metering capabilities.
This feature provides precise readings for a specific area within the frame, beneficial for intricate lighting setups.
Incident light meters measure the light falling onto the subject.
Our filmmakers favor them for their ability to reflect the scene as the camera sensor perceives it.
Reflective light meters, on the other hand, measure light bouncing off the subject.
They’re useful in gauging the dynamic range and contrast of the environment we’re capturing.
Understanding how to read and interpret the data from a light meter is crucial.
Here’s a quick rundown of key aspects to keep an eye on:
- Exposure value (EV): Indicates the combination of aperture and shutter speed,
- Foot-candles or lux: Units of measure for illumination,
- Dynamic range: The ratio of the lightest light to the darkest dark.
Mastering the use of a light meter leads to consistency throughout our production.
It is a foundational skill that enhances the visual quality of a film like The Revenant.
By utilizing a light meter, we also streamline our workflow.
This preparation allows us to focus more on the creative aspects of filmmaking, trusting our equipment to handle the technical precision.

Different Types Of Light Meters
Understanding the types of light meters available can significantly improve the way we approach a scene.
Each type offers unique features and benefits that cater to the varying demands of film production.
Incident light meters are one of the most common tools we use on set.
They measure the light falling onto a subject.
Incident meters are particularly useful because they’re not influenced by the subject’s reflectance.
Reflective light meters read the light bouncing off the subject.
They’re built into most cameras but can be less accurate for certain scenes, as they measure the brightness of subjects rather than the light itself.
Here’s a brief overview of light meters we might encounter:
- Hand-Held Light Meters – Traditional, portable and can be either incident or reflective.
- In-Camera Meters – Convenient for quick assessments yet can be deceptive in complex lighting conditions.
- Spot Meters – Allow us to measure light from a distance, perfect for pinpointing specific areas in a frame.
- Color Temperature Meters – Essential for ensuring the correct color balance, especially when mixing different light sources.
Using a light meter effectively requires familiarity with its operation.
Continuous practice helps us interpret the readings accurately.
Spend time getting to know your light meter; it’s an investment in the visual consistency of your projects.
How To Use A Handheld Light Meter
When venturing into the realm of filmmaking, mastering the handheld light meter is a crucial skill that can markedly enhance the visual quality of our shots.
Before we start, let’s ensure our light meter is properly calibrated to the camera we’re using.
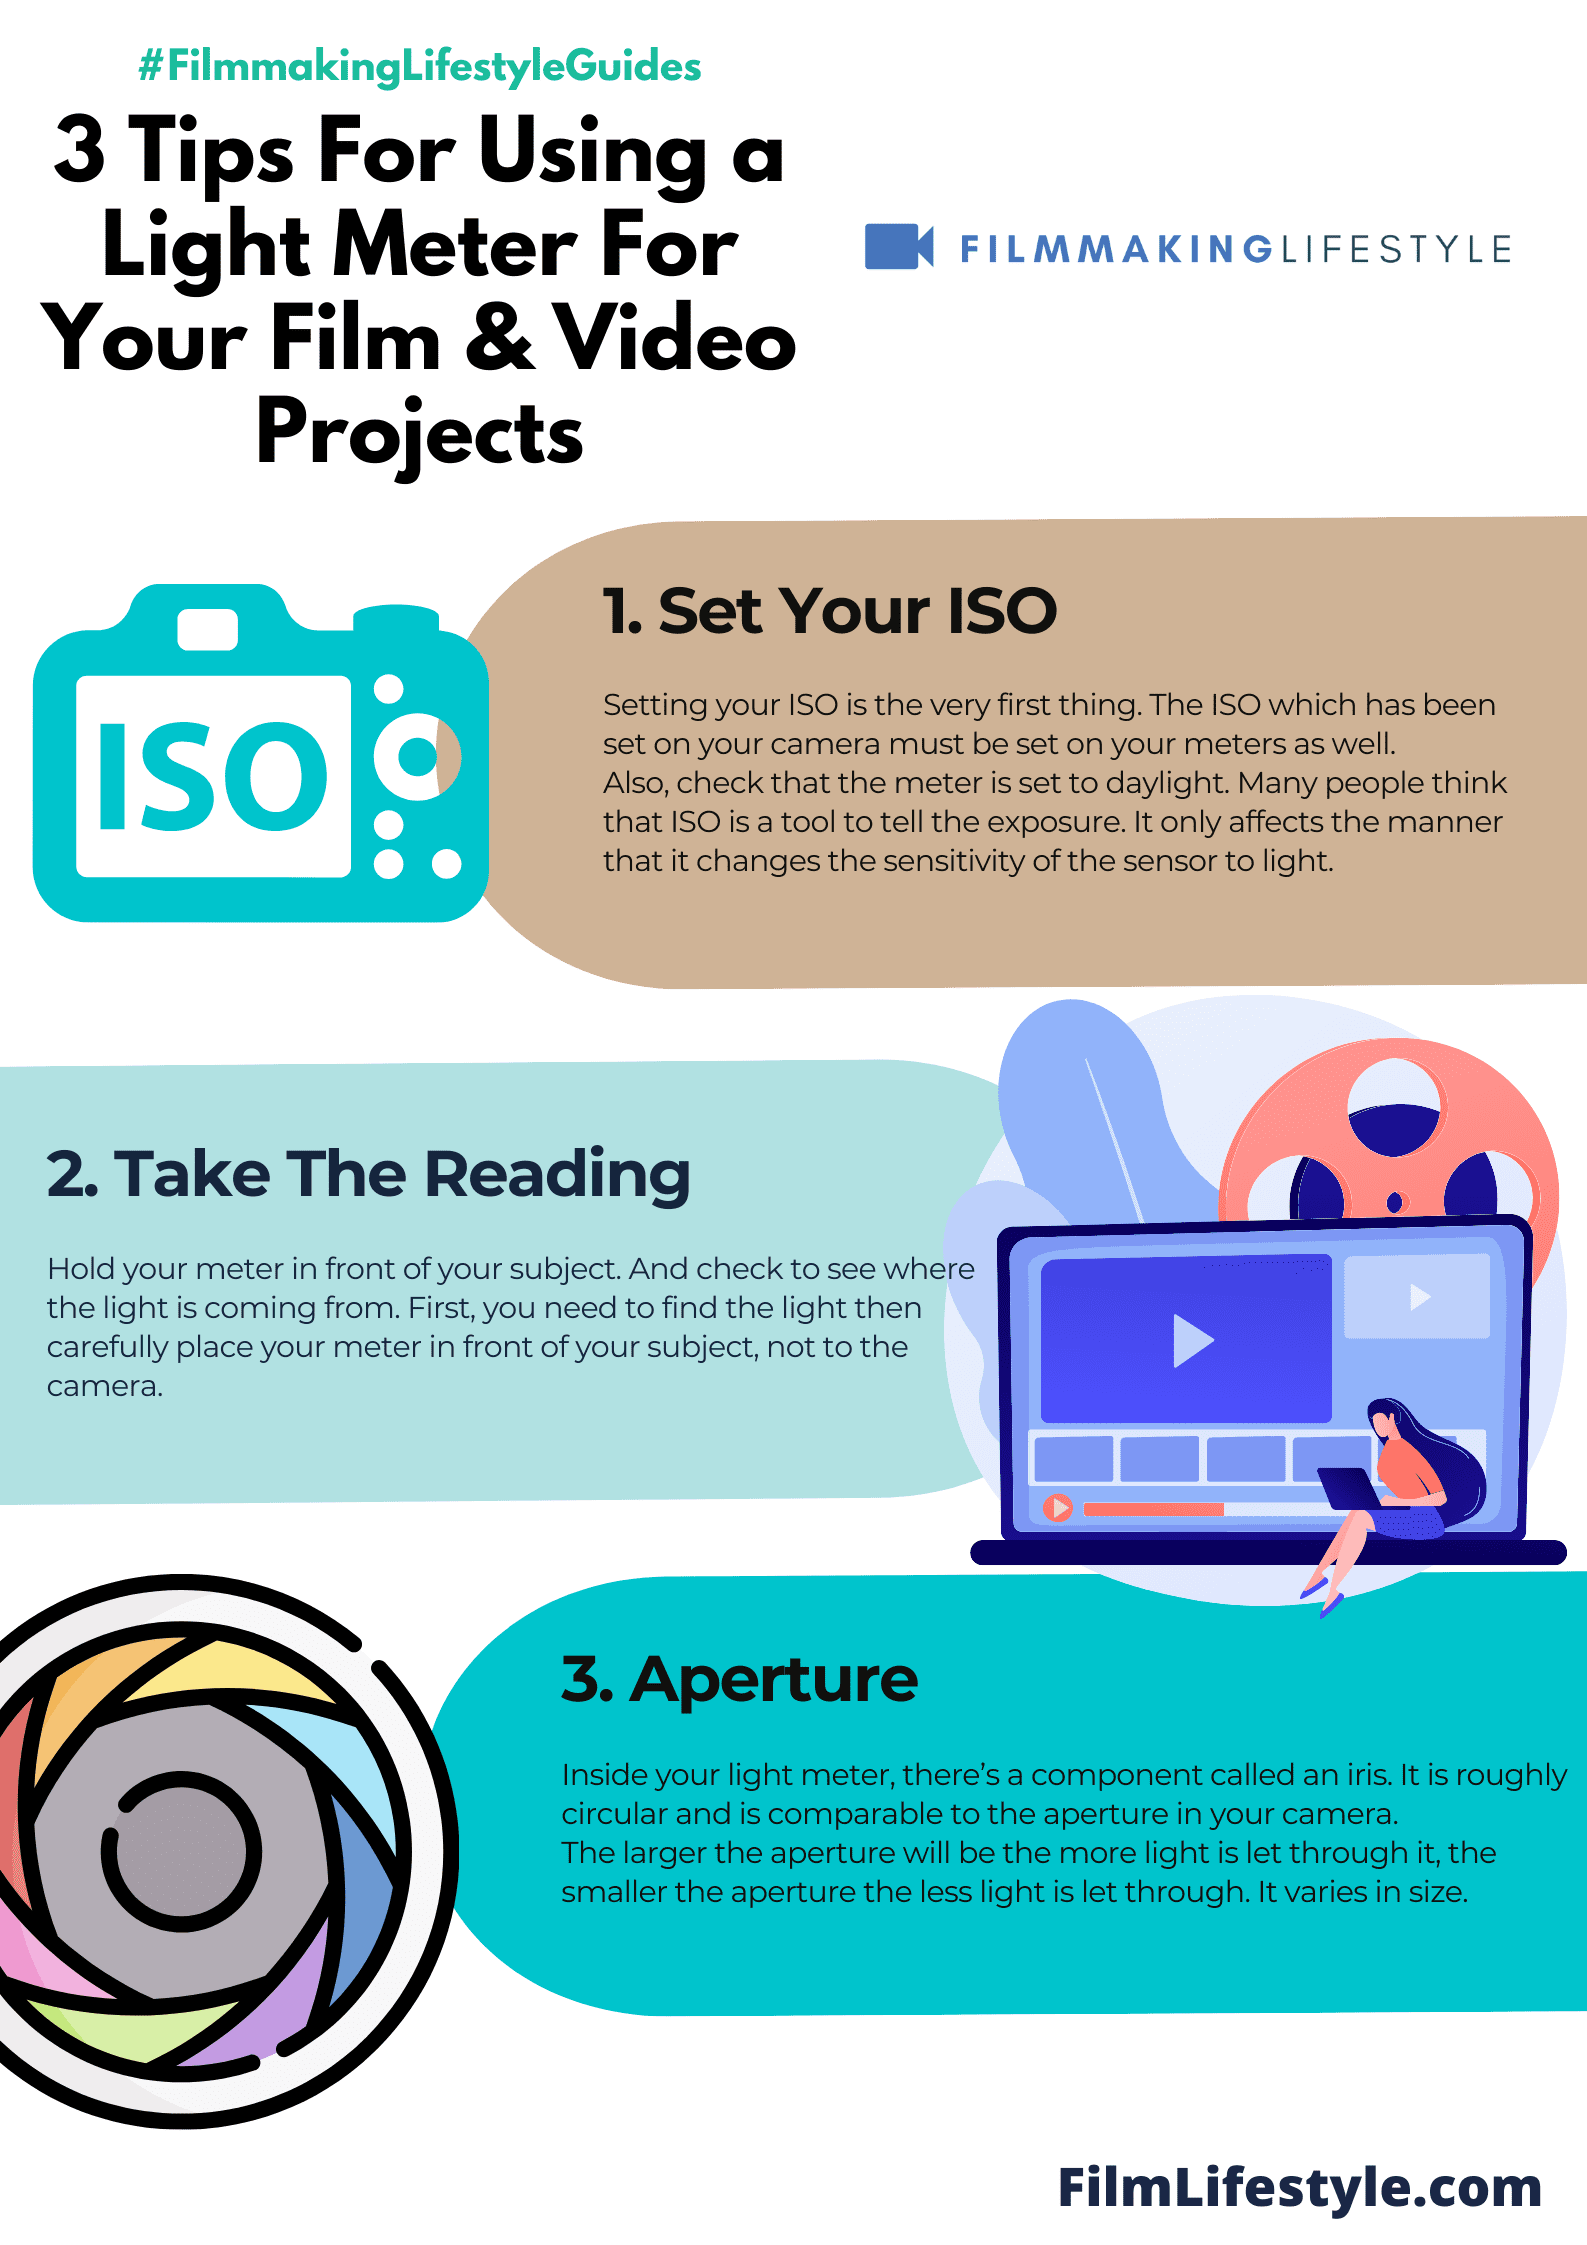
To begin with, we need to set the ISO on the meter to match that of our camera.
This guarantees that our readings will accurately reflect the sensitivity of our camera’s sensor.
Once set, we’re ready to measure the light.
To measure incident light – that is, light falling directly onto the subject – we simply position the light meter in front of the subject, with the white dome towards the light source.
This captures an accurate reading of the light enveloping the subject, resulting in well-exposed footage.
On the other hand, measuring reflective light requires us to aim the light meter at our subject from the camera’s perspective.
This will measure the light bouncing off the subject, offering us a different insight into our scene’s luminance.
Using a handheld light meter involves these steps:
- Calibrate the light meter to the camera’s ISO setting,
- Choose the correct mode (incident or reflective),
- Take the reading from the appropriate position relative to the subject and light source,
- Adjust our camera settings according to the meter’s reading.
By incorporating these practices into our routine, we increase our capability to capture scenes with the desired aesthetic and reduce our reliance on post-production fixes.
With our handheld light meter as a trusty ally, we effectively translate our creative vision onto the screen with the finesse of seasoned filmmakers.
How To Use A Built-in Light Meter In The Camera
Understanding the built-in light meter is essential for achieving the perfect exposure in filmmaking.
These meters, found within the camera, evaluate the light through the lens – hence the term Through-The-Lens (TTL) metering.
First, set your camera to manual mode.
This gives you full control over the exposure settings.
The meter will offer a suggested setting, but you’re in the driver’s seat to make the final call.
Familiarize yourself with the metering modes:
- Spot Metering – this targets a small area of the frame, ideal for scenes with high contrast.
- Center-Weighted Metering – it takes into account the central part of the frame, providing a balance between the spot and evaluative modes.
- Evaluative Metering – the camera measures light across the entire frame with extra focus on the subject, suitable for more complex lighting conditions.
Adjust your aperture, shutter speed, and ISO based on the meter’s reading until the exposure indicator lines up with the ‘0’ mark.
Remember, each scene may require readjusting these settings as lighting conditions change.
It’s crucial to test the meter’s accuracy.
Take a test shot and review the histogram to ensure the shadows and highlights are captured as desired.
If not, make the necessary adjustments and repeat the process.
finally, remember that built-in light meters can be tricked by overly bright or dark environments.
In such scenarios, applying exposure compensation can help correct the meter’s suggestion.
By mastering the use of your camera’s built-in light meter, you’ll be on your way to capturing visually stunning footage with the nuanced exposure that your storytelling deserves.
Tips And Tricks For Using A Light Meter
Optimizing your use of a light meter can drastically improve your film’s visual quality.
We’re here to share some insights that will help refine your technique and ensure your lighting is spot-on.
Understand Your Scene’s Dynamic Range
Before you start metering, assess the dynamic range of your scene.
Knowing the brightest and darkest elements allows you to make informed decisions about exposure.
- Evaluate the luminance of key aspects – such as actors’ faces, background elements, and significant props.
- Aim for a balanced exposure – where important details are neither blown out nor lost in shadow.
Use Incident And Spot Metering Effectively
Switching between incident and spot metering can provide a comprehensive understanding of your scene.
- Incident metering is perfect for getting a baseline light reading.
- Spot metering helps fine-tune highlights and shadows, especially important for scenes with complex lighting.
Bracket Your Exposure For Safety
To ensure you have options in post-production, bracket your exposures.
- Capture your scene at the metered exposure setting.
- Shoot additional takes slightly over and under the suggested value. This technique affords you more flexibility during editing.
Calibrate Your Light Meter Regularly
Calibration is crucial to maintain accuracy.
- Check your light meter against a known reference point regularly.
- If your readings are off, recalibrate your device or seek professional servicing.
Test With A Gray Card
Implementing a gray card in your workflow can lead to more consistent exposures.
- Use the card to establish a reference point under your scene’s lighting conditions.
- Adjust your camera settings based on the gray card reading to achieve a neutral exposure baseline.
Record And Review Your Settings
Keeping a log of your settings can be invaluable.
- Note the details of each scene – such as light levels, meter readings, and final camera settings.
- Review this data to understand your meter’s performance and enhance your technique over time.
By following these tips, you can harness the full potential of your light meter.
The goal is always to convey the intended mood and aesthetic, and precision in lighting plays a pivotal role in achieving this.
Using A Light Meter For Film Photography
Using a light meter during film photography isn’t just a technical necessity; it’s an art form.
It ensures that every frame of our film captures the exact mood and style we’re aiming for.
When mastering the use of a light meter, it’s essential to grasp how it differs between still photography and the continuous motion of film.
For filmmakers, it’s all about the flow of scenes and the consistency from shot to shot.
Here are a few key ways we use light meters to elevate our film projects:
- Understand the light reading – knowing whether our scene requires an incident or a reflective reading helps us capture the scene as we envision it.
- Balance the scene’s light – we use the meter to check the key, fill and back lights to sculpt subjects just right.
To ensure the light plays its part, we often turn to the zone system, which was developed for film photography but applies beautifully to filmmaking.
This technique allows us to pre-visualize our film’s final look and tailor the lighting accordingly.
Once we’ve learnt our meter’s language, we experiment with light ratios to create depth and drama.
For instance, a higher ratio might suggest suspense, while a lower ratio could soften the mood.
Dialing in these subtleties is what makes a film visually gripping.
We also must be mindful of our film stock’s latitude.
Different films have varying capacities to handle light and shadow, and using our light meter helps us record with precision.
We always take note of:
- Film sensitivity (ISO/ASA) – as it affects the meter’s reading.
- Light quality and sources – since different lighting setups require a nuanced approach with our meter.
By integrating these practices, we take control of our film’s visual narrative.
With the light meter as our guide, we craft each scene to reveal just what our vision demands.
With the aforementioned usage and emphasis on consistency, our final product resonates with our intended artistic expression.
Using A Light Meter For Digital Photography
While it’s true that digital cameras offer built-in light metering systems, seasoned photographers know that external light meters are crucial for precision.
They provide an unmatched level of control over exposure that even the most advanced in-camera meters can’t match.
By relying on a handheld light meter, we can take incident light readings, which measure the light falling on the subject.
It’s often more accurate than reflectance readings from the camera’s meter, which measures light bouncing off the subject.
The benefits of using an external light meter in digital photography are substantial –
- They offer readings unaffected by the subject’s reflectivity, leading to more consistent exposures.
- We get to enjoy a broader dynamic range, ensuring highlights and shadows retain detail that might otherwise be lost.
also, when working in complex lighting conditions, an external light meter helps us to quickly measure contrast ratio.
This ensures that we maintain the desired mood and texture of the image by controlling which areas fall into shadow and which are highlighted.
For digital photographers dabbling in the world of filmmaking, understanding how to use a light meter can translate into better exposure control over their motion pictures.
As we craft our films, we should also consider the interaction of moving light, which adds another layer of complexity to exposure settings.
Utilizing a light meter properly requires frequent practice.
Here are some steps to integrate this tool seamlessly into your workflow –
- Test your light meter with a variety of camera settings to understand its responsiveness.
- Make it a habit to record the readings for different scenes and compare them with your camera’s exposures.
Remember, mastering the light meter takes patience and dedication, just like any other aspect of photography or filmmaking.
Once we’ve honed this skill, the potential for artistic expression and technical consistency in our digital images is greatly amplified.
Common Mistakes To Avoid When Using A Light Meter
Navigating the nuances of a light meter can be challenging.
We’ve seen many filmmakers fall into common pitfalls that can thwart an otherwise flawless scene.
Over-reliance on camera displays can mislead even the most seasoned professionals.
We understand the instinct to trust the digital age, but nothing replicates the accuracy of a dedicated light meter.
Forgetting to account for dynamic range is another misstep to watch for.
Without this consideration, shadows may lose detail or highlights could become blown out.
Remember, incident and reflective metering serve different purposes:
- Incident metering is best for getting the light falling on the subject.
- Reflective metering reads the light bouncing off the subject and the surroundings.
Disregarding to recalibrate one’s light meter is akin to flying blind.
Consistency hinges on a meter that’s properly adjusted to current lighting conditions.
Neglecting the zone system in film can stifle your creative output.
This technique aids in visualizing how the final scene will render, especially in black and white film.
Dismissing the importance of film stock latitude can be a critical oversight.
Each film has a unique way of capturing light and shadow, and understanding this can elevate the visual storytelling.
finally, being too rigid in the process stifles creativity.
While we reverence the technicalities at our fingertips, it’s the art of playing with light that truly kindles magic on the screen.
How To Use Light Meter In Film And Photography – Wrap Up
Mastering the light meter’s use is essential for any serious filmmaker or photographer aiming for top-notch visual quality.
We’ve shared our insights on how to harness this tool for precision, but remember that flexibility and creativity are just as vital.
By avoiding common pitfalls and embracing the zone system, we can elevate our work to new heights.
Let’s keep our light meters calibrated, our eyes on the dynamic range, and our minds open to the endless possibilities that await us in the realm of film and photography.
Happy shooting!
Frequently Asked Questions
What Is The Primary Use Of A Light Meter In Filmmaking?
A light meter is essential in filmmaking for measuring and establishing the correct exposure to ensure that the visual quality of the scene is precise and consistent.
How Can A Filmmaker Optimize The Use Of A Light Meter?
Filmmakers can optimize the use of a light meter by understanding the scene’s dynamic range, utilizing both incident and spot metering, bracketing exposures for safety, regularly calibrating the meter, testing with a gray card, and recording settings for review.
Why Is It Important To Avoid Over-reliance On Camera Displays?
Camera displays can be misleading due to their calibration and ambient light conditions.
A light meter provides a more accurate and reliable measurement of exposure.
What Are Common Mistakes To Avoid When Using A Light Meter?
Common mistakes include neglecting the dynamic range of the scene, over-reliance on camera displays, and failing to recalibrate the light meter periodically.
How Does The Zone System Benefit Filmmakers In Using A Light Meter?
The zone system helps filmmakers define and control the various tonal ranges within a scene, allowing for better exposure decisions and consequently enhancing the final image quality.
Why Is Knowing The Latitude Of Film Stock Important?
Understanding film stock latitude is crucial as it defines the range of exposures the film can capture details in both highlights and shadows, influencing the choice of settings on a light meter.
Is Recalibrating A Light Meter Necessary, And If So, Why?
Yes, recalibrating a light meter is necessary to maintain its accuracy over time as it may drift from its original settings due to regular use or environmental factors.
Videography. How do set gain on a camcorder with a hand light meter? Or any other settings?
To set the gain and other settings on a camcorder using a hand-held light meter, I’d do something like this:
Determine the camcorder’s native ISO or gain: Check the camcorder’s specifications or manual to find its native ISO or gain value. This is the sensitivity level where the camcorder performs best in terms of noise and dynamic range.
Set the camcorder’s frame rate and shutter speed: Choose the desired frame rate (e.g., 24, 30, or 60 fps) and shutter speed (usually double the frame rate, e.g., 1/48, 1/60, or 1/120) on your camcorder.
Meter the scene: Turn on the hand-held light meter and choose the appropriate mode, usually cine mode or video mode. Set the ISO/gain value, frame rate, and shutter speed to match your camcorder’s settings.
Measure the incident light: Point the light meter’s white dome toward the camera lens from the subject’s position to measure the incident light. The light meter will provide an aperture value (f-stop) that you should set on your camcorder to achieve proper exposure.
Set the aperture on the camcorder: Adjust the aperture (iris) on your camcorder according to the f-stop value provided by the light meter.
Adjust the gain/ISO if necessary: If the scene is too dark or too bright, and you can’t achieve proper exposure by adjusting the aperture, you may need to adjust the gain/ISO on your camcorder. Keep in mind that increasing the gain/ISO can introduce noise and reduce the dynamic range of the image.
Check exposure using the camcorder’s tools: Use the camcorder’s waveform monitor, histogram, or zebra patterns to confirm that you have achieved the desired exposure.
White balance: To ensure accurate colors, set the camcorder’s white balance according to the type of light source in your scene (e.g., daylight, tungsten, or custom).
Focus: Manually focus your camcorder on the subject to ensure sharpness and avoid focus hunting.
Record: Once you’ve set the exposure, white balance, and focus, you can start recording your video.
Hope that helps! I’ll add it to the post, too.