
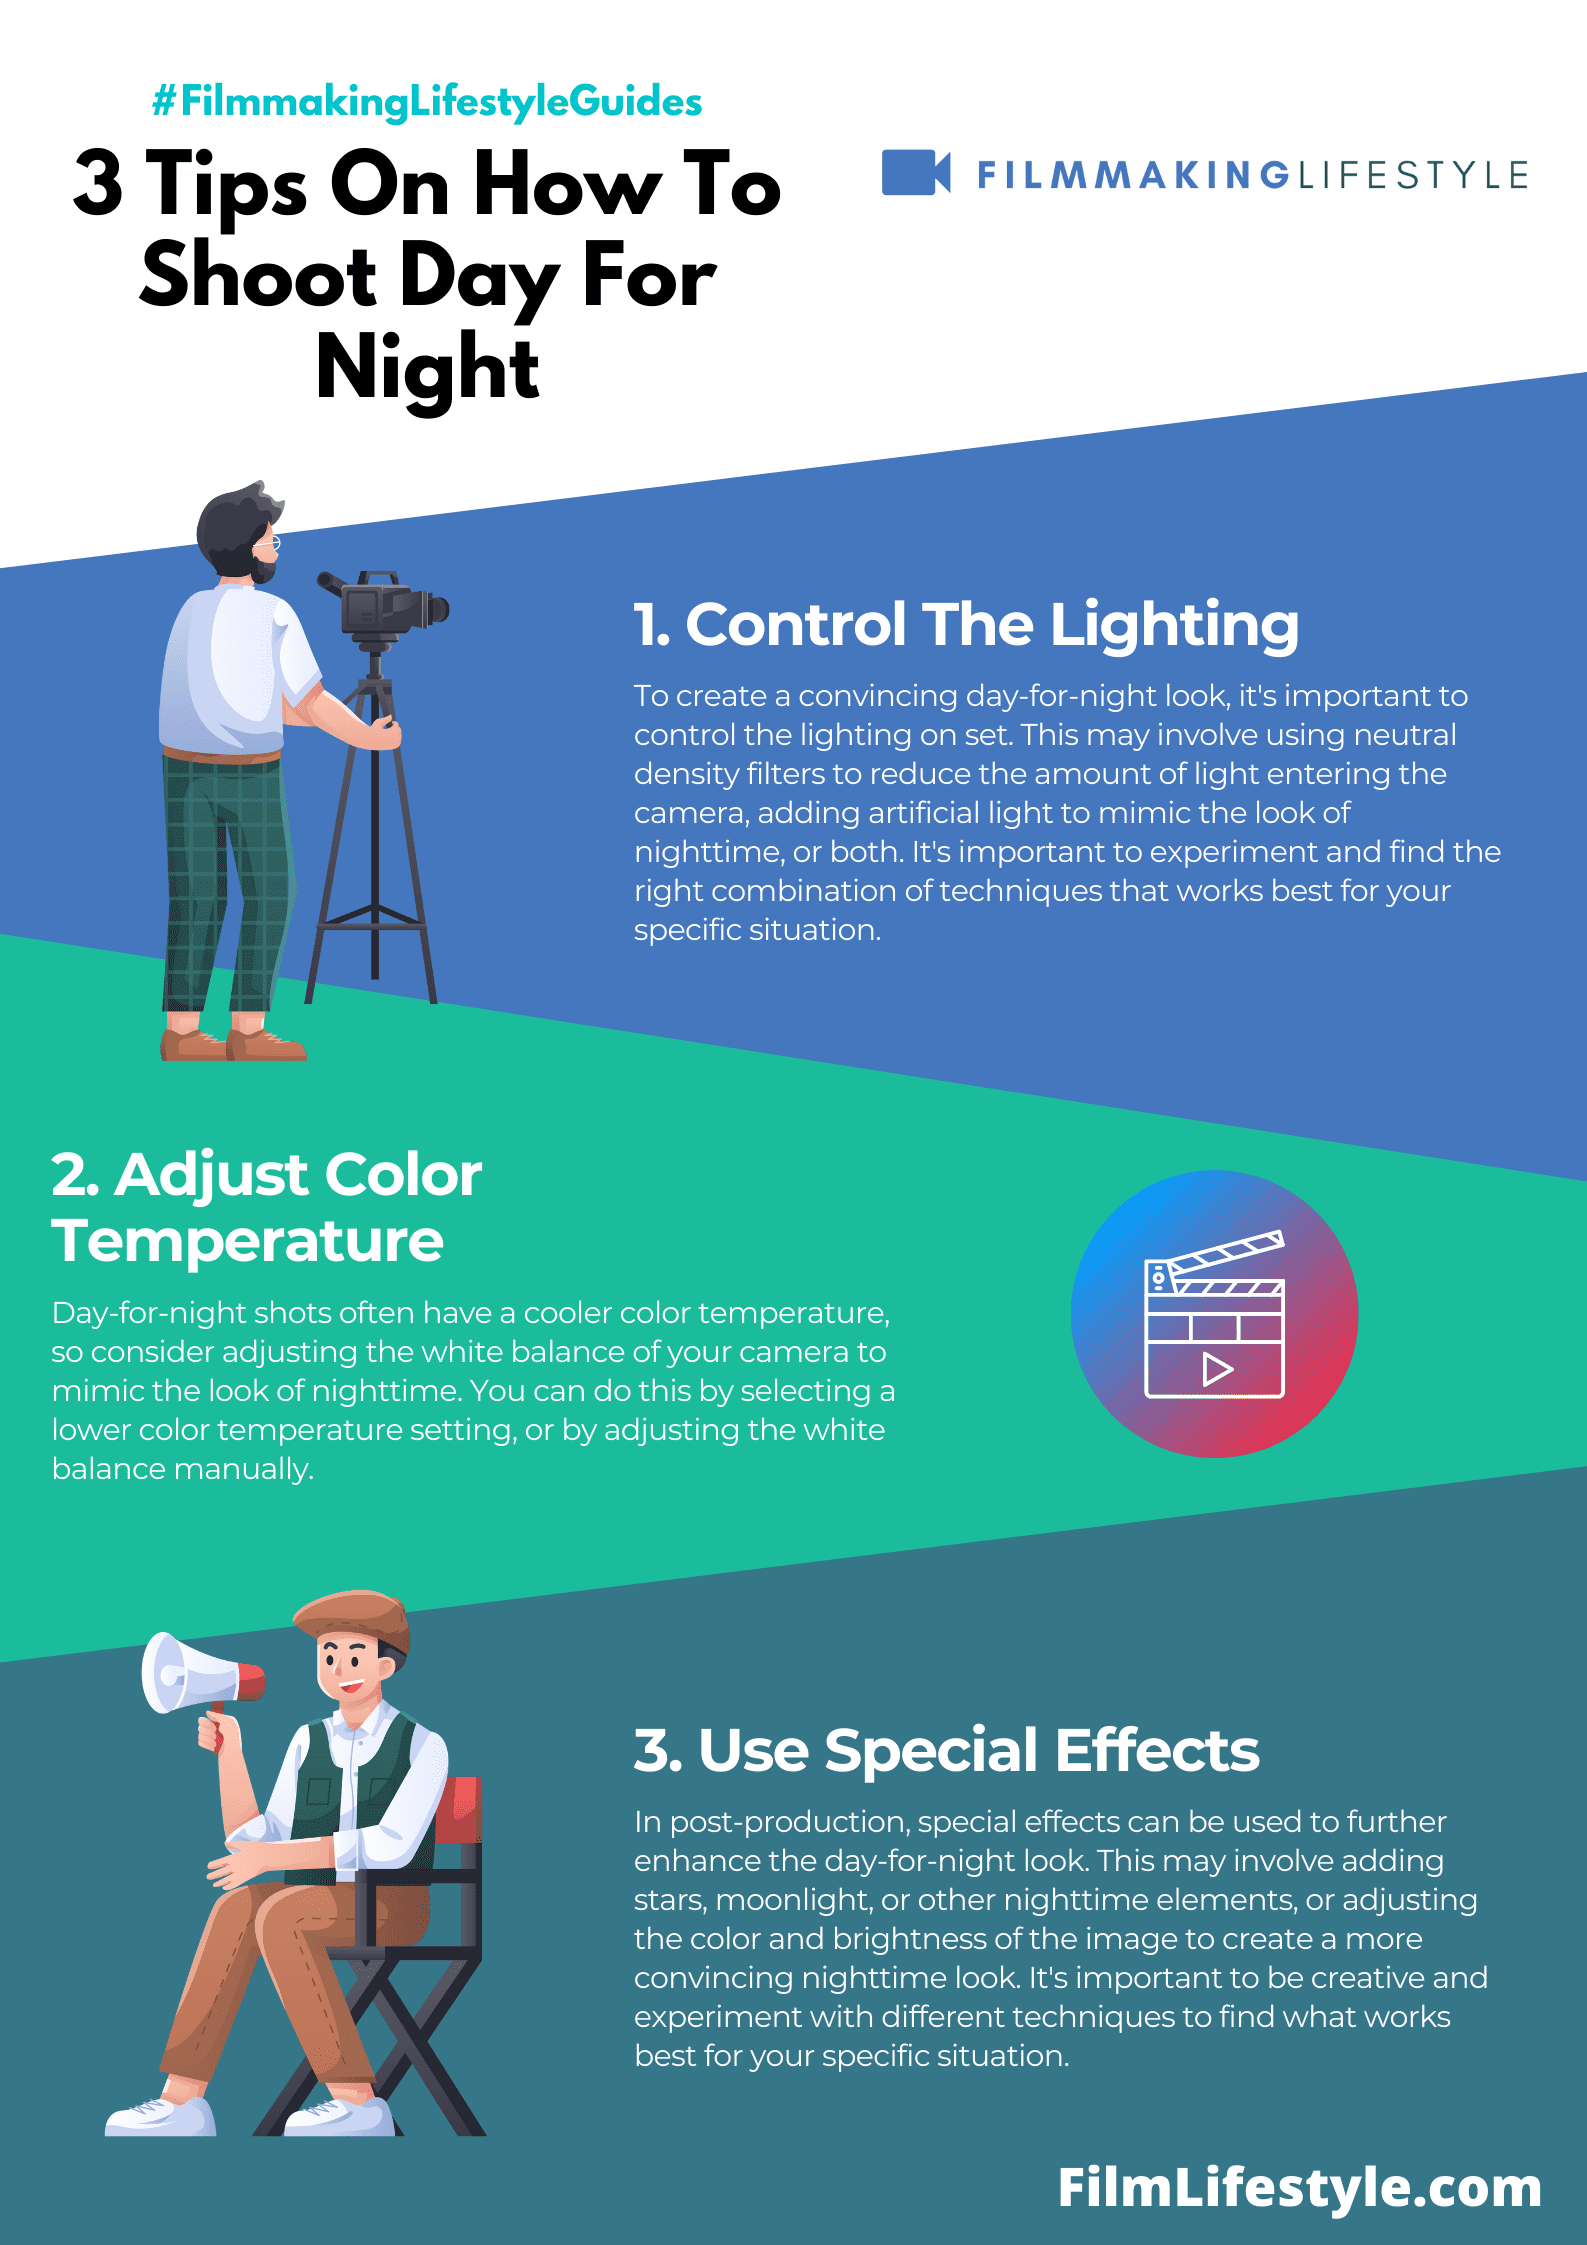
Shooting day for night is a clever trick we filmmakers use to turn bright daylight into moody night scenes.
It’s all about manipulating light and color to convince the audience it’s a different time of day.
We’re about to jump into the secrets behind this cinematic sleight of hand, guiding you through the steps to achieve that perfect nocturnal illusion.
How To shoot day For Night
What Is Shooting Day For Night?
Day for night photography is a unique type of photography that involves shooting with a long exposure to capture the motion of subjects in motion.
The subject is often something that moves very quickly that you would not be able to capture by using a shutter speed of 1/250s or faster.
The duration of the exposure can be anywhere from 30 seconds up to several minutes depending on the amount of light available at night, and the speed and direction of movement of your subject.
What Is Day For Night?
Day for night is a cinematic technique that filmmakers have used for decades to simulate nighttime scenes during daylight hours.
It involves carefully controlling the exposure and manipulating the color temperature of the footage to give the impression of moonlight rather than sunlight.
Mastering day for night shooting can save us time and money while providing greater control over safety and consistency.
Lighting conditions are more manageable, and there’s no need to contend with the unpredictability of shooting after dark.
The technique owes its origins to the era of black and white film, where contrast and filters were the primary tools for creating a night-like atmosphere.

In the realm of color film and digital, day for night has evolved significantly with advances in camera technology and post-production software.
Today, it’s not just about underexposing the image or adding blue filters – it’s an art that requires a nuanced understanding of light, color, and digital effects.
To achieve a convincing day for night effect, certain elements are crucial –
- Adjusting the white balance to cooler tones to mimic moonlight,
- Utilizing low-key lighting to create deep shadows and reduce highlights,
- Careful post-production color grading to refine the hues and contrasts.
Our goal is to maintain the illusion of night by making smart decisions on set and in the editing room.
Awareness of the position of the sun and the natural ambient light plays a vital role in maintaining consistency across shots.
With the right approach, audiences will never suspect that the eerie night scene they’re watching was actually shot in broad daylight.
The Importance Of Lighting
In the journey of transforming daytime footage into night, lighting plays the pivotal role.
It’s not just about dimming the sunlight; it’s about sculpting the light to mimic the moon’s effect.
Manipulating shadows and highlights becomes crucial.
Diffused lighting often works best to soften shadows that would otherwise appear too harsh in the midday sun.
We’re looking for a subtle transition, one that suggests the soft luminescence of the moon rather than the bright intensity of the sun.
Selecting the right angle for the lights is fundamental to creating a believable night scene.
The direction from which the light hits the scene will determine where the shadows fall and can either enhance the mood or break the illusion.
Particular attention should be given to:
- The quality of light – ensuring it is soft and even,
- The direction of light – to cast realistic night-time shadows,
- The color temperature of the light – cooler tones suggest moonlight.
When we try to recreate the nighttime, we need to consider the absence of light just as much as its presence.
Strategic use of negative fill can increase contrast in certain areas, promoting the idea that these parts of the frame are obscured by the night.
As we craft our day for night scenes, we continuously adjust and balance lighting elements.
The interplay between light and dark crafts the night’s ambience and our understanding of the time of day dictates the methods we adapt on set.
Choosing The Right Location
Selecting an optimal location is
We look for environments that naturally contain elements indicative of nightfall.
Locations with sparse natural light allow us to control the artificial light sources better, ensuring they mimic moonlight effectively.
We also consider the geographic features that will play into the night illusion.

Open fields with little surrounding vegetation might betray the intended nighttime feel as they are typically well lit by sunlight during the day.
On the other hand, areas with dense trees can create excessive shadows, making lighting control more challenging.
Here are factors we keep in mind while scouting locations:
- Natural obstructions that could block sunlight,
- Possibilities for hiding artificial lights,
- Presence of reflective surfaces that may need dampening.
Geographical orientation plays a role in the quality of the light as well.
East or west facing locations can drastically affect how we manage the shadows and highlights during filming.
also, we’re attentive to avoid skylines unless they’re essential for the scene since bright skies can ruin the illusion of darkness.
Sound pollution is another aspect we can’t ignore.
While our focus remains on the visual components, locations near busy roads or industrial areas can introduce unwanted noise that hinders post-production.
So, we opt for quieter locales where possible.
Every detail counts in creating the perfect nighttime ambiance.
From the texture of the location’s ground to the height of trees or buildings, these elements affect how light is absorbed or reflected, impacting the overall believability of our day for night setups.
Camera Settings And Techniques
Adjusting your camera settings is crucial to nailing the day for night look.
We’ll start by dialing down the exposure.
Lowering the ISO and closing the aperture can effectively reduce the amount of light hitting the sensor, simulating the low illumination characteristic of night.
Shooting at a higher frame rate can also contribute to the night-time aesthetic.
This technique enhances the effect of motion blur, making the footage appear more surreal, which is often how we perceive scenes in low light conditions.
We must prioritize the shutter speed to maintain control over the motion.
The standard rule here is to set the shutter speed double the frame rate.
But for day for night, we sometimes need to adjust this to avoid overexposure during the brighter shooting conditions.
The choice of lens plays a part as well.
Opting for a lens with a deeper depth of field can help mimic the eye’s focus at night.
We often shoot wide; But, a narrower field can also be used strategically to direct viewers’ attention and enhance the night-like environment.
We’ll also look into effective filtration – neutral density (ND) filters are our best friend when attempting to shoot day for night.
The ND filter acts like sunglasses for the camera, reducing the intensity of the incoming light, and allowing us to maintain artistic control over the aperture and depth of field, without overexposing the image.
- Neutral Density Filters – These are essential for controlling light,
- Shutter Speed Adjustments – To manage motion blur and light intake,
- Aperture and ISO Settings – Lower settings to decrease exposure,
- Lens Selection – Choosing the appropriate depth of field for the desired effect.
Finally, in-camera settings such as picture profiles can drastically change the outcome.
We prefer using flat or log profiles that provide more flexibility in post-production.
It’s essential to capture as much detail as possible, which these profiles support, especially in the shadows and highlights where detail can often be lost in poorly-lit scenarios.
Color Correction In Post-production
When we’ve captured our day for night footage, the real magic unfolds in post-production.
This is where color correction plays a pivotal role in solidifying the believability of our nighttime illusion.
Adjusting the color palette is essential to evoke the cool, moody tones typically associated with the night.
We often dial down the blues and boost the blacks, ensuring that shadows are deep yet detailed.
The white balance we set in-camera may need further tweaking – especially important for maintaining consistency across various shots.
Our goal here is to match the cooler temperature that nighttime scenes suggest without losing realism.
Balancing contrast levels is a delicate dance we must perfect.
It’s this balance that helps transform a scene shot in the bright noon sun into one that appears as if lit by the soft glow of the moon.
We sometimes use secondary color correction to target specific colors within the image.
For example:
- If there’s too much green in the foliage, we’ll desaturate it.
- We’ll add a hint of blue to the overall image to enhance the night-time feel.
Artifacts such as noise can become more apparent after color correction.
We mitigate this by applying noise reduction filters, but we’re careful not to soften the image too much or we risk losing detail.
finally, we might add in some digital effects that help sell the night – like a softly glowing moon or subtle fog creeping in the background.
These small touches contribute significantly to the overall mood and help in telling our visual story.
How To Shoot Day For Night – Wrap Up
We’ve equipped you with the tools and techniques you need to master the day for night shooting process.
By carefully adjusting your camera settings and embracing the power of post-production, you’ll create stunning nighttime visuals regardless of the actual time of day.
Remember, the magic lies in the details—white balance, exposure, and careful color grading are your allies in this cinematic deception.
With practice and attention to detail, we’re confident you’ll transform your daylight footage into a convincing nocturnal masterpiece that captivates your audience.
Now it’s time to grab your camera and bring those after-dark scenes to life, no matter the hour.
Frequently Asked Questions
What Is “day For Night” In Filmmaking?
Day for night is a cinematic technique used to simulate nighttime scenes during the day.
It involves manipulating light and color to create the illusion of night.
How Has Day For Night Technique Evolved?
The day for night technique has evolved with advancements in camera technology and post-production software, allowing for more realistic nighttime scenes.
What Are The Key Elements To Achieve A Convincing Day For Night Effect?
The key elements include adjusting white balance, using low-key lighting, and performing careful post-production color grading.
Why Are Camera Settings Crucial In Creating A Believable Day For Night Look?
Camera settings like exposure, frame rate, shutter speed, lens choice, and neutral density filters are crucial for capturing detail and setting the right mood for day for night scenes.
How Important Is Post-production In The Day For Night Process?
Post-production is vital for day for night scenes, involving color correction to adjust the color palette, white balance, contrast levels, and applying noise reduction filters to enhance the nighttime illusion.