
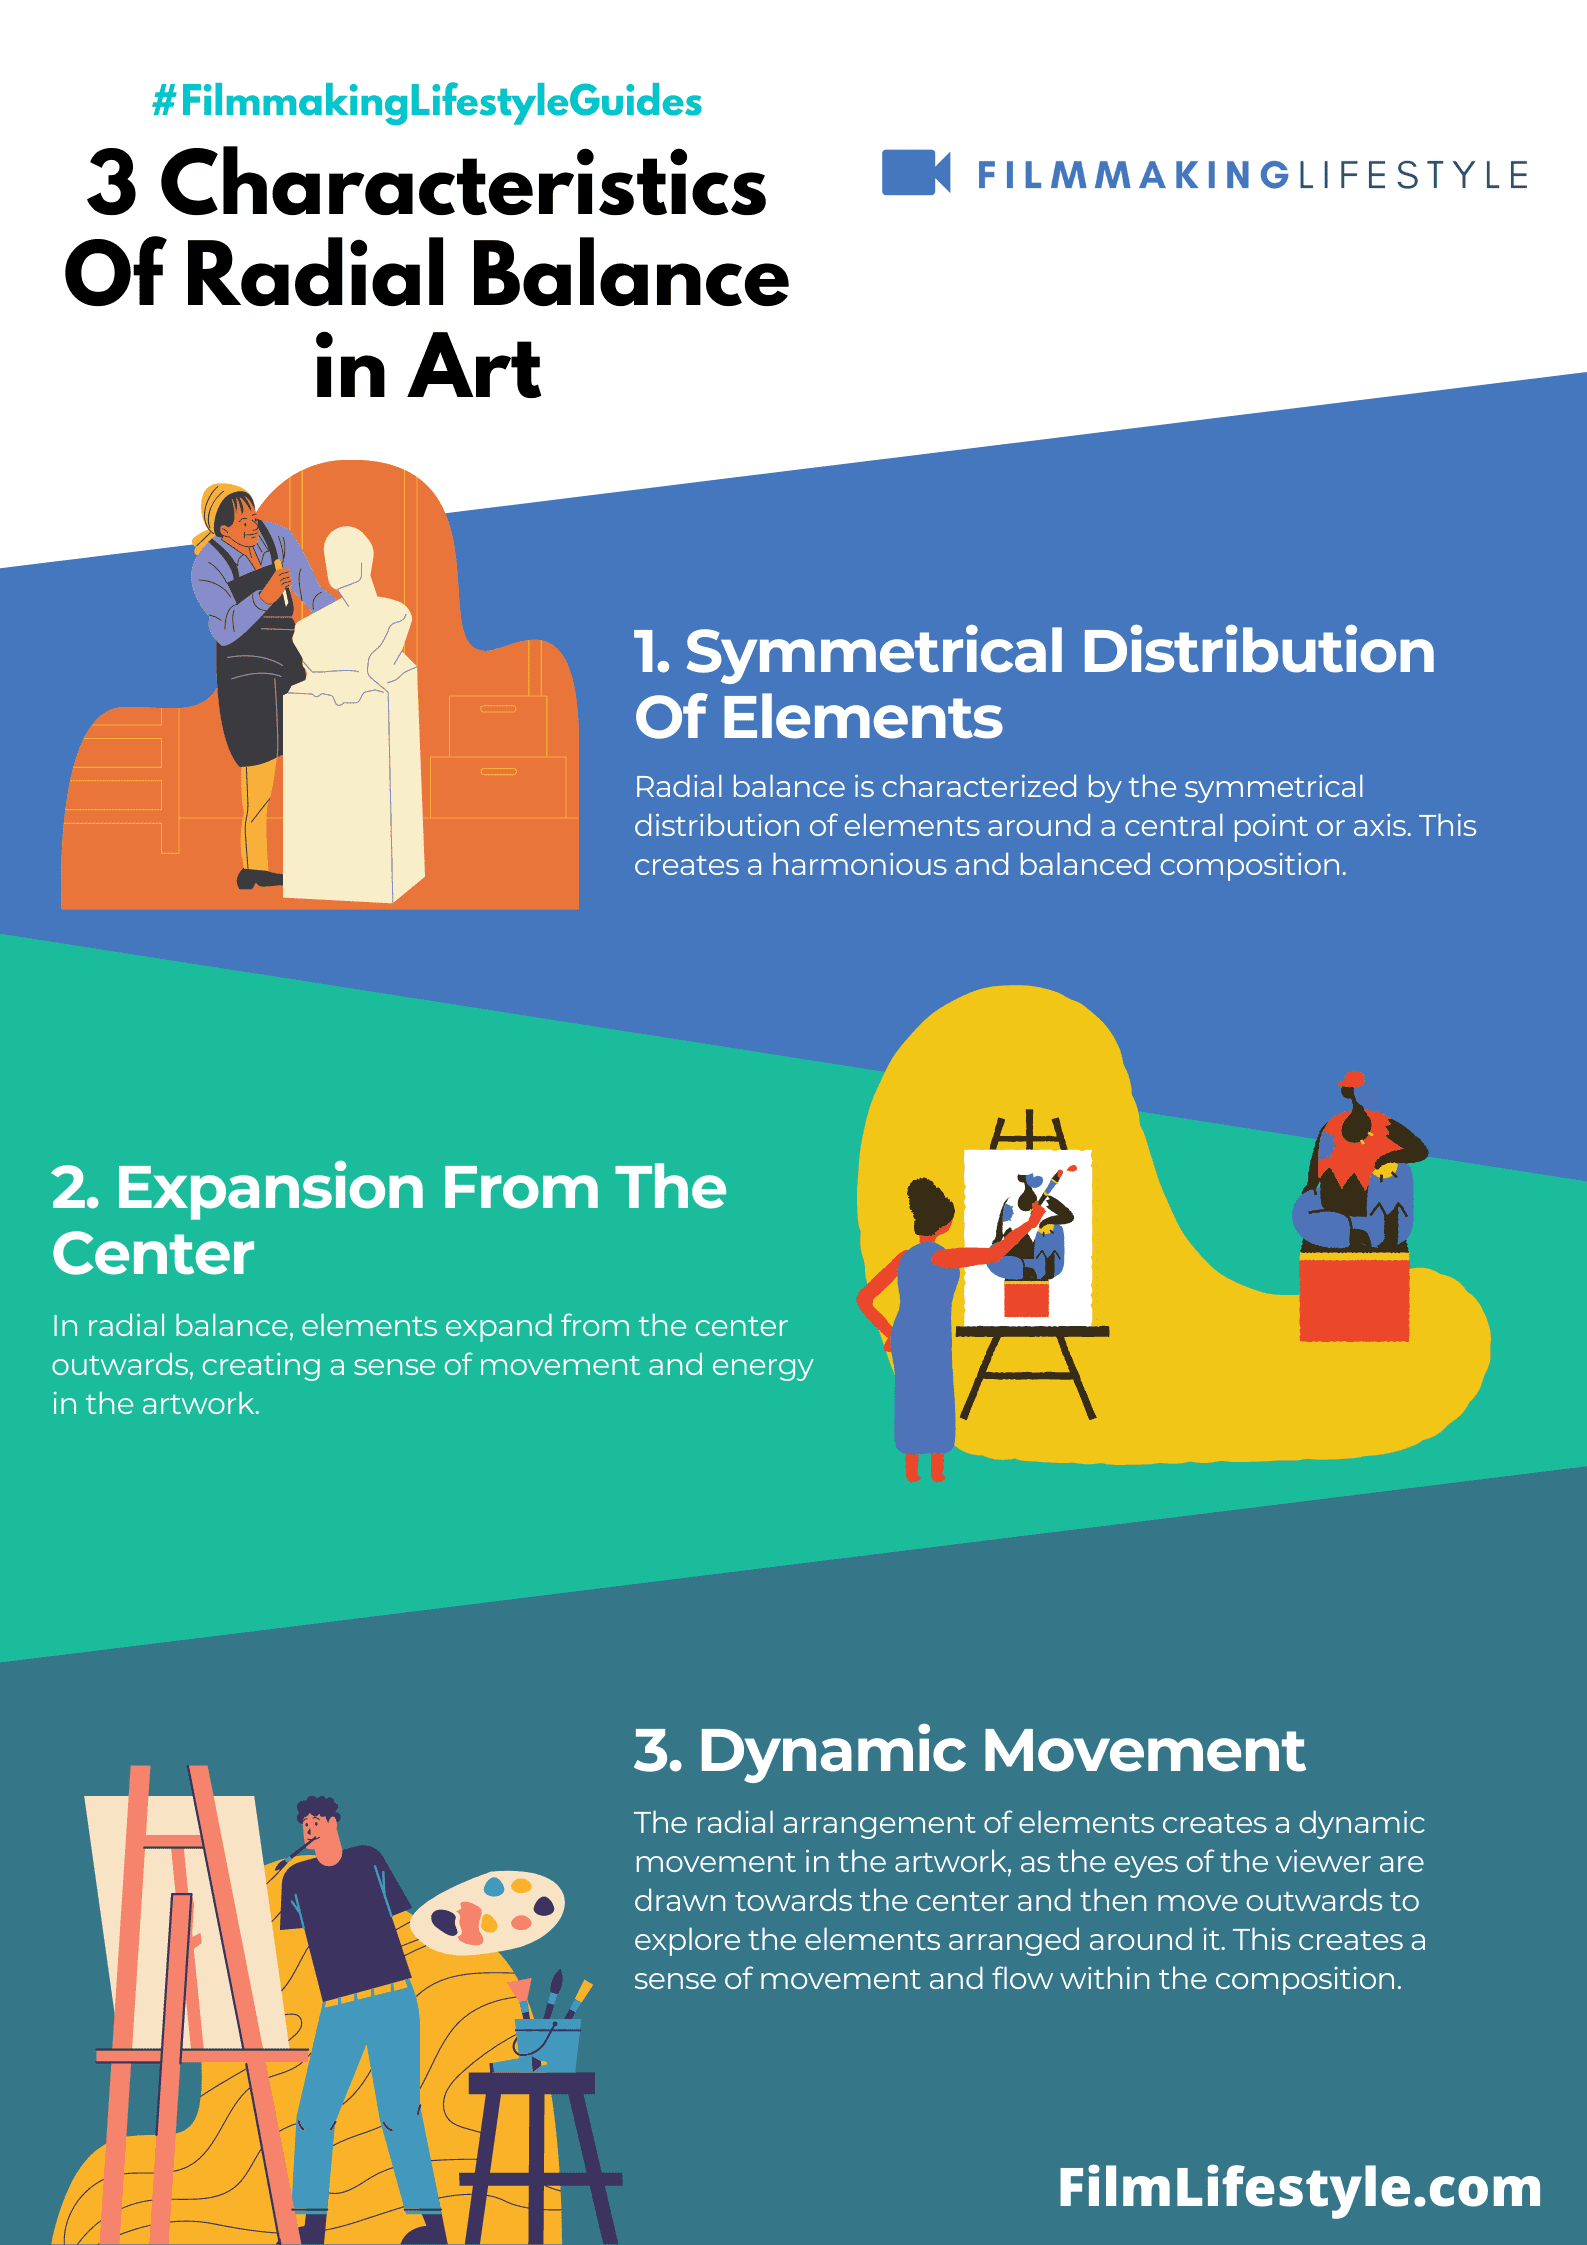
radial balance is the relationship between the elements of a composition in which each element has equal weight or importance.
Radial balance is an important concept for art and composition, especially for students who are studying the visual arts. It is a way to understand how to create balance through composition.
The term “balance” can be used in many different ways.
The most common meaning of “balance” is when two opposing things are put together, like when you have a chair that balances on two legs so it doesn’t fall over.
However, there are other ways to use the word “balance,” such as in music and art.
What is Radial Balance in Art
What Are What is Radial Balance in Art
Radial balance is a concept used in art to describe how an artist balances the center of gravity of their painting or drawing. The center of gravity of a painting is determined by where the most prominent objects are located, and it helps determine how balanced the painting will be.
Radial balance has been used for centuries in art, and it can be seen in many different mediums. Radial balance was first developed as a way to help artists create more realistic paintings by balancing out the items within their paintings.
As time went on and artists discovered other ways to use radial balance, they began using it in other ways and expanding its meaning.
In the world of art, radial balance is a captivating principle that draws viewers into a visual whirlpool.
It’s a technique where elements radiate from a central point, creating a sense of harmony and unity.
We’ll explore how artists use radial balance to craft compelling compositions that keep eyes glued to the canvas.
Get ready to uncover the secrets behind this dynamic design strategy that’s as mesmerizing as it is methodical.

Understanding Radial Balance In Art
Radial balance centers on a focal point from which all elements extend outward.
This central hub is the heart of the artwork, with various parts radiating from it in a symmetrical manner.
In paintings like Leonardo da Vinci’s Vitruvian Man, the symmetry and proportion revolving around the central figure demonstrate radial balance with stunning effect.
Expanding beyond static art forms, radial balance deeply influences the world of film.
Directors and cinematographers meticulously craft scenes where characters or objects create a visual anchor.
Consider the iconic Round Table scene in King Arthur, where characters are strategically placed to draw the viewer’s eye to the center, reinforcing the theme of unity and equality among the knights.
Artists leverage radial balance to:
- Establish a point of interest,
- Create movement that flows from the center,
- Encapsulate the viewer in the scene,
- Enhance thematic elements within the artwork.
This design strategy not only captivates the audience but also guides their gaze through the visual narrative.
Radial balance isn’t just about symmetry; it’s about constructing a visual story that unfolds from the inside out.
Whether it’s a spiral staircase in a vintage film noir or the rays of light in a Renaissance painting, each element is carefully positioned to maintain this equilibrium.
The Basics Of Radial Balance
Understanding radial balance is essential when we jump into the intricacies of visual composition.
At its core, radial balance centers on elements branching out from a single focal point, often leading to a whirlpool effect that draws the eye inward.
This technique is fundamental in creating an impactful visual narrative, allowing artists and filmmakers to guide viewers through the piece effortlessly.
In practice, radial balance can take numerous forms:
- Symmetry, where elements mirror each other on either side of a central axis,
- Asymmetry, where elements of varied visual weight still maintain a balance around a central point,
- Spirals, harnessing the power of curves to lead the eye inward or outward.
Artists from all eras have embraced radial balance to convey movement and dynamism.
From Renaissance masters who employed radial symmetry in their meticulous composition to modern filmmakers who use radial elements to create stunning visual effects, its applications are as diverse as the creators themselves.
Emphasizing the subject is crucial in both static and dynamic artworks.
Michelangelo’s The Creation of Adam demonstrates radial balance through the fingers of God and Adam converging, while Vertigo utilizes spiraling effects to reflect the film’s themes of obsession and disorientation.
Each element serves a purpose, aligning with the overall message the artist or filmmaker intends to impart.
Our fascination with radial balance stems from its psychological impact.
It has the power to dictate the flow of visual information, establishing an order that our minds find pleasing.
By harnessing radial balance, we not only create art and films that are visually arresting but also engage viewers on an intuitive level.
Creating A Focal Point With Radial Balance
Creating a focal point is central to the impact and meaning of an artwork.

When artists use radial balance in their compositions, the focal point often resides at the center from which all other elements emanate.
Careful placement and manipulation of color, contrast, and form draw the viewer’s eye to this central point.
This method is evident in the spiraling tentacles of The Great Wave off Kanagawa, where the eye is drawn to the crest of the wave before following the curves outward.
In film, directors can achieve a similar effect through cinematography.
A character positioned at the center of a radial composition becomes the psychological anchor for the audience.
This technique was masterfully utilized in The Grand Budapest Hotel, with characters framed by the symmetrical architecture of the hotel.
Elements that can reinforce the focal point include:
- Contrasting Colors – colors that stand out against others will capture the viewer’s attention,
- Dramatic Lighting – spotlights or chiaroscuro can highlight the main subject,
- Intentional Movement – lines and shapes that guide the eye towards the center.
By understanding and applying these principles, we can create a powerful visual narrative that engages viewers and holds their attention.
Whether on canvas or on screen, the focal point is where the story unfolds and the viewer’s journey begins.
Techniques For Achieving Radial Balance
When it comes to radial balance, artists and filmmakers have honed various techniques to ensure that the central point of their work is both compelling and harmoniously integrated with the rest of the composition:
- Strategic placement of elements – Objects or characters are positioned to guide the viewer’s gaze towards the center.
- Control of visual weight – Elements of varying sizes, colors, and densities are balanced to prevent any area from overpowering the central focus.
Our understanding of these techniques helps us better appreciate the craftsmanship involved in establishing radial balance.
In a film like The Grand Budapest Hotel, Wes Anderson meticulously arranges each scene, using objects and characters to pull the audience into the vortex of the story.
Besides, contrasts play a pivotal role in achieving radial balance:
- Light versus dark – Filmmakers may use lighting to create a contrast that naturally draws the eye inward.
- complementary colors – These are used to create vibrancy and focus the attention on central elements.
It’s not just contrasts; movement is equally essential.
In Pirates of the Caribbean, dynamic elements such as swirling sword fights and rotating ship wheels create a sense of rotation around a central protagonist.
This captures the viewer’s interest and keeps them anchored to the core action.
We also see the use of radial balance in multiple layers within a scene:
- Foreground and background differentiation – This technique provides depth and directs attention to the radial center.
- Scaling of elements – Bigger elements close to the center and smaller ones radiating outwards can emphasize the focal point.
Our exploration reveals that mastering radial balance is key for artists and filmmakers alike who wish to create engaging and aesthetically pleasing visuals.
Whether it’s a historic piece like The Last Supper or the latest blockbuster, the principles remain the same.
Through practice and a keen eye for detail, the desired effect of equilibrium and attraction can be achieved.
Examples Of Radial Balance In Art
Radial balance permeates numerous art forms, influencing the work of esteemed artists across various movements.
In the Renaissance era, Leonardo da Vinci’s Vitruvian Man immaculately demonstrates radial balance with the human figure at its core, limbs extending outward, resulting in a mesmeric equilibrium that speaks to the artist’s deep knowledge of human anatomy and geometry.
The allure of radial balance extends beyond the canvas to the silver screen.
In Stanley Kubrick’s 2001: A Space Odyssey, the memorable centrifuge scene encapsulates viewers in a revolving set that distills the essence of radial balance through dynamic movement, pulling the audience into the film’s orbit with every turn.
Looking into architecture, the Pantheon in Rome is a testament to radial balance’s timeless presence in structural design.
Its domed ceiling, with concentric circles leading to the open oculus, creates a harmonious visual path that draws the eye upward, inviting light and air into the hallowed space beneath.
Within these examples, we can identify key characteristics of radial balance:
- A central focal point that anchors the composition,
- Symmetrical arrangement of elements radiating outward,
- A seamless integration into the natural flow of the artwork, regardless of medium.
In utilitarian objects, radial balance offers both an aesthetic and functional role.
Consider the design of a classic analog clock, with its hands pivoting from the center and numbers evenly spaced in a circle – a mundane yet perfect illustration of radial balance at work in our daily lives.
Without radial balance, these works might not resonate with the same power or beauty.
It’s a fundamental design principle that bridges diverse genres and epochs, continually reinventing ways to captivate and engage our senses.
What Is Radial Balance In Art – Wrap Up
We’ve explored the captivating world of radial balance and its impact on the visual arts.
This design principle isn’t just about aesthetics; it’s about creating harmony and a sense of order that draws viewers in.
Whether it’s through the symmetry of a mandala or the structured chaos of a spiral staircase, radial balance brings a unique energy to artistic creations.
It’s clear that understanding and employing radial balance can profoundly affect the success of a piece, making it resonate with audiences on a deeper level.
Let’s continue to appreciate and incorporate this dynamic element in our artistic endeavors, recognizing its power to transform the ordinary into the extraordinary.
Frequently Asked Questions
What Is Radial Balance In Art?
Radial balance is a design principle where elements radiate from a central focal point, creating a symmetrical arrangement that often conveys a sense of equilibrium and harmony in an artwork.
Can You Give Examples Of Radial Balance In Different Art Forms?
Yes, examples of radial balance can be found in various art forms such as the circular patterns in mandalas, the arrangement of petals in floral paintings, the concentric circles in target images, cinematography that focuses characters in the center of the frame, and the structural design of buildings like the Pantheon in Rome.
How Does Radial Balance Contribute To The Functionality Of Utilitarian Objects?
Radial balance isn’t just aesthetically pleasing; it also contributes to the functionality of utilitarian objects.
For example, the even distribution of spokes in a wheel or the symmetrically arranged blades of a fan helps these objects perform their functions effectively.
Why Is Radial Balance Important In Artworks?
Radial balance is important because it provides a structure that can guide the viewer’s eye towards the main point of interest, creating a visually satisfying experience.
It also contributes to the stability and harmony of the composition, enhancing the overall impact of the artwork.