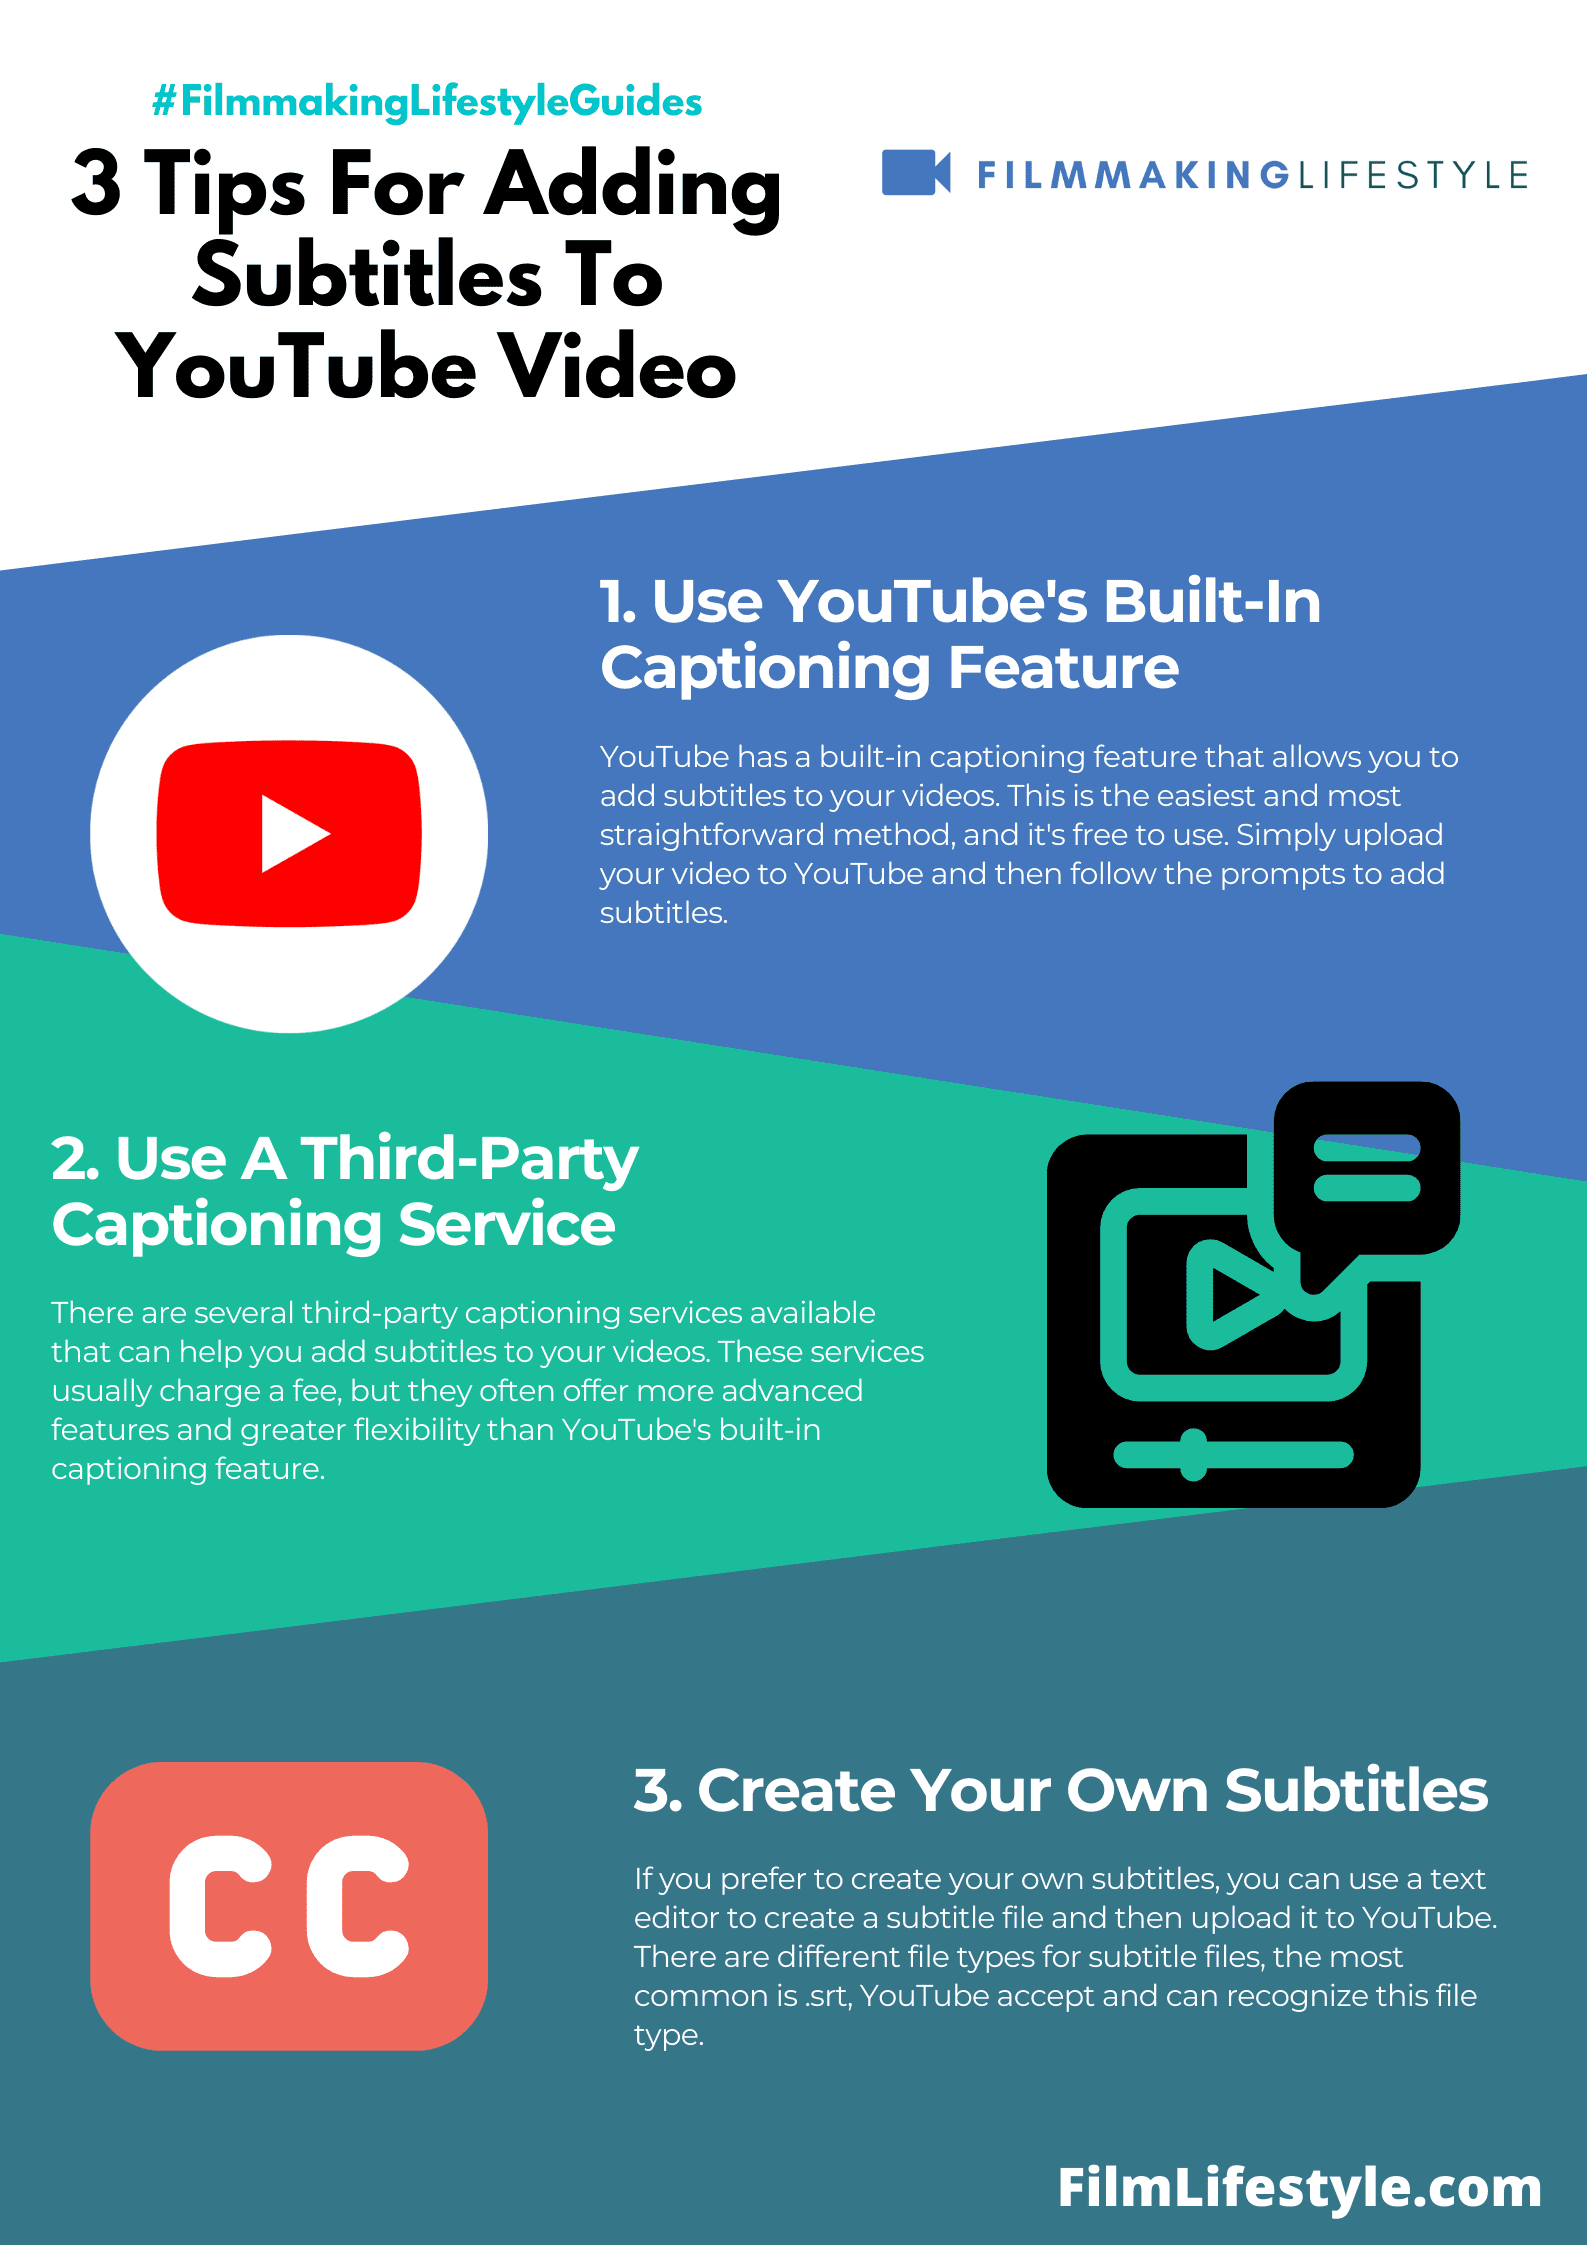
YouTube is the second largest search engine in the world and you need to know how to optimize your YouTube videos for search.
One of the most overlooked ways to do this is by adding subtitles or closed captions to your videos.
There are many benefits to adding subtitles or closed captions, but here are five of the main reasons why you should add subtitles/closed captions to your YouTube videos:
1. It makes your content accessible to those who are hearing impaired.
2. It allows you to use keywords that match what people are searching for.
3. You can reach a larger audience since your video can be consumed by those who don’t speak English (or any other language).
4. It allows you to rank for longer phrases as well as increase watch time on your channel.
5. Although it’s not confirmed, some say that there is a correlation between adding subtitles and increased rankings in YouTube search results.
How To Add Subtitles To YouTube Video
What Are subtitles In A youTube video?
Subtitles are a text file that provides a translation from one language to another. This is very useful for individuals who don’t speak the same language as the video. Or those watching with the volume down, for whatever reason.
Till now, YouTube’s policy was to not allow any videos with subtitles to be uploaded on their site.
But this has changed in recent times and there are some exceptions. You can even add your own subtitle files to these videos and subtitle them with whatever language you like!
Adding subtitles to your YouTube videos can skyrocket your reach and ensure your content is accessible to a wider audience.
We’ll show you how to navigate the subtitle feature, enhancing viewer engagement and boosting your video’s SEO.
We’ve got the inside scoop on creating accurate and readable subtitles that’ll keep your audience hooked.
Stick with us to learn the simple steps to subtitle success on YouTube.
Why Subtitles Matter On Youtube
Access to content is
Subtitles broaden our audience by making our videos accessible to those who are deaf or hard of hearing.
They serve a global audience.
By adding subtitles, we break language barriers and connect with viewers who speak different languages.
Subtitles enhance comprehension.
Even viewers who are native speakers can benefit from subtitles, as they help understand dialogue that may be spoken in unfamiliar accents or dialects.
Search engines love text.
Subtitles improve our SEO as the additional text gets indexed, making it easier for potential viewers to find our videos through search queries.
Here are some key reasons why we shouldn’t overlook subtitles:
- Increases viewer engagement and watch time – Supports the learning process for non-native speakers – Boosts content discoverability and reach – Enhances viewer experience in noisy or sound-sensitive environments.
Accurate subtitles ensure our message gets across.
Subtle nuances in dialogue or critical plot points in our films should not be lost due to unclear audio.
They can also add value for educational content.

Learners often need to see the written form of words and phrases for better retention and understanding.
Our goal is clear.
We’re here to share our content with as many people as possible, and subtitles are a powerful tool in achieving this.
Understanding Youtube’s Subtitle Feature
Subtitles are an essential tool for filmmakers and content creators on YouTube.
They ensure that our videos are inclusive and accessible to a broad audience.
When we upload our content, YouTube offers a range of subtitle features that can greatly benefit both the creator and the viewer.
YouTube automatically generates subtitles using its powerful speech recognition technology.
But, these auto-generated captions might not always be accurate.
It’s our responsibility to review and edit these subtitles for clarity and precision.
This ensures that our message is understood without any misinterpretations.
Manually adding subtitles is another option we have at our disposal.
We can either upload a pre-written file or type them in as we watch our video.
Here are the steps we typically follow for manual subtitle addition:
- Navigate to our video within YouTube Studio,
- Select the ‘Subtitles’ tab,
- Choose the language and click on ‘Add’.
For creators aiming for global reach, YouTube also provides the option of translating subtitles.
By doing this, we break language barriers and make our content consumable by non-English speakers.
It’s a powerful step towards globalizing our brand and content.
To optimize our use of subtitles, we focus on a few critical areas.
We ensure that our subtitles are:
- Synchronized with the audio,
- Correct in grammar and spelling,
- Clear and easy to read on screens of all sizes.
By prioritizing these elements, we improve the overall viewing experience.
Our viewers can follow along seamlessly, whether they’re watching in silence or amidst noise.
This attention to detail keeps them engaged and encourages longer view time, which Later boosts our video’s reach.
YouTube’s subtitle feature not only enhances accessibility but also contributes significantly to SEO.
With searchable text accompanying our videos, we increase the likelihood of our content appearing in search results.
This textual element allows search engines to crawl and index our videos more effectively, leading to increased visibility and discoverability.
Step 1: Creating Subtitles For Your Video
Creating accurate and readable subtitles starts with a clear transcript of your video’s content.
We’ll need to transcribe the audio from our film accurately to ensure that our subtitles match what’s being said on screen.
This step is crucial – poor transcription can lead to confusing or even misleading subtitles that detract from the viewer’s experience.
Once we have our transcript, it’s time to start formatting our subtitles.
YouTube allows for specific formatting options to help viewers follow along.
We can customize font size, type, and color, but it’s essential to keep readability in mind.
The goal is always to enhance the viewer’s understanding and enjoyment of our video.
It’s also valuable to bear in mind the timing of each subtitle as it appears on screen.
Here are some guidelines to ensure synchronization:
- Begin subtitles at the start of the corresponding speech or sound,
- End subtitles as soon as the speech finishes, without lingering on the screen,
- Make sure the text pace allows comfortable reading; usually, subtitles should remain on screen for 1 to 6 seconds.
About the translation of our subtitles, this offers a significant opportunity for global reach.
It’s worth considering using YouTube’s translation features or hiring a professional translator for this.
While automatic translation is convenient, human translators can provide nuance and accuracy that machines sometimes miss.
Incorporating industry-specific terms and cultural references also adds value to our subtitles.
It elevates our content, providing context that the automatic tools may not grasp.
Our commitment to detail in this process reflects our dedication to quality filmmaking and video production.
Step 2: Editing And Formatting Subtitles
After transcribing your video’s content accurately, the next essential step is editing and formatting your subtitles.
Editing involves refining the content for clarity and readability.
Remember that subtitles are more than just words on the screen; they’re a vital part of the viewer’s experience.
Our subtitles should reflect the tone and pacing of the audio.
Short, concise sentences work best.
They ensure that viewers can read the text comfortably while still watching the action on the screen.
As filmmakers, we know the power of visual elements.
So, our subtitles must not only be accurate but also visually appealing.
YouTube offers various formatting options to help with this:
- Font type and color,
- Background color,
- Font size.
These elements play a significant role in the overall comprehension of our content.
The choice of font can affect readability, especially on smaller screens.
To make our subtitles as inclusive as possible, it’s beneficial to stick to clear, sans-serif fonts.
plus to font choices, timing is crucial.
Each subtitle frame should sync perfectly with the audio.
This synchronization ensures that viewers who rely on subtitles are getting the same experience as those who don’t.
Finally, we need to keep an eye on the cultural nuances present in our content.
When using industry-specific terms or local idioms, clarity is key.
If our video reaches an audience unfamilar with these terms, the subtitles should provide enough context to convey the meaning.
focusing to these editing and formatting details, we enhance the accessibility and enjoyment of our films for all viewers.
Step 3: Uploading Subtitles To Youtube
After ensuring our subtitles are perfectly timed and impeccably formatted, it’s time to upload them to YouTube.
The process is straightforward and improves the potential reach of your videos significantly.
First, we’ll sign into our YouTube Studio.
We’ll look for the ‘Subtitles’ section in the left-hand menu where we can select the video we want to add subtitles to.
There are a couple of methods at our disposal for uploading subtitles:
- We can directly upload a file – this can be a .srt, .sbv, or .sub format.
- Alternatively, we can type them in manually or paste them from our transcript.
Once we choose the file, YouTube does a quick scan to ensure synchronization with the audio.
If there are any issues, we get the chance to make edits directly in YouTube’s subtitle editor.
For accessibility, we should do a final review on a few different devices.
Variances in screen size and resolution can affect how subtitles appear.
Checking on mobile phones and tablets ensures the text is clear across all potential viewer devices.
Ensuring proper subtitle upload without errors or sync issues is a vital step.
It’s how we maintain the quality across all platforms.
And remember, subtitles are not only about accessibility but are also an SEO opportunity, making our content more discoverable.
Benefits Of Adding Subtitles To Your Youtube Video
Enhanced Viewer Engagement is one of the key benefits of incorporating subtitles into YouTube content.
Subtitles keep viewers hooked by ensuring they follow along, especially in noisy environments or when the audio cannot be played.
Subtitles expand the audience reach beyond those who are hard of hearing to also include viewers who prefer reading along.
We’ve found this inclusion not only builds a larger audience but also fosters a more inclusive community.
Here’s a rundown of pivotal benefits:
- Improved comprehension for non-native speakers,
- Increased watch time as viewers are more likely to stay through a video,
- Accessibility for the deaf and hard of hearing community.
SEO Optimization comes into play because subtitles are crawlable by search engines.
By adding subtitles, we’re essentially feeding YouTube’s algorithms with more data to index, which can dramatically increase a video’s visibility.
Opportunities for Global Reach soar as subtitles bridge the language barrier.
It’s not always about the content we produce but also about making it accessible to diverse audiences worldwide.
For films like The Godfather, we wouldn’t dream of limiting our audience solely to those fluent in English.
We consider the use of subtitles as a gateway to cross-cultural viewership and, consequentially, a boost in global engagement.
Learning and Educational Value cannot be understated.
Subtitles serve as a tool for language learners who use our content as a resource for improving their language skills.
By opting for subtitles, we’re not only ensuring that our video content is accessible and inclusive; we’re also maximizing its educational potential.
Videos can So serve as an invaluable resource to a wider range of learners.
Tips For Creating Engaging Subtitles
We understand that crafting subtitles for a video isn’t just about transcribing the spoken word.
It’s about maintaining the viewer’s engagement through well-timed and informative text.
hence, brevity and clarity are
Keep the subtitles concise without sacrificing the meaning of the dialogue.
It’s also essential to maintain the pacing of the video.
Subtitles should appear and disappear in tandem with the audio to avoid cognitive overload.
Our goal is to complement the video, not distract from it.
For complex content like feature films or in-depth tutorials, consider the following pointers –
- Break down information into digestible chunks – Synchronize text with the relevant on-screen action.
Let’s talk about the style of the subtitles.
While the default style might get the job done, customizing the font and color of your subtitles can enhance readability and brand consistency.
This subtle change can significantly impact the viewer’s experience.
Remember, accessibility is a responsibility that we bear as content creators.
Subtitles should be easily readable for everyone, including viewers who may have visual impairments.
That means opting for larger fonts and high-contrast colors when appropriate.
finally, we must be mindful of the humor, idioms, and cultural references that make our content unique.
These nuances are often lost in translation or simple text.
Subtitles must convey not just the words, but the tone and context in which they’re delivered.
Subtitles open up our films and videos to broader audiences, including non-native speakers and individuals who have hearing disabilities.
Crafting subtitles that are both precise and entertaining ensures that our content is inclusive and engaging.
Let’s continue to explore the various ways to achieve this while delighting our audience at every turn.
How To Add Subtitles To Youtube Video – Wrap Up
We’ve walked through the essentials of adding subtitles to YouTube videos and the profound impact they can have on your content’s reach and accessibility.
By ensuring our subtitles are concise, clear, and well-timed, we not only boost viewer engagement but also cater to a diverse audience.
Let’s remember that by taking the extra step to customize and translate our subtitles, we’re opening doors to global viewership and enhancing the overall user experience.
It’s clear that subtitles are more than just a convenience—they’re a powerful tool in maximizing the potential of our YouTube videos.
Let’s put these practices to good use and watch as our content thrives in the vast world of online video.
Frequently Asked Questions
How Important Are Subtitles For Youtube Videos?
Subtitles are crucial for enhancing viewer engagement, improving comprehension, increasing watch time, providing accessibility to the deaf and hard of hearing, optimizing video SEO, and offering educational value.
What Are The Benefits Of Translating Youtube Video Subtitles?
Translating subtitles can broaden your audience by making your content accessible to non-native speakers and viewers worldwide, increasing global reach and engagement.
Can Subtitles Affect A Youtube Video’s Seo?
Yes, subtitles can significantly improve a YouTube video’s SEO by incorporating relevant keywords and making the content more accessible, which can lead to higher search rankings and visibility.
What Should I Consider When Creating Subtitles For Youtube Videos?
When creating subtitles, focus on accuracy, readability, synchronization with on-screen action, maintaining brevity, and clarity, and customizing font and color for better visibility.
Is It Worth Hiring A Professional Translator For Youtube Video Subtitles?
Hiring a professional translator can be valuable if you aim to reach a global audience accurately and professionally, ensuring your translated subtitles are of high quality.
Matt Crawford
Related posts
2 Comments
Leave a Reply Cancel reply
This site uses Akismet to reduce spam. Learn how your comment data is processed.


Thanks for complete details. Really helpful for beginners like me.
Thanks, Charles.