There is a lot to consider before editing your YouTube video. There are many things that you will need to think about.
This article will help you understand what they are and how they can benefit you.
How To Edit YouTube Videos
What Are How To Edit YouTube Videos
This is a simple tutorial to help you learn how to edit YouTube videos. I’m going to show you how to use Adobe Premiere Pro CC and
I’ve been using Adobe Premiere Pro for over a decade now and I love it. It’s a great program that makes it super easy for non-technical users like me to create amazing videos without having to know any code or technical stuff.
If you want to learn how to edit videos in Adobe Premiere Pro then check out my other tutorials!
Editing videos on YouTube isn’t just about cutting and trimming; it’s about telling a story that captivates your audience.
We’ll guide you through the process, from basic edits to adding special effects that’ll make your content stand out.
Whether you’re a vlogger, educator, or marketer, mastering YouTube’s editing tools is essential in creating videos that resonate with viewers.
Stick with us, and we’ll turn those raw clips into polished gems that are sure to keep eyes glued to the screen.
Understanding Youtube’s Video Editor
Editing on YouTube has evolved, becoming a more streamlined process.
With YouTube’s Video Editor, we now have access to a suite of editing tools directly on the platform.
These tools make it easier to trim footage, add music, and insert transitions without leaving YouTube.
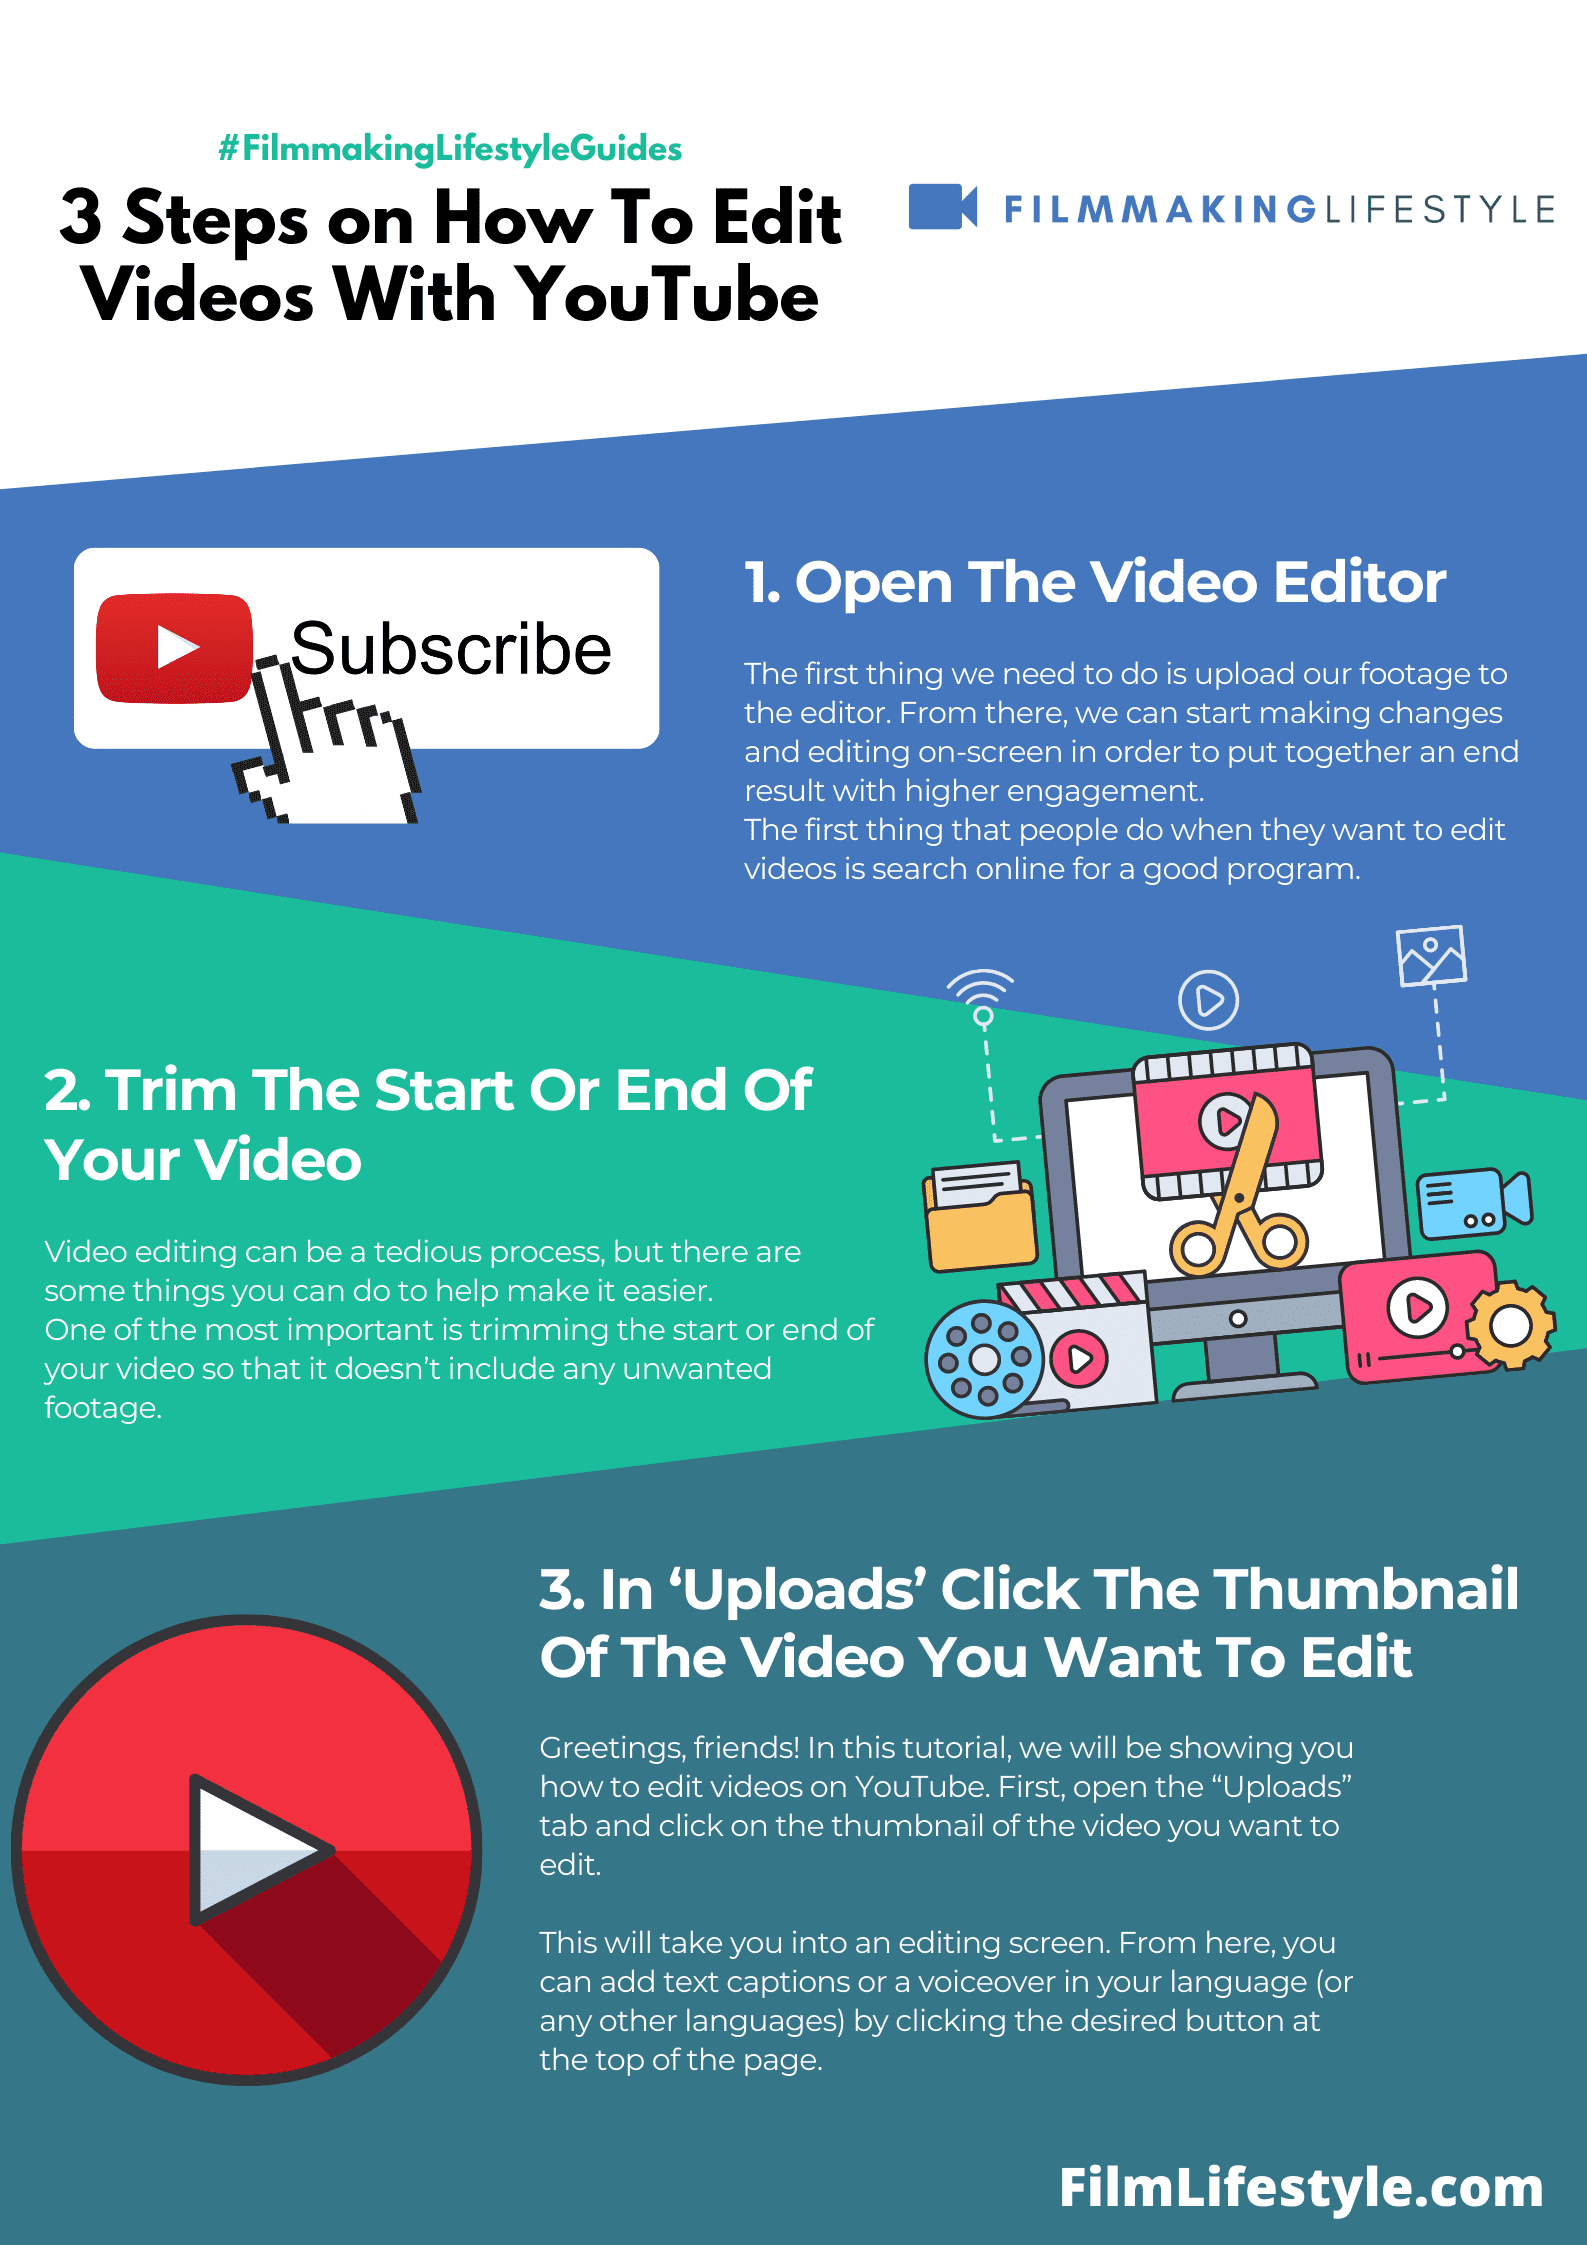
To start editing, we simply upload a video and select the ‘Edit’ option.
Here, the video editor interface presents features like trimming, which allows us to remove unwanted parts from the beginning, middle, or end of our videos.
Adding music and sound effects is straightforward with YouTube’s built-in audio library.
It hosts a wide range of sounds and songs that are free to use and can dramatically enhance the mood of our projects.
We can also incorporate text and titles to further tell our story.
This includes customizable font styles, sizes, and placements that can help emphasize key points or narrate a sequence effectively.
Below are some principal functionalities available in the YouTube Video Editor:
- Trimming – to cut out parts that don’t add value to our story,
- Audio mixing – to balance the original audio with added tracks,
- Transitions – to create smooth cuts from one shot to another,
- Text overlays – to add narrative or descriptive text,
- Filters and visual effects – for stylistic or thematic enhancements.
What’s more, with the editor’s split and combine features, we have the capability to splice multiple clips together.
This forms the basis for constructing a cohesive and compelling narrative.
While we’re cultivating our skills in the YouTube Video Editor, it’s important to remember that effective storytelling remains at the heart of our content.
The tools are there to help us refine and present our story, not to overshadow it.
Our proficiency with these tools will elevate the final product, engaging our audience from the first frame to the last.
Importing Your Clips
Before diving into the heart of video editing, you’ll need to import your footage into YouTube’s Video Editor.
This is the first step in bringing your creative vision to life.
Ensure your video files are readily available on your device – a tidy folder structure will save you time and stress.
We often find that starting with a solid naming convention is crucial.
This simplifies identifying each clip, especially when working with multiple shots.
Once you’re in the YouTube Video Editor, select the ‘Import’ button to begin.
You might encounter various file formats.
YouTube’s Video Editor supports the most commonly used video file types.
Here are some of the key formats you can upload without a hitch:
- MP4,
- MOV,
- AVI,
- WMV.
Remember, the clarity and quality of your uploads determine the impact of your final cut.
We always recommend checking your video resolution and aspect ratio beforehand.
To maintain high standards, your videos should preferably be in 1080p or higher.
In situations where clips are taken from different devices, consistency is key.
Ensure all footage matches the frame rate and resolution for a seamless edit.
Sudden changes in video quality can be jarring and detract from your storytelling.
After the import, organize your clips within the editor.
YouTube’s interface allows for easy drag-and-drop arrangement.
Tailoring your workspace for efficiency can significantly enhance your editing flow.
Our next step will involve piecing together our narrative structure.
Stay tuned as we guide you through that process, ensuring that your story unfolds with purpose and style.
Basic Video Editing Techniques
When diving into the world of video editing, it’s crucial to grasp the basics.
Mastering fundamental techniques can greatly enhance your YouTube content.
Cutting and Trimming plays a pivotal role in controlling the pace and rhythm of your story.
We refine clips to ensure each moment serves a purpose, be it advancing the narrative or heightening emotion.
Sequencing and Transitions are about the artful arrangement of clips to maintain continuity or create a desired effect.
Smooth transitions help sustain viewer engagement and can boost the overall production value.
Keen attention to Color Correction can transform the visual appeal of your footage.
We adjust exposure, contrast, and saturation to ensure our videos have a consistent and professional look.
Here’s what you should focus on:
- Balancing colors for uniformity,
- Correcting exposure to avoid over or under-lit scenes.
Audio levels mustn’t be overlooked.
We meticulously balance dialogue, sound effects, and background music so each audio element is heard clearly without overwhelming the others.
Crafting an impactful narrative involves more than just assembling clips.
It’s about choosing the right order and length for each section.
Here’s how we approach this:
- Introduction sets the stage,
- Main body delves into the core content,
- Climactic moments create an emotional peak.
Italics and text animations can emphasize key points or add a creative flair.
Through strategic placement and timing, text overlays can greatly enhance the communication of your message.
Finally, inserting B-Roll or supplementary footage can enrich storytelling.
These shots add depth and context to your main content and keep the viewer’s attention.
Remember that editing is an iterative process.
We continuously refine and adjust our techniques to better convey the intended message and ensure our audience remains captivated from start to finish.
Enhancing Your Video With Special Effects
Adding special effects to videos has become an integral part of filmmaking, transforming the ordinary into the extraordinary.
Through YouTube’s Video Editor, we can access a variety of effects that add polish and intrigue to our productions.
Special effects can dramatically elevate the storytelling experience.
Films like Jurassic Park and Inception have shown how effects can be game-changers in visual narratives.
Our videos can benefit from the following effects:
- Visual Filters – They set the mood and tone.
- Slow Motion – It highlights dramatic moments.
- Speed Ramping – This technique combines fast and slow motion for dynamic sequences.
Using effects responsibly is key.
Overdoing it can distract viewers from the content’s core message.
Understanding when and where to apply effects requires practice and a good eye for detail.
It becomes second nature as we regularly edit and enhance our videos on the platform.
Incorporating effects such as lightning strikes or muzzle flash can be crucial for action sequences.
It’s how we craft high-impact scenes without the Hollywood budget.
Color grading is essential for achieving a cohesive look across various shots.
It helps in creating atmosphere and depth within our videos.
Audio effects shouldn’t be overlooked.
Sound can be just as transformative as visual effects, shaping the viewer’s emotional response.
We use sound design to engulf the audience in the world we’re creating.
Sounds like reverberation or echo can imply space and environment effectively.
Animating text and logos gives a professional touch to our intros and credit rolls.
It makes our brand stand out and leaves a lasting impression on the audience.
Remember, the magic of special effects lies in their ability to enhance, not overshadow.
We carefully weave these elements into our videos, ensuring that each effect serves the story we’re telling.
Adding Music And Audio Effects
When crafting a compelling video, the auditory experience is as crucial as the visual elements.
Music and audio effects provide an emotional undertone that can elevate the storytelling impact significantly.

YouTube’s Video Editor offers a range of audio tools that can enhance our videos effortlessly.
We can layer soundtracks, balance audio levels, and even add voiceovers to create a dynamic soundscape.
Here are a few ways we can optimize our use of music and sound effects:
- Selecting the right music – Tension, excitement, or serenity can be conveyed through the proper track.
- Incorporating sound effects – Subtle background noises or dramatic sounds can add realism and depth.
- Using royalty-free libraries – YouTube provides a collection of free songs and sound effects, ensuring we avoid copyright issues.
Timing is everything in audio editing.
We ensure that the music cues align with the visual transitions to maintain a cohesive and engaging viewer experience.
Audio mastering is not to be overlooked.
It involves fine-tuning the final audio mix so all elements sound balanced and clear.
Understanding when to let the scene breathe without music is as important as knowing when to amplify the mood with sound.
We are mindful of where silence can be more powerful than any soundtrack or sound effect.
Let’s not forget the emotional weight that audio can carry.
A well-chosen song or a perfectly timed sound effect can make the difference between a good video and a great one.
With the right application of music and sound, our YouTube videos can truly resonate with our audience, crafting an immersive experience that’s both visually and audibly compelling.
Collaborating And Sharing Your Edited Video
Creating content isn’t just about the editing process; it’s also about how you share your work with others.
Collaboration is key in the video editing world, especially with platforms like YouTube that emphasize community and shared experiences.
Our knowledge in the filmmaking industry tells us that a well-shared video is half the battle won.
YouTube’s shared editing features allow us to work together with others, ensuring that our video reaches its highest potential before it even goes public.
YouTube provides a platform not just for video hosting but also for team-based editing and feedback.
This ensures that we bring a multitude of skills and perspectives to the table.
- Jointly review footage,
- Discuss edits in real-time,
- Share project files seamlessly.
The benefits of these collaborative efforts lead to not only a more refined video but also one that resonates with a wider audience.
Harmonizing our creativity with our collaborators’ talent becomes far easier with these tools at our disposal.
By utilizing the YouTube platform to its fullest, we ensure that our project benefits from diversity in thought and technique.
Once the editing is complete, sharing our masterpiece is the final step of the journey.
YouTube’s share functionality doesn’t just limit us to one platform; it extends our reach across various social media channels.
We can easily connect our YouTube account to social media platforms such as Facebook, Twitter, and even LinkedIn to maximize our video’s exposure.
- Instantly reach followers,
- Promote across multiple channels,
- Engage with our community.
Having the ability to spread our content across channels opens up a myriad of opportunities for viewer engagement and feedback.
Engaging our audience is invaluable, and YouTube’s straightforward sharing tools make connecting with our viewers and growing our community effortless.
How To Edit Videos In Youtube – Wrap Up
We’ve walked through the essentials of using YouTube’s Video Editor to craft our stories and share them with the world.
With these tools at our fingertips we can trim scenes to perfection add the right audio and create visually compelling content that resonates with our audience.
Let’s not forget the power of collaboration and the wider reach we gain by sharing our videos across social platforms.
Now it’s time to immerse and let our creativity shine on YouTube.
Happy editing!
Frequently Asked Questions
What Is Youtube Video Editor?
YouTube Video Editor is a built-in tool provided by YouTube that allows creators to edit their videos directly within the YouTube platform.
It offers features such as trimming footage, adding music, and incorporating text.
How Can I Improve Storytelling In My Videos?
Effective storytelling can be enhanced by using YouTube’s editing tools to add text, titles, filters, and visual effects that complement the narrative of your video and keep viewers engaged.
Is It Possible To Collaborate On Video Edits Within Youtube?
Yes, YouTube facilitates collaboration by allowing multiple users to review footage, discuss edits, and share project files in real-time, which makes the editing process more efficient and creative.
Why Should I Share My Edited Videos On Social Media?
Sharing your edited videos on social media channels expands your reach, maximizes exposure, and engages with a wider audience, which can lead to increased viewership and subscriber growth on YouTube.


