
Making sure your videos are always shown in the best quality is tricky, especially with popular streaming platforms like Vimeo changing their algorithms regularly. Video quality is incredibly important and is seen as a leading indicator of people viewing (and continuing to view) your work.
There is more to video making then just pointing your camera and shooting footage. You also want to make sure you deliver your video in the best possible format and quality.
In this post, we’re going to share with you a few tips and tricks to make sure that you produce videos that are always shown in the possible best quality.
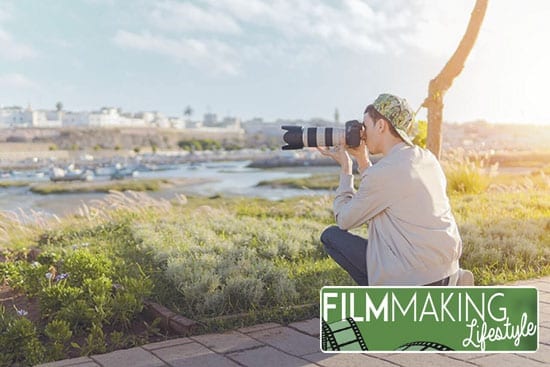
The first and most basic way to make sure that your videos are always shown at their best quality is to make sure that you shoot fantastic quality footage. Honing your filmmaking skills is important.
1. Identify Your Weaknesses And Work To Improve Them
The first step to improving your filmmaking skills is to identify and acknowledge where there is room for improvement.
Arrange to have a private viewing of all the films you have shot so far. Watch them and take notes on everything that you think you could have done better. Make sure you look at everything, from your writing, editing, sound, and cinematography.
Once you have identified which skills you need to improve on, work to improve each one of these skills one at a time.
To sharpen each skill, work on a project that emphasizes the need for that skill – that way you are forced to focus on improving that aspect of your game.

2. Learn To Shoot Steady Video
Sure, shaky cam may be an effect but it is also the mark of an amateur videographer and an amateur video project. Yes, it seems obvious (don’t have shaky video), but the amount of crappy, shaky video out there means we need to mention this here.
While a tripod is an easy solution to the problem of shaky cam, you should make an effort not to be too dependent on it.
One of the most basic ways to shoot steadier video is to get closer to your subject. If you stand too far away and rely on zooming in to get close, it will exaggerate your body movement.

It’s also important to stand properly. Be your own tripod and stand with your legs apart at shoulder width and your elbows close to the side of your body.
Don’t be afraid or ashamed to use flat surfaces or nearby walls to support the camera. Also, if your camera has them, learn how to use your image stabilizer effectively.
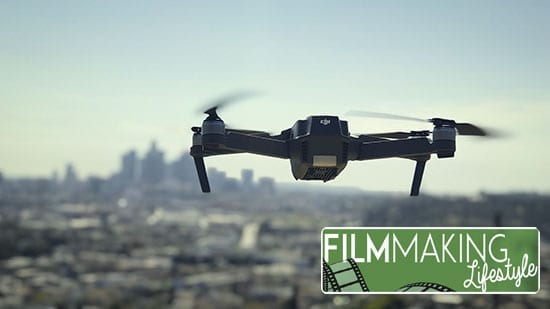
There is also the option of getting and using a camera stabilizer. We previously covered the advantage of stabilizers in this post.

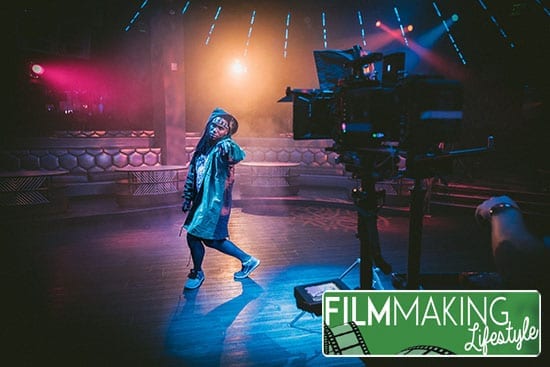
3. Pay Attention To Lighting
If you’re shooting outdoors, make sure to watch the sun’s position. You will get better shots if you shoot with your back to the sun. You should also try to shoot in the morning or late afternoon when the sun is lower.
Before an indoor shoot, check out the available lighting. If you need to bring more lights in, do so. This is especially important when shooting people. You need to get light on their faces.
Many indoor areas will have overhead lights and, while these may brighten a room, they will only light the top of a person’s head and their faces will still be shadowy. You will need to position extra lights to compensate for that.
To learn more about how to improve the lighting to maximize the quality of your videos, check out this guide on how to get perfect video production lighting.
4. Capture Great Sound
There are two common audio recording mistakes that can ruin a good video.
- The first is to forget to record audio, and
- the second to forget to monitor the audio as it’s recorded.
The problem with forgetting to record audio is kind of obvious. As for the second, it mostly means you want to make sure what you’re capturing in the audio is what should be captured.
For example, you could be interviewing someone and not notice that there was a loud air conditioner running in the room. Then, when you watch what you shot, you don’t hear your interviewee’s voice over the annoying hum of the air conditioner.
Some video cameras have built-in mics, but these are usually very basic. And if you are in a noisy area, they can capture too much unnecessary sound. If you’re doing an interview, it’s usually wise to use a lapel or lavalier mic.
5. Get The Right Equipment
We here at Filmmaking Lifestyle can’t stress enough the importance of getting your hands on the right equipment. If you want to shoot quality video, you need reliable gear. Note, we say “reliable,” not “the latest” or “the most expensive”.
How do you know what the right equipment is for you? Well, check out our list of recommended gear here. Check out which camera fits your budget, then make sure it has the features that you want or that you’ll need for a certain project.
And remember that renting in a great option, especially when you’re just starting out and you might not have much of a budget.
We’ve also previously posted on what type of video camera you should buy.
Video Editing Software
You’ve heard the term; we’ll fix it in editing? Well, with all the new video editing software out there, it’s now possible to fix the quality of your video during the editing process. To a certain extent.
You can use video editing software to increase the resolution of your video. The resolution of your video will affect the sharpness of the video and the number stands for how many horizontal lines make up the video.
For example, a 480p video has 480 lines stacked upon each other and each line is 852 pixels wide, while a 720p video has 720 lines of 1,280 pixels wide. Check out the image below to see the examples of the difference resolution has on video quality.
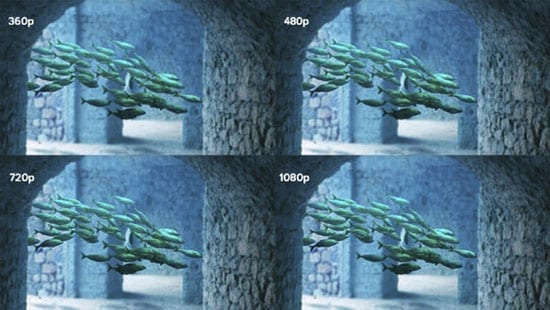
Image courtesy: Animoto
Can you see the difference?
Another way of thinking about what resolution your video should have would be to think about what device or viewing system your video is going to be viewed on.
360p is usually the quality of videos displayed via online platforms such and YouTube and Hulu. It’s also a good resolution to use for videos shown in mobile devices.
480p is also known as “DVD quality” and is a good resolution to use for videos that are played on laptops or desktop monitors or even TVs.
720p is the range where true high-definition quality begins. This is the resolution use by HD TV channels.

There are also other functions and effects that a video editing software can give your video and it’s up to you to pick the software that most suits your needs. Check out the following list of video editing software and see which will suit you better.
Professional Editing Options
Let’s look at some of the professional editing options out there.
1. Final Cut Pro X
The inimitable Final Cut Pro has been a mainstay of the video editing game for a long time. Apple’s software is a professional option and everything seems so intuitive and ‘where it should be.’
If you’re after professional and dynamic video editing features, you can’t go wrong with FCP.
2. Adobe Premiere Pro
This program is available through Adobe Creative suite and it unifies all the previous editions of Adobe’s video editing tools.
It has a customized interface that you can easily set up to your particular preferences. It is also easy to import videos to this program and people tend to like the timeline options.
With this program, you can easily create template bins that you can save and use for other projects. This can save time if you are working on multiple videos at once that have a similar look and feel.
Beginner Video Editing Options
Now let’s take a look at some more beginning apps that you could use for video editing. Note: These are much more basic than the professional offerings like FCPX and Premiere Pro. I mention these here just to cover starter / budget options for those new to video editing.
1. Wondershare Filmora
This is a pretty popular video editing software as it is easy to use and reliable. To enhance the quality of your video with this, you need to import you video files by simply dragging and dropping the files into the program.
You can then enhance the video and audio of your files. There is also the option to stabilize your video with the programs Video Stabilization feature. You can save your edited file in a variety of formats and also share it directly to platforms such as YouTube, Vimeo, and Facebook.
2. Windows Movie Maker
It is easy to import videos and edit them with this software. Windows Movie Maker provides a lot of transitions and effects that you can use to enhance your video.
One of the most interesting features of this video editing software is that it gives you the ability to create and add animated titles with texts, in a very basic sense (at least compared to professional options). There is also an option to directly publish your edited video on YouTube.
3. Pinnacle Studio
This video editing program is popular for its simple interface. There are a lot of editing features and options available with Pinnacle. You can use it to control of color and contrast and even to improve shadows and brightness.
Pinnacle Studio is available for download in many different versions, so just make sure that you get the one with the features that you will need.
4. Avidemux
Avidemux is a good video editing program to use if you need to edit and produce videos in multiple video file formats.
It can enhance the quality of AVI, WMV, MKV,MPEG, MP4 FLV, OGM and MOV. There is a multithreading option for both decoding and encoding which makes it easy to enhance your videos.
Video Quality – In Conclusion
We hope you’ve found this article on getting the best quality video footage helpful. We’ve shared a variety of tips and software options here and hope you’re gotten a lot out of the article.
What’s your favorite video editing software? Let us know in the comments below.
You are a very bright person!
Thanks, Mazy. I’ve heard worse!