Today, Alanzhelon takes us through his process and shows you how you can create and share your music in video form in the best possible way.
Showcasing your talent online is one of the best ways to get feedback, attract a wider audience, hone your performance skills and entertain potentially millions of people.
Making a video and uploading it can be easier than you think. Of course, you want your video to look professional and polished no matter where you are filming it from.
We created a video that we are proud of and are going to share our steps with you.
A few tips can help you to create a video that you can be proud of.
Pick Your Space
Whether you are playing an acoustic instrument or an electric instrument we can tell you from experience, the space you choose matters and it matters much more for an acoustic instrument.
Rooms that are cluttered can affect the sound of acoustic instruments and make them sound flat.
Choosing the right space to create your recording is critical.
Consider a space that is:
- Large enough to hold your equipment comfortably
- A space that you are comfortable in
- A room that is not overly cluttered
Once you have your space picked out, it is time to get the tools together that you will need to make a video like our violin recording guide.
The Tools Make A Difference
You will need some tools to make a video. When we made this video, here is what we used to get professional results:
- Computer with DAW installed
- An audio interface (we used Steinberg UR22mkII)
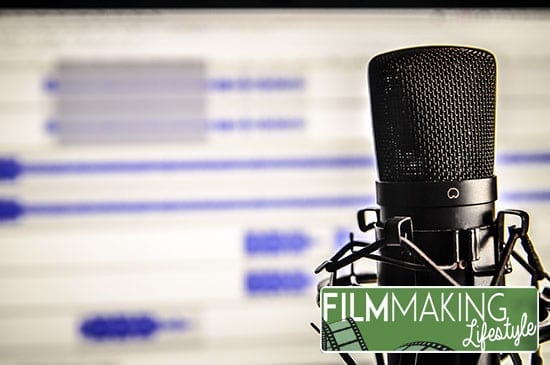
- A microphone (we used Audio-Technica AT4047)
- Headphones for monitoring (we use AIAIAI TMA-2)
- For an electric instrument recording you will need a jack-jack cable to connect
- A nice reflective space
The computer that you use must have DAW installed, DAW (or Digital Audio Workstation) is software that allows you to record, edit and more.
We use Reaper, it is easy to use, intuitive and gets the job done nicely. We discuss using Reaper in the next section.
Reaper, Installation And Use
Choose the Reaper copy that is built for your OS system. Download it and open it.
Check to be sure that Reaper recognizes your interface. The buffer size will tell you the amount of latency you can expect.
Latency is the time between when you send a signal and when you can hear a signal during monitoring.
If you have a lot of tracks you will need to increase the buffer size which will increase the latency but this only applies when you get to over 500 samples.
For new tracks, the process is simple, Command + Comma, or for PC, it’s Ctrl + Command select buffer and click 64 and apply. This can be adjusted later if you need to.
Next you want to make sure that Reaper knows where the input is coming from.
For our recording we selected “UR mark two input one” which is where we plugged in out input cable.
You may see another name.
Record a track so that the system will be able to confirm this is where the signal is going to come from.
Now We Record
Monitoring is so important when you are making a music video. You have to be able to hear what the computer hears.
Plug in your headphones and do a check to be sure that you are ready to monitor your recording.
Depending on whether you are using an acoustic instrument or an electric instrument the following may or may not apply.
For electric instruments, plug in your instrument, we used input 2 with a high Z option setting.
Of course, for acoustic instruments there is no plugging in necessary.
Press CMD-R to start recording. The space bar will stop the recording.
We were lucky enough to have Inta the recording artist do our video.
Comp takes is a useful tool for the artist that is doing a self-recording.
It can be difficult to push that space bar when you need to stop your recording.
Comp takes allows you to record in a loop, track by track and then combine the separate tracks to create a full selection.
We used it for our recording and then edited from there.
Special Acoustic Tips
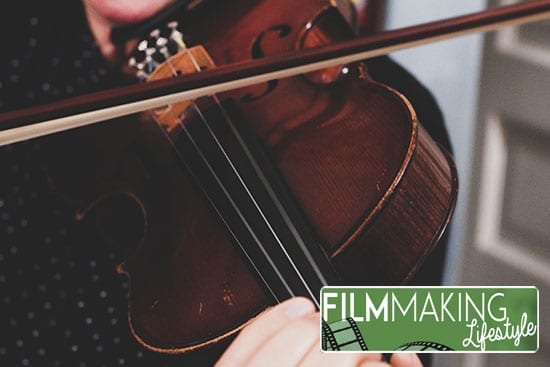
We recorded both an electric violin and an acoustic violin.
Hands down the electric is easier.
The acoustic violin like all acoustic instruments requires special attention during the process.
One of the best things you can do to produce a better acoustic sound is to use a high quality diaphragm microphone for the session.
Placement of the microphone is important.
For a richer sound we placed the microphone further away. You can try it too.
Recording music is all about experimenting to get that perfect sound.
We raised the microphone as high as it would go we also set our levels to -18 and -12 dB.
We recorded a track and then took a listen to see if the microphone and the levels were at the proper placement.
We recorded a track, then recorded another to layer on top and bring more interest to the sound.
Again, this is a great time to experiment and have some fun with your sound.
Once you have a few back tracks laid down and your main track done, you want to do what we did and add some effects to really brighten up the recording.
https://www.youtube.com/embed/6khBgvmnpcQ
Command-l
Pressing Command-L will open up a window that lets you view the tracks that you have recorded. Now it is time to combine them.
Option G allows you to move the play head around. Choose your position than press S to make a slice.
Then select another track that you want to add and press Command L again and the selections are glued together.
Other things we did for our recording was to add some reverb via the plug in that was already installed on Reaper and it really brightened things up nicely but for us there was still something missing. We added some drums.
Option G again, choose track and Insert virtual instrument on a new track.
We had samples already downloaded, you can download them for free if you do not have any already loaded.
Once the selection was made it was copied and overlaid on to the track.
We were very happy with the sound and hopefully you are happy with yours.
It is time to render the file and start sharing! Go File, Render. Name your file and choose a place to save the file.
You now have a recording that you can share with friends, family and the world!
We also saved our session so if we wanted to make changes we could.
Choose “File” “save project as” and the location you want to save it. Give your session a name and save.
You will be able to go back to the session and tweak it and play around as you see necessary.
Here’s the video we created:
How To Share Your Music – The Recap
We had a great time making our video and we learned a lot a long the way!
Reaper DAW really made the process easier and gave us the power to create a recording that we are proud of.
You can do the same thing with a little practice you will be creating world-class recordings that get the world’s attention!
We hope you’ve found this article on how to share your music helpful. Have you created a music video? Let us know in the comments below.
Matt Crawford
Related posts
2 Comments
Leave a Reply Cancel reply
This site uses Akismet to reduce spam. Learn how your comment data is processed.



spot on! i’m a musician and this was really helpful to me. thanks.
Thanks, Anil.