
The Adobe Media Encoder is a video rendering application that comes bundled with
This streamlined workflow helps you quickly encode files for virtually any screen.
You can also create templates that contain your commonly used render and output-module settings and share them with your team to ensure consistent quality and naming on all your renders.
It’s a powerful, yet overlokked application for encoding your video projects into a variety of codecs and file formats.
It’s most often used to create web-friendly video files.
So what exactly is the Adobe Media Encoder? Why do you need it? And how does it make exporting faster?
Let’s find out.
adobe media encoder
What Is adobe media encoder?
Adobe Media Encoder is a powerful and efficient batch-processing tool that provides the ability to encode a wide range of audio, video, and image formats. It’s perfect for encoding video files in high-volume production workflows.
For example, you might use an encoder to convert a number of different versions of a presentation into various formats for playback on a variety of mobile devices.
The Adobe Media Encoder software is available as part of Creative Cloud. This simple-to-use tool supports many different video, audio, and image formats as inputs, including MP3, AAC, JPEG, FLV, MPEG-4 AVC/H.264, Sony XAVC/XDCAM EX, Fujifilm HD and Apple ProRes.
Adobe Media Encoder is a powerful tool that seamlessly automates the process of creating multiple encoded versions of source files, Adobe Premiere Pro sequences, and Adobe
It’s an indispensable part of the video editing workflow for professionals and enthusiasts alike, ensuring their content is polished and ready for any screen.
We’ll jump into the capabilities and functions of Adobe Media Encoder, showing you why it’s the go-to solution for video rendering and exporting.

Stay with us to unlock the full potential of your video projects with this essential software.
What Is Adobe Media Encoder?
Adobe Media Encoder stands as a staple in the video production process.
It’s a powerful environment where we manage our rendering operations.
Whether we’re working on short films, broadcasting content, or digital advertisements, Adobe Media Encoder streamlines our post-production workflow.
It offers us a range of preset options and formats catered to various platforms.
The tool operates seamlessly with Adobe Premiere Pro and Adobe
We can send projects directly from these applications to Media Encoder.
This integration saves us considerable time and keeps our focus on creative work.
Batch processing multiple projects is also a breeze, rendering in the background while we continue editing.
One key advantage is its ability to optimize videos for different devices and screen sizes.
We can create content for TVs, desktops, mobiles, and tablets without compromising on quality.
Transcoding large video files to different formats doesn’t get easier.
Media Encoder is there to make this process smooth.
Its user interface is intuitive, making it accessible for both professionals and novices.
Once we’ve got our sequence or composition set up, it takes just a few clicks to get our media geared for export.
The main features include:
- Support for a wide range of formats and codecs,
- Background rendering for efficient multitasking,
- Direct integration with Adobe Premiere Pro and
After Effects , - Preset settings for different output resolutions.
But that merely scratches the surface.
Adobe Media Encoder is designed to be flexible.
It fits into our workflow, providing us with the tools we need to keep the content looking sharp across all mediums.
With the rise of 4K video and beyond, having this level of control at our fingertips isn’t just a luxury; it’s a necessity.
The Importance Of Adobe Media Encoder In Video Editing
In the ever-evolving landscape of digital storytelling, Adobe Media Encoder has become indispensable for video editors and filmmakers alike.
It ensures that the final product is compatible across an array of platforms and devices, which is crucial in a time where content consumption varies widely from smartphones to cinemas.
The integration with Adobe Premiere Pro and

Projects can be queued with ease, and batch processing becomes a routine that saves us countless hours while maintaining the integrity of our work.
We recognize the need for rapid turnarounds in video production, especially to meet the demands of clients and diverse output requirements.
Adobe Media Encoder empowers us to deliver quality work quickly through features like background rendering, which maximizes our efficiency without disrupting our creative process.
Here are some key aspects that highlight the importance of Adobe Media Encoder in our workflow:
- Format Versatility – We can export our videos to virtually any format or codec we might need.
- Automated Rendering – Set up a queue and Adobe Media Encoder handles the rest, rendering while we continue editing.
- Adaptive Bitrate Presets – These are essential for optimizing video streams across various bandwidth situations, ensuring a smooth viewing experience for our audience.
By standardizing our output process, we safeguard the consistency of our content’s visual quality, regardless of the distribution channel.
While we focus on crafting compelling narratives and stunning visuals, Adobe Media Encoder does the heavy lifting in the background, transcoding our films to the highest standard.
Staying ahead in the competitive field of video production means embracing tools that streamline our workflow and enhance our final outputs.
With Adobe Media Encoder, we are equipped to tackle any project with confidence, knowing our deliverables will meet the mark every time.
How Adobe Media Encoder Works
Adobe Media Encoder streamlines the video output process in ways that are both simple and incredibly sophisticated.
At its core, the software takes the heavy lifting out of file conversions and transcoding, ensuring that the films we create are ready for viewers no matter the platform or device.
Firstly, it integrates flawlessly with Adobe Premiere Pro and
This integration enables us to send sequences and compositions directly to Media Encoder’s queue.
From there, a user-friendly interface allows us to select the desired output format and make any necessary adjustments to video settings.
The software operates on a queuing system.
When we’re editing in Premiere Pro or compositing in
This multitasking capability means we can keep working while Media Encoder processes in the background.
Here’s what happens in the background:
- Media Encoder accesses the source file,
- It applies the chosen presets or settings we’ve specified,
- It encodes the video to the target format,
- The output file is then saved to a designated location.
One of the key features of Adobe Media Encoder is its preset settings for different types of outputs:
- High-quality formats like ProRes or H.264 for online distribution,
- Custom presets tailored to specific needs,
- Optimized formats for various platforms, including YouTube and Vimeo.
Multiple files can be encoded simultaneously, boosting productivity and saving us valuable time.
Each file in the queue can be given unique settings, ensuring the right specifications for every single output.
Crucially, Adobe Media Encoder provides detailed reports once encoding is complete.
We’re always in the know about any errors or issues that might arise during the encoding process, which allows for immediate correction and ensures that the final product meets our standards of quality.
Key Features Of Adobe Media Encoder
Adobe Media Encoder shines with features that are essential for video professionals.
Whether you’re exporting a blockbuster feature or a simple vlog, the encoder’s versatility is unmatched.
Here are its standout attributes.
Batch Processing is a game-changer for us.
We can line up multiple video projects for encoding and let the software handle them one after the other.
This efficiency is critical when working under tight deadlines.
Range of Formats and Presets offer flexibility –
- Export projects directly to formats like H.264, HEVC, and ProRes.
- Use presets tailored for different platforms such as YouTube and Vimeo.
When we’re aiming for precision, Custom Export Settings empower us.
We adjust bit rates, resolution, and codecs to suit our specific needs.
The ability to save these settings for future use speeds up our workflow significantly.
The Integrated Workflow with Adobe Premiere Pro and
We simply queue our sequences from Premiere or compositions from
It’s a true workhorse that doesn’t require our full attention.
Its support for Virtual Reality (VR) Content can’t be ignored.
Adobe Media Encoder enables us to export 360-degree videos with appropriate settings.
As VR becomes more mainstream, this feature ensures our content is future-ready.
Adobe Media Encoder’s Error Reporting feature is indispensable.
It monitors our exports and provides feedback on any issues.
Thanks to this, we’re confident the videos we deliver are of the highest quality.
Automated Image Processing supports our move into higher efficiency.
The Encoder can ingest image sequences and convert them to video, which is useful when adding animations to our projects.
Being able to Adjust Aspect Ratios and Frame Rates supports our creativity.
It’s crucial for repurposing content across different platforms without sacrificing quality or engagement.
When we’re focusing on color and effects, Lumetri Color Integration proves its worth.
Our final output has the richness and depth that we’ve painstakingly crafted in post-production.
Adobe Media Encoder’s features streamline video exporting.
They’re central to maintaining a smooth, professional production pipeline, which is critical for our success in the competitive field of filmmaking.
Tips And Tricks For Using Adobe Media Encoder
Maximizing the efficiency and quality of video production workflow is crucial for us as video professionals.
Adobe Media Encoder plays a pivotal role in achieving this.
Here, we’ll share some tips and tricks that take full advantage of its capabilities.
Optimize Render Settings For Quality And Speed
The key to a faster workflow is in balancing quality and speed.
By adjusting the bitrate settings, we ensure that our videos are not only of high quality but also rendered in a reasonable timeframe.
We often start with the preset that matches our target and make slight adjustments as needed.
Use Watch Folders For Automated Workflow
Setting up watch folders allows Adobe Media Encoder to automatically encode videos we place in them.
This feature is especially beneficial when dealing with large volumes of content, as it simplifies repetitive tasks.
- Set up multiple watch folders for different output formats,
- Monitor watch folders regularly to ensure smooth processing.
Take Advantage Of Preset Browser For Common Tasks
Adobe Media Encoder’s Preset Browser is a powerhouse of efficiency.
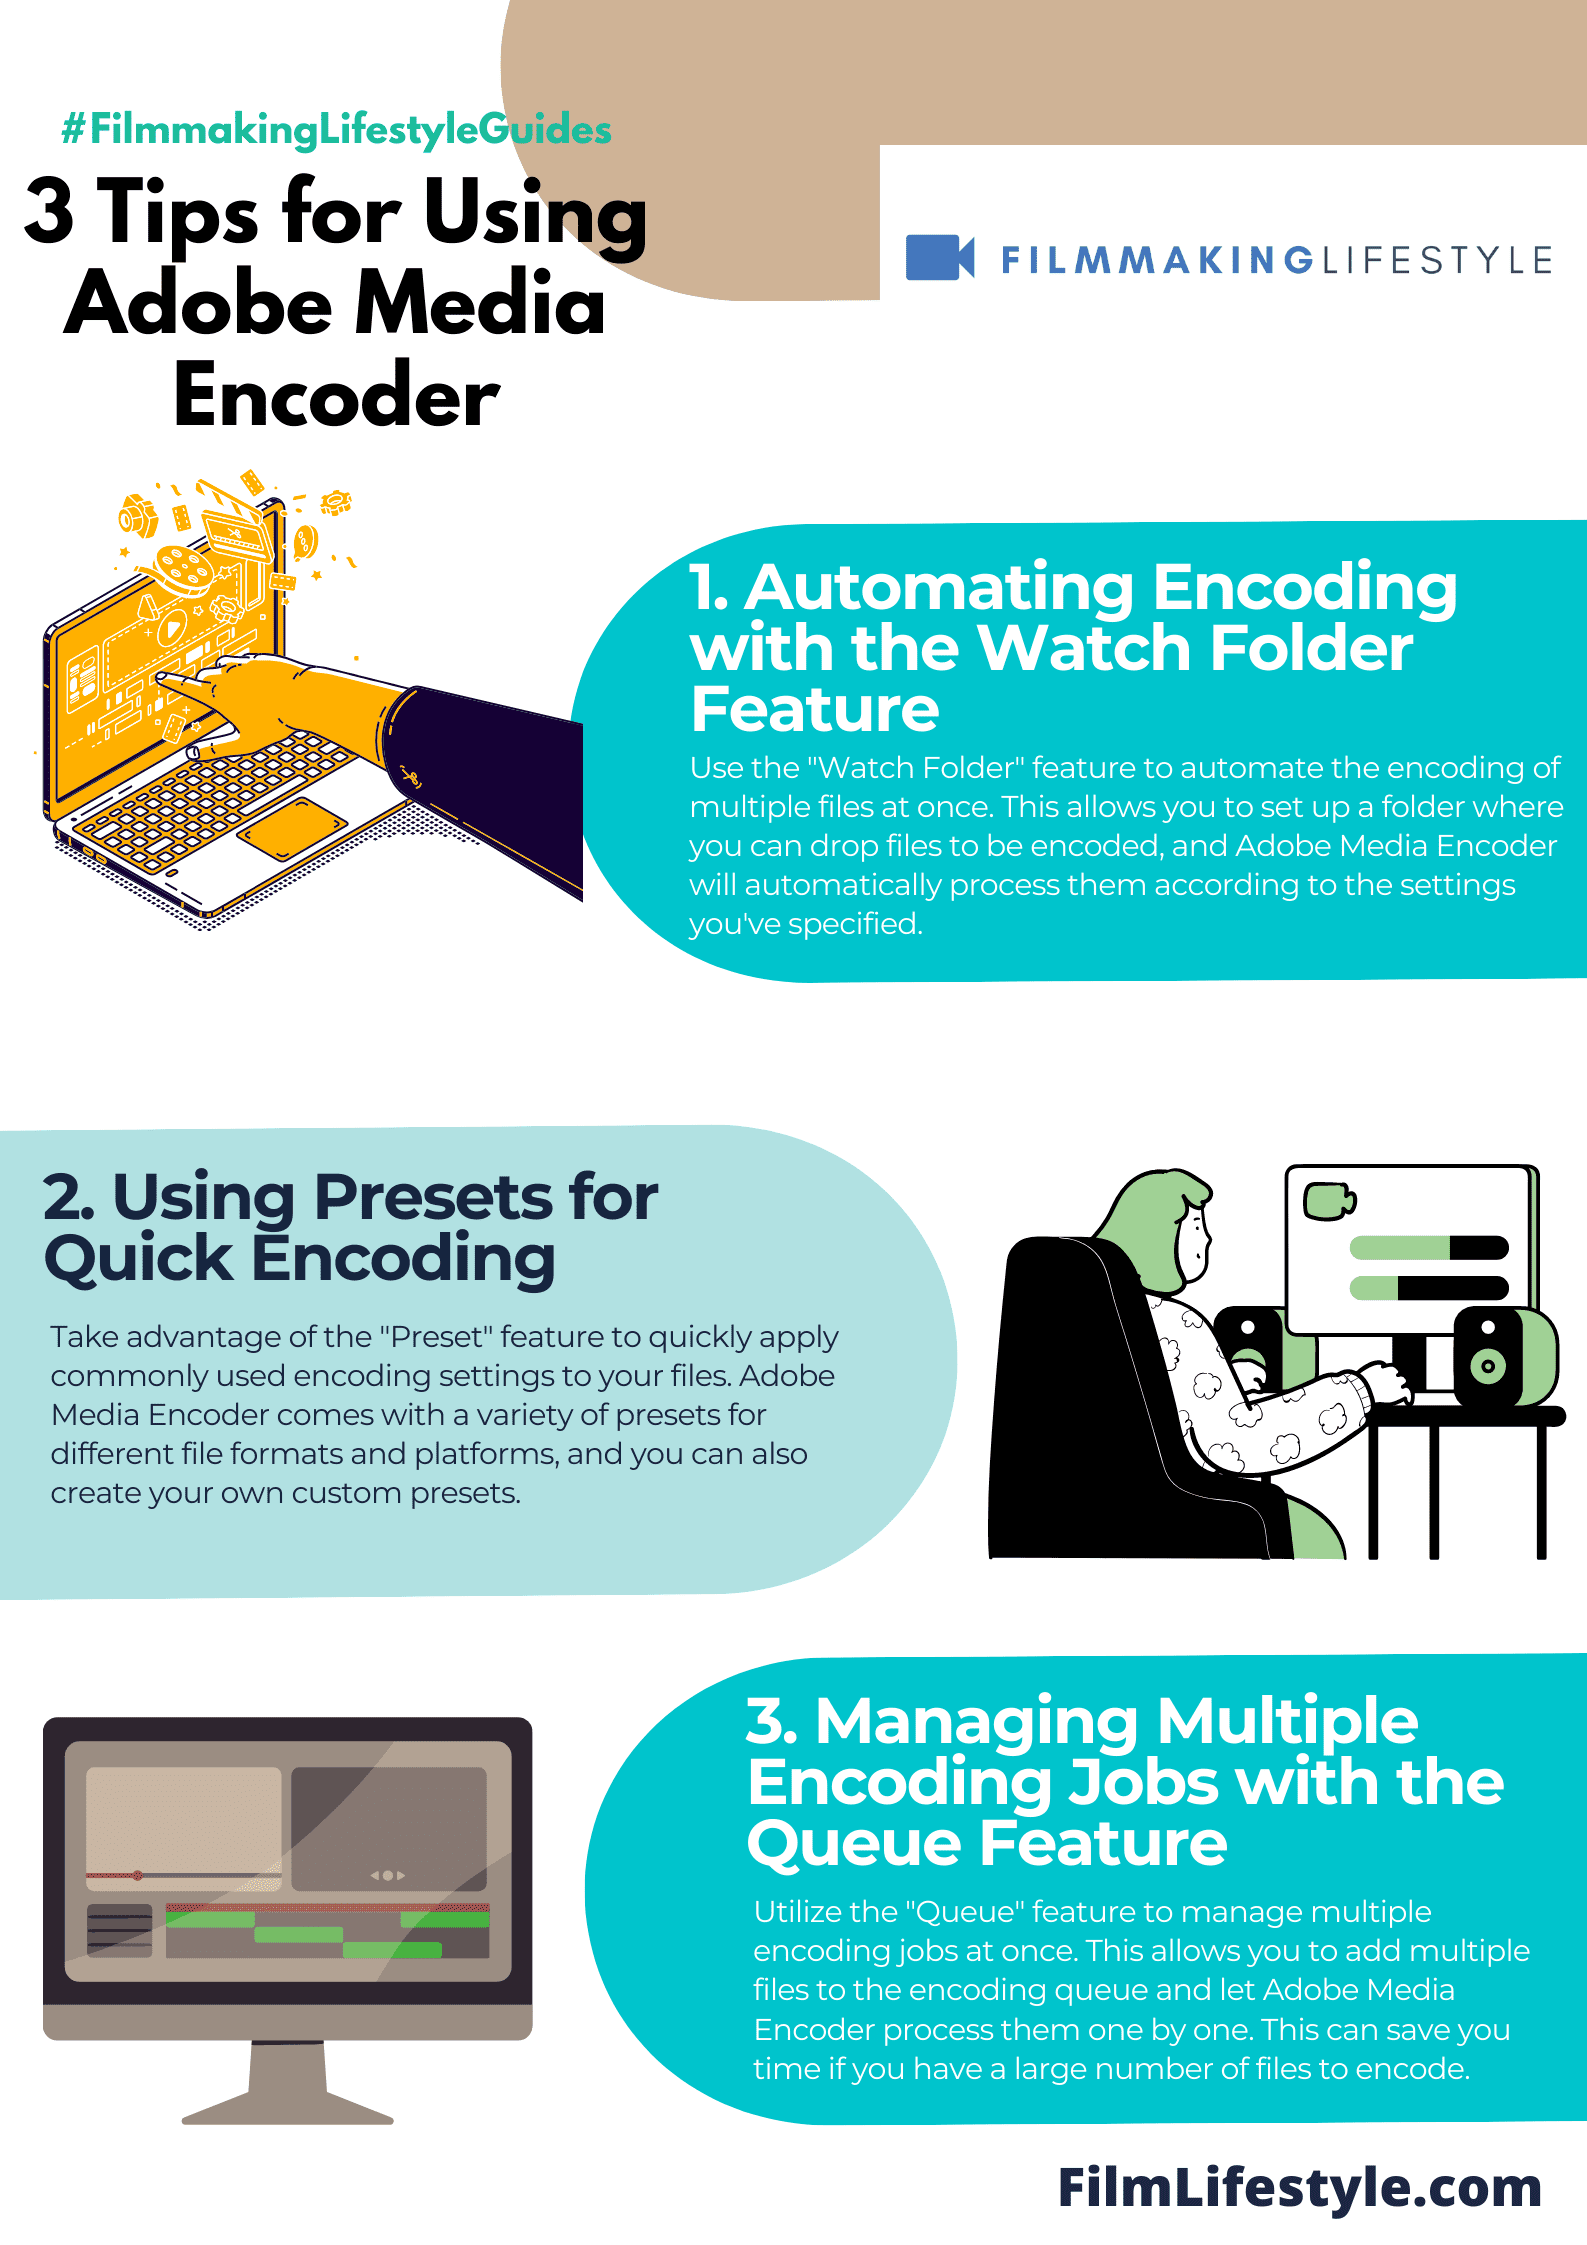
We find using and customizing presets for our most common export tasks saves us considerable time.
- Create custom presets for recurring projects or client specifications,
- Organize and manage presets for quick access during batch processing.
Use Parallel Encoding To Multitask
To further streamline our process, we engage parallel encoding.
This lets us simultaneously encode multiple job queues, So leveraging our system’s full potential.
But, we keep an eye on system performance to avoid overloading our workstations.
Maintain Consistent Workflow With Premiere Pro And After Effects
Adobe Media Encoder’s seamless integration with Premiere Pro and
We often queue exports directly from these applications to stay within the Adobe ecosystem, simplifying the post-production process.
By applying these tips and optimizing our use of Adobe Media Encoder, we enhance our productivity and deliver content that stands out.
Constantly updating ourselves with new features and workflows is an integral part of our professional growth.
What Is Adobe Media Encoder – Wrap Up
We’ve explored the powerful capabilities of Adobe Media Encoder and how it streamlines our video production workflow.
By leveraging its extensive features and our expert tips, we can enhance productivity and ensure the delivery of top-notch content.
Let’s embrace the efficiency of batch processing and the versatility of custom settings to take our video projects to the next level.
With Adobe Media Encoder at our side, we’re well-equipped to tackle any video encoding challenge with confidence and ease.
Frequently Asked Questions
What Is Adobe Media Encoder Used For?
Adobe Media Encoder is a tool used by video professionals for batch processing of video and audio files, allowing them to encode their projects into various formats and presets for different devices and platforms.
Can Adobe Media Encoder Integrate With Other Adobe Applications?
Yes, Adobe Media Encoder integrates seamlessly with Adobe Premiere Pro and
Does Adobe Media Encoder Support Virtual Reality Content?
Adobe Media Encoder supports virtual reality content, enabling professionals to work with 360 VR videos and ensuring compatibility with the latest virtual reality platforms.
How Does Adobe Media Encoder Enhance Video Workflow Efficiency?
Adobe Media Encoder enhances video workflow efficiency by providing custom export settings, watch folders for automated workflows, parallel encoding to multitask, and a preset browser for quickly accessing common tasks.
What Unique Features Does Adobe Media Encoder Offer For Video Quality?
Unique features of Adobe Media Encoder that contribute to video quality include Lumetri Color integration for accurate color grading, error reporting, and the ability to adjust aspect ratios and frame rates to ensure the final output meets specific quality standards.
Can I Automatically Process Images With Adobe Media Encoder?
Yes, Adobe Media Encoder allows for automated image processing, enabling batch encoding of image sequences and conversion to different file formats.
Is It Possible To Adjust Render Settings In Adobe Media Encoder?
Yes, Adobe Media Encoder allows users to optimize render settings for their specific needs to maximize output quality and rendering efficiency during video production.