
Adobe Premiere Pro is a video editing software that works with a keyboard and mouse. It has some of the most powerful tools in the world, but it can be difficult to learn how to use them without a guide.
That’s where this article comes in!
Adobe Premiere Pro is a powerful video editing software that can be used by beginners and professionals alike.
It allows you to create videos from scratch, or add text and music to existing videos.
You can also edit your videos using special effects like slow motion, time lapse, or even add stickers and filters.
Adobe Premiere Pro Keyboard Shortcuts
What Are Adobe Premiere Pro Keyboard Shortcuts
Adobe Premiere Pro is a video editing application, which allows you to create a video with sound and images. It is an advanced tool that can be used by beginners and professionals alike. There are many tools available in the software, which allows you to edit your video like never before.
Adobe Premiere Pro Keyboard Shortcuts Overview
If you want to know about all the keyboard shortcuts for Adobe Premiere Pro then here is a list of all the shortcuts that you need to know about:
System Key (Ctrl+S) – This shortcut is used for saving and closing files or documents. This can also be used for saving and closing projects in Adobe Premiere Pro.
Tools Panel – This shortcut is used for accessing different tools such as audio effects, transitions, titles, etc.
Project Panel – This shortcut is used for accessing different panels like timeline panel, monitor panel and others.
Speeding up your video editing workflow in Adobe Premiere Pro is a game-changer, and that’s where keyboard shortcuts come into play.
They’re the secret sauce to boosting your efficiency and getting your creative juices flowing without interruption.
We’ll jump into the most useful Adobe Premiere Pro keyboard shortcuts that’ll have you editing like a pro.
Stick with us, and you’ll be slicing through your timelines and adding effects with the tap of a key in no time.

What Are Keyboard Shortcuts?
Keyboard shortcuts empower us with the ability to perform actions and execute commands within Adobe Premiere Pro without relying on the mouse.
They unlock a faster and more intuitive editing process by providing instant access to tools and functions.
The beauty of shortcuts lies in the simplicity of a single keystroke initiating complex sequences.

This means we can execute repetitive tasks with speed and precision, not to mention the sheer comfort of minimal hand movement.
Mastering shortcuts can feel like learning a new language at first.
But as we jump into regular use, they become second nature, enhancing our editing fluency.
From trimming clips to adjusting playback speed, shortcuts are pivotal.
Consider the following benefits of integrating keyboard shortcuts into our video editing workflow:
- Efficiency and Speed – reducing the steps required for editing tasks,
- Customizability – the ability to tailor shortcuts to personal editing style,
- Consistency – uniform commands across various projects.
Reduce the need to search through menus or remember multiple steps for frequent actions.
We streamline our workflow and keep our focus on the creative aspects of filmmaking.
By integrating these shortcuts, we’re not just editing; we’re choreographing an intricate dance where every keystroke is a beat in the rhythm of our cinematic composition.
Imagine working on a complex scene from Inception or a dialogue-heavy sequence from The Social Network.
Here, each shortcut used can mean the difference between meeting a tight deadline or missing it entirely.

As video editors, we recognize this and integrate keyboard shortcuts as essential tools in our arsenal.

Why Use Keyboard Shortcuts In Adobe Premiere Pro?
We can’t overemphasize the role of keyboard shortcuts in streamlining video editing tasks within Adobe Premiere Pro.
They’re the secret sauce that transforms a cumbersome process into an efficient and flowing one.
Keyboard shortcuts afford us the luxury of bypassing nested menus, thereby saving precious time with each action.
This efficiency is
Imagine the cumulative effect of using keyboard shortcuts on a feature-length film like Inception.
Hours can be shaved off the editing process, which can be redirected to fine-tuning the narrative or even starting new projects.
By using shortcuts, repetitive tasks become effortless, and we have more time to focus on the creative aspects of editing.
Integrating keyboard shortcuts into our workflow offers several benefits:
- Speed — Actions that typically require several clicks are reduced to a simple keystroke.
- Precision — With one-tap commands, we minimize the risk of misclicks and unintended edits.
- Consistency — Shortcuts can be customized and transferred across different editing systems, ensuring a consistent workflow regardless of the workstation.
It’s all about working smarter, not harder.
As we master these shortcuts, we’ll find that what once felt like complex sequences of commands will start feeling like second nature.
And for those of us who are multi-taskers, the ability to keep one hand on the keyboard and the other on the mouse can be a godsend, allowing for a seamless and harmonious editing ballet.
also, the physical strain on our hands is significantly reduced when we’re not incessantly scrolling through menus.
This aspect of ergonomics might seem trivial, but over an extended editing session, it’s a game-changer.

And let’s face it, at the end of the day, our comfort is just as important as our productivity.

How To Customize Keyboard Shortcuts In Adobe Premiere Pro
Customizing keyboard shortcuts in Adobe Premiere Pro is a streamlined process.
It’s an essential step to tailor the editing interface to our individual workflow needs.
To start with the customization, we’ll navigate to the Edit menu.
From here, we select Keyboard Shortcuts to open the command list.
This panel allows us to map new shortcuts or modify existing ones.
We can even mimic the keyboard layouts from other editing software like Final Cut Pro or Avid.
Here are the steps to assign a custom keyboard shortcut – – Locate the command in the Command List.
- Click on the shortcut column next to the command.
- Press the new key combination.
- Click OK to save the setup.
If a shortcut is already in use, Premiere Pro alerts us.
We then decide whether to overwrite it or choose an alternative.
Remembering these shortcuts can seem daunting at first.
But creating a cheat sheet can be an invaluable reference during the learning curve.
At times, sharing our customized shortcuts across different editing suites or with team members is necessary.
Fortunately, Adobe Premiere Pro allows us to export our keyboard layout.
Accessing the Keyboard Shortcuts panel, we find the options to Save As and Export.
With just a few clicks, our custom keyboard layout is ready to be shared or saved for future use.
Regularly updating our shortcuts to reflect our evolving editing style keeps us efficient.
It’s an ongoing process that’s well worth the investment of time.
Integrating shortcuts into our daily practice won’t happen overnight.
But with consistent use, they will become second nature.
Essential Keyboard Shortcuts For Navigation
Navigating the timeline efficiently is crucial for a seamless editing process in Adobe Premiere Pro.
That’s why mastering essential keyboard shortcuts for navigation can save editors precious time and energy.
Knowing these shortcuts allows us to jump between clips, move through footage frame by frame, and rapidly advance to different sections of our project.

Here are a few navigation shortcuts every editor should have at their fingertips:
- Spacebar – Plays and pauses your timeline.
- Left/Right Arrow – Moves one frame left or right.
- Up/Down Arrow – Jumps between edit points on the timeline.
- Home/End – Moves to the beginning or end of the timeline.
We can’t stress enough how these shortcuts streamline our workflow.
Once internalized, they minimize the need to click through the interface, allowing us to keep our focus where it belongs – on the creative aspects of our projects.
Customizing these navigation shortcuts to suit our personal editing style further enhances our efficiency.
Adobe Premiere Pro provides us with the flexibility to map these functions to different keys based on our preferences and the specific demands of our current project.
Remember, embracing these navigation shortcuts is about building a more intuitive connection with our editing work.
By incorporating these into our daily routine, we begin to edit with increased confidence and a kind of rhythm that only comes from deeply understanding our tools.

Keyboard Shortcuts For Editing Tools And Functions
As seasoned experts in the world of film editing, we understand the importance of efficiency in Adobe Premiere Pro.
Having a thorough grasp of the editing tools and functions isn’t just recommended, it’s essential for any film editor who is serious about their craft.
Adobe Premiere Pro comes packed with a host of tools that, when combined with keyboard shortcuts, can significantly reduce editing time and boost productivity.
For instance, ripple edit and roll edit are two powerful tools that, when used with their respective shortcuts, make adjusting the in and out points of clips a breeze.
Here are some of the key editing tools and their corresponding shortcuts to memorize:
- Ripple Edit Tool – B,
- Roll Edit Tool – N,
- Rate Stretch Tool – R,
- Slip Tool – Y,
- Slide Tool – U,
- Pen Tool – P,
- Hand Tool – H,
- Zoom Tool – Z.
Using these shortcuts allows us to manipulate our timeline swiftly, adjusting the duration or position of clips without the need to navigate cumbersome menus.
This not only saves precious time but also maintains our creative flow.
Likewise, adding effects and transitions can enhance storytelling, and knowing the shortcuts for these functions is invaluable.
Applying, removing, or simply navigating between effects and transitions can become second nature with practice.
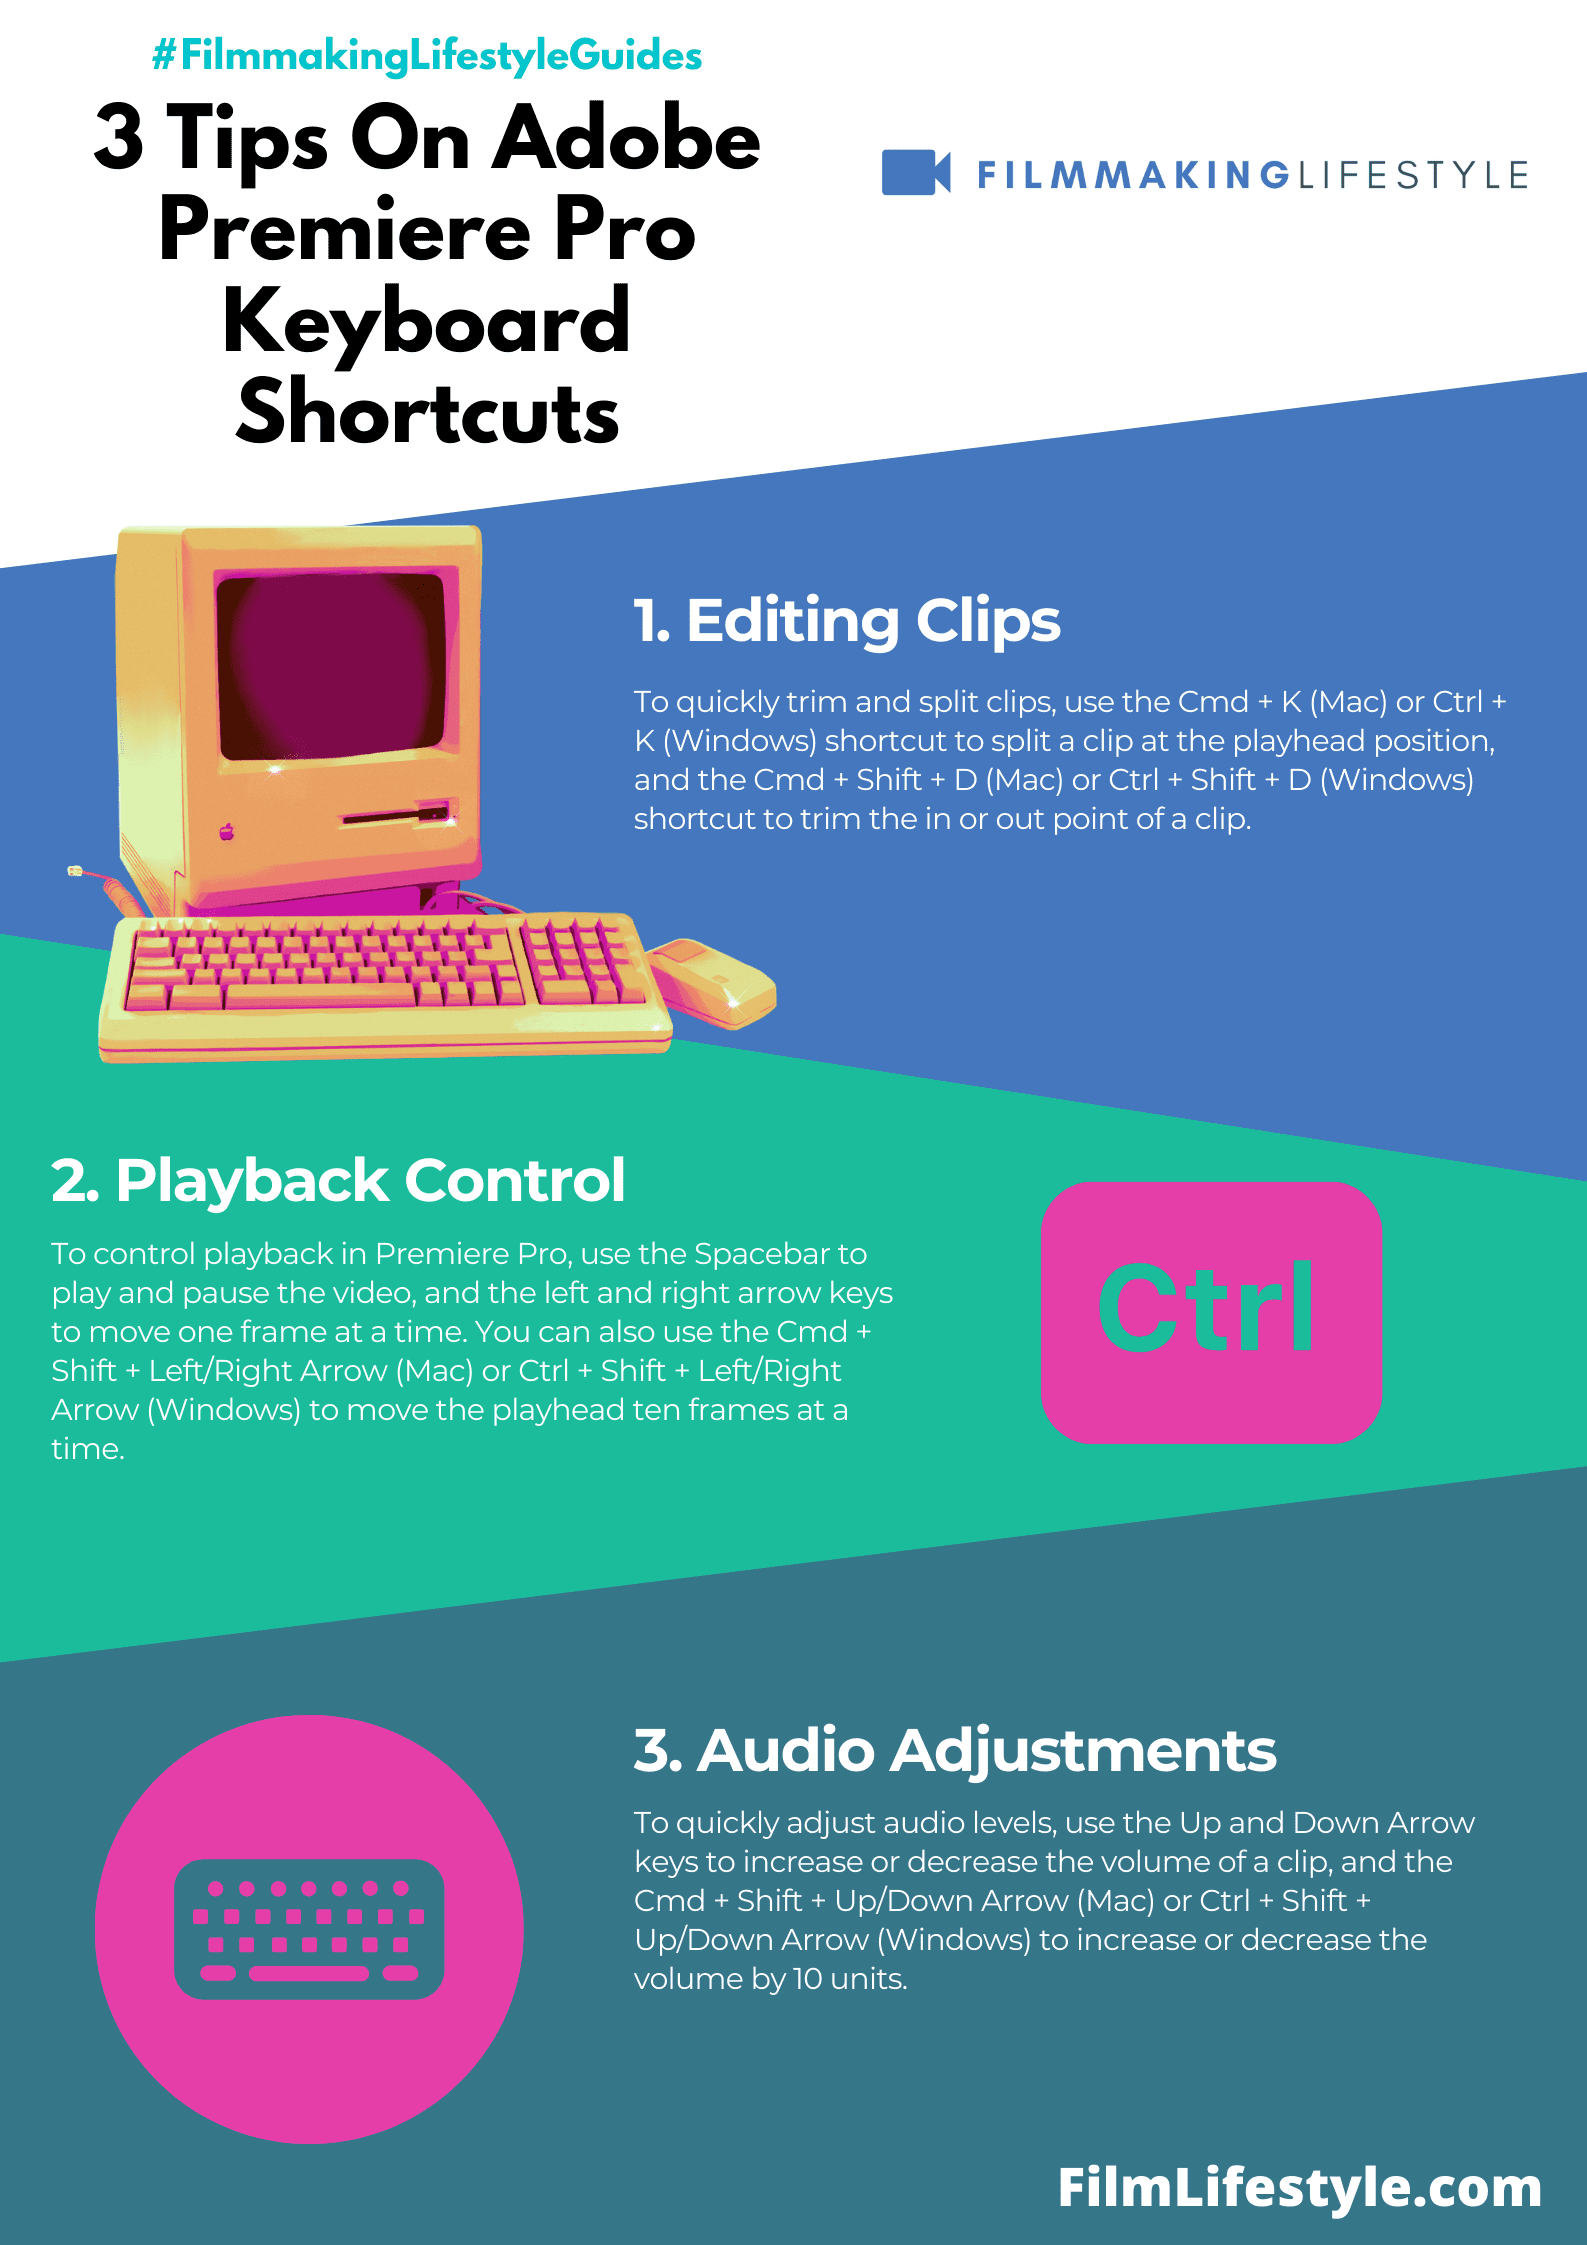
The Add Edit shortcut, Ctrl+K (Cmd+K on Mac), is indispensable when you want to split clips at the playhead’s position.
Directly followed by the Toggle Track Output command, which turns video tracks on or off without clicking, it can revolutionize the way we handle complex sequences.
Incorporating effects is another area where shortcuts prove their worth:
- Apply Video Transition – Ctrl+D (Cmd+D on Mac),
- Apply Audio Transition – Ctrl+Shift+D (Cmd+Shift+D on Mac),
- Navigate Through Transitions – Shift+D.
Mastering these key editing shortcuts in Adobe Premiere Pro is much like learning the language of the software.
As we continue to dive deeper into the endless possibilities, we open the door to a more refined, effective editing process that keeps our attention firmly on the visual narrative we’re crafting.
Keyboard Shortcuts For Working With Clips And Sequences
When diving into the realm of video editing in Adobe Premiere Pro, managing clips and sequences efficiently becomes
One of the most transformative practices is leveraging keyboard shortcuts to streamline these tasks.
In dealing with clips, we often find ourselves repeatedly performing actions like linking and unlinking video and audio, setting in and out points, and making insert or overwrite edits.

To expedite these repetitious but crucial tasks, we’ve come to rely on some invaluable shortcuts.
Linking & Unlinking
- Ctrl + L (Windows) or Cmd + L (Mac) to toggle the linking of selected clips,
- Alt + Click (Windows) or Option + Click (Mac) on a link to quickly unlink or link individual components.
Setting In & Out
- I to set an In point,
- O to set an Out point.
Insert & Overwrite Edits
- , for insert edit,
- . for overwrite edit.
Navigating sequences is also a breeze with shortcuts.
Moving through sequences efficiently equates to more hands-on time with our edits, which in turn leads to better-told stories.
We have found the following key combinations to save us precious minutes that add up quickly over hours of editing:
Navigating Sequences
- Up or Down Arrow to jump to the previous or next edit point,
- Left or Right Arrow to move one frame at a time.
also, manipulating multiple clips within a sequence can be a formidable task.
But with keystrokes that are designed to select all clips to the right of the cursor or quickly remove gaps in the timeline, productivity sees a substantial gain.
Managing Multiple Clips
- A to activate the Track Select Forward tool,
- Backspace to clear and close gaps.
Mastering these shortcuts is akin to a musician learning scales – initially daunting but undeniably rewarding.
It’s about making the software work for us, optimizing our workflow to serve our creative vision in films like The Grand Budapest Hotel or Inception where precision and timing are everything.
Advanced Keyboard Shortcuts For Speed And Efficiency
As experienced editors, we know that every second counts in our workflow.
Advanced keyboard shortcuts elevate us from being proficient to outright efficient, especially when we’re aiming to meet tight deadlines.
Shortcuts for trimming and cutting are vital for fine-tuning edits.
With the Ripple Edit tool’s shortcut, we can adjust an edit point and ripple the change through the rest of the sequence without offsetting our clips.
Similarly, using the Rolling Edit shortcut, we refine the transition between two clips, knowing that the total duration of our sequence remains constant.
Utilizing shortcuts for keyframe animation is a game-changer – it can turn Hereditary into a cinematic experience that keeps the audience on edge.
Imagine quickly adding a keyframe to an audio track to finesse the volume or to a video clip to tweak its position with just a keystroke.
Some of our favorites include:
- Nudging clips one frame at a time – vital for precise alignment,
- Adding or removing keyframes – for efficient animation control,
- Extending or shortening a clip to the playhead – to trim on the fly.
When we’re working with multiple layers of video and audio, there’s a need to switch tracks efficiently.
We leverage shortcuts to target specific tracks, which saves time and prevents errors from manually selecting tracks with the mouse.
Shortcuts for effects and color correction can’t be overlooked.
Adjusting the Lumetri Color panel using shortcuts ensures that the colors in La La Land pop and the mood is just right without breaking our creative flow.
The less time spent navigating through menus, the more time we have for creativity.
Rapidly navigating the timeline is crucial when piecing together scenes from The Godfather.
We skip to the next or previous sequence with shortcuts, ensuring seamless transitions and story progression with fewer mouse-click interruptions.
By mastering these advanced keyboard shortcuts in Adobe Premiere Pro, we’re not just editing – we’re composing visual symphonies, scene by scene, with the skill of a maestro directing an orchestra.
It’s these nuanced efficiencies that transform a good edit into a great one.
Adobe Premiere Pro Keyboard Shortcuts – Wrap Up
We’ve walked through the transformative power of keyboard shortcuts in Adobe Premiere Pro and how they can elevate our video editing to professional heights.
By embracing these time-saving tricks, we’re not just speeding up our workflow—we’re also opening doors to a more intuitive and creative editing process.
Let’s make the most of these shortcuts to streamline our projects and craft compelling stories with ease.
Remember, practice makes perfect, so let’s integrate these shortcuts into our daily editing routine and watch our efficiency soar.
Frequently Asked Questions
What Is The Main Purpose Of Using Keyboard Shortcuts In Adobe Premiere Pro?
Keyboard shortcuts in Adobe Premiere Pro speed up the video editing process, making it more efficient and allowing editors to navigate and perform actions quicker.
How Can You Customize Keyboard Shortcuts In Adobe Premiere Pro?
Customize keyboard shortcuts by going to the Edit menu, selecting Keyboard Shortcuts, and assigning new combinations to your preferred actions.
Can You Export And Share Customized Adobe Premiere Pro Keyboard Shortcuts?
Yes, you can export and share customized keyboard shortcuts with others.
This feature enables teams to work with a consistent set of shortcuts.
What Are Some Essential Navigation Shortcuts In Premiere Pro?
Essential navigation shortcuts include spacebar for playing and pausing the timeline, arrow keys for moving frame by frame, and up/down keys for jumping between edit points.
Why Is It Important To Customize Keyboard Shortcuts According To Your Editing Style?
Customizing keyboard shortcuts to suit your personal editing style enhances workflow efficiency and ensures that the shortcuts are intuitive for you, leading to faster editing.
What Are Advanced Keyboard Shortcuts Used For In Adobe Premiere Pro?
Advanced keyboard shortcuts in Adobe Premiere Pro are used for complex tasks like trimming and cutting clips, keyframe animation, switching between video tracks, applying effects and color correction, and navigating the timeline rapidly.
