
Have you ever thought about creating a home video studio?
The pandemic of 2020 has changed the game. People around the world were stuck inside their homes, so they started to look for new approaches to self-development and entertainment.
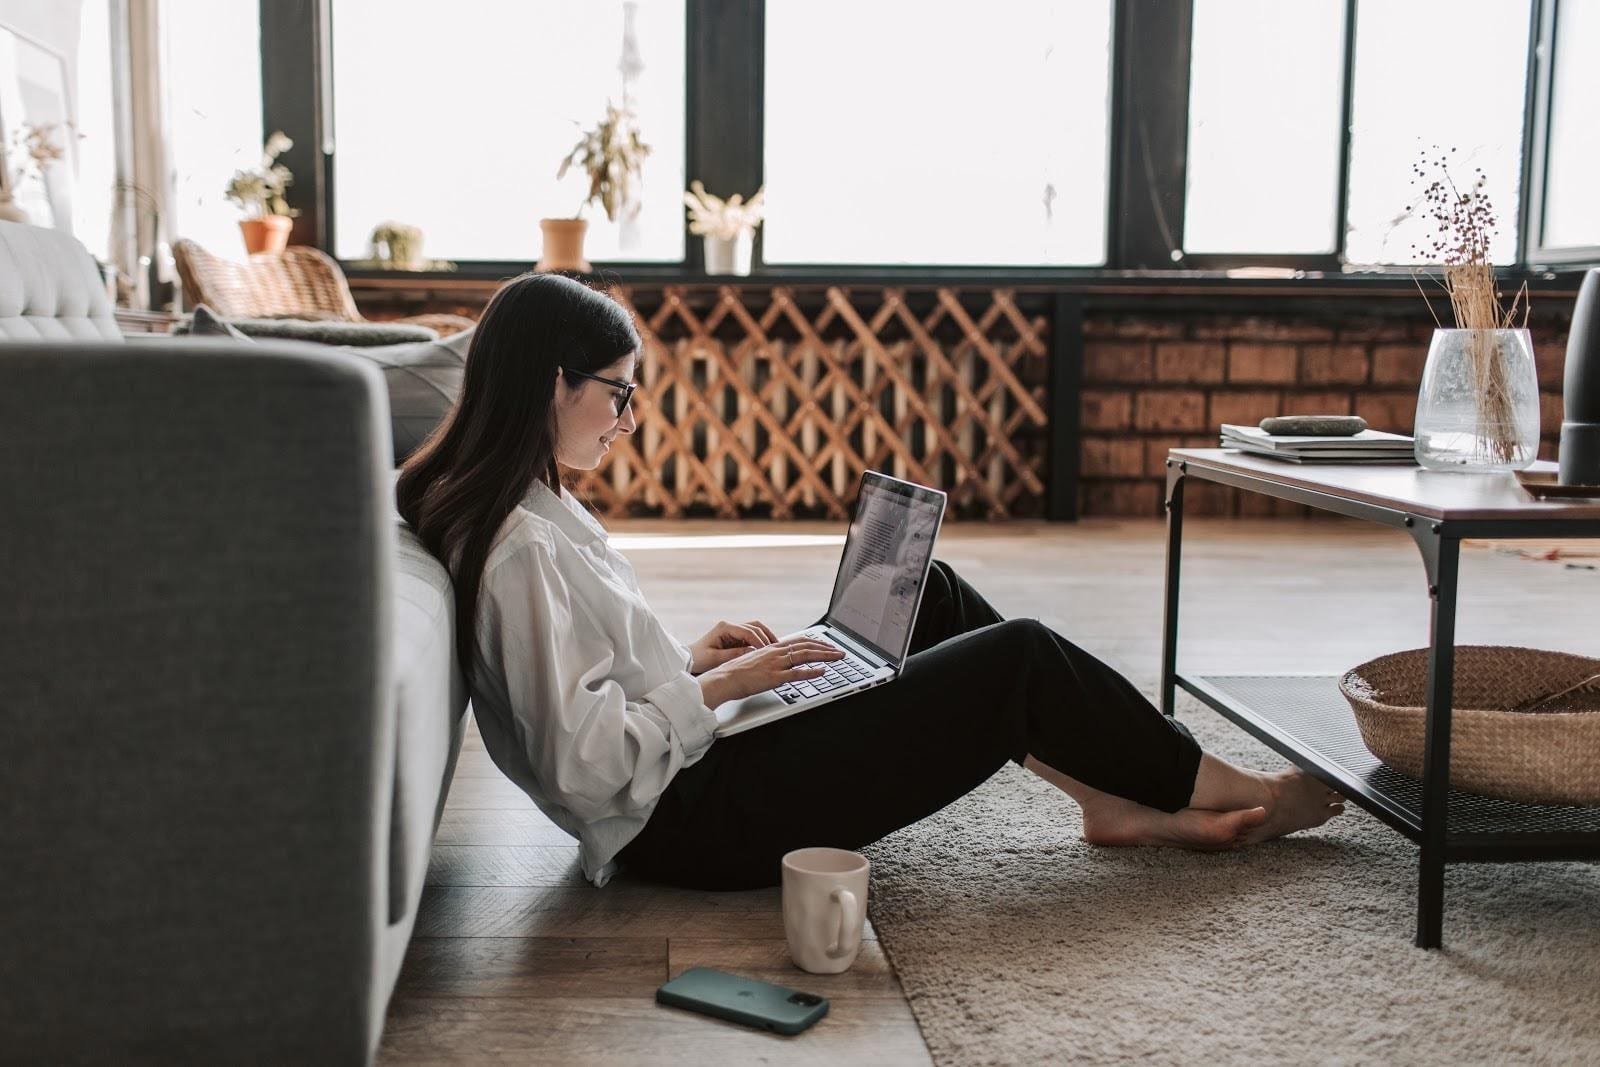
There is a surprisingly large number of hobbies you can get work on while staying home. Video blogging is one of them.
First of all, video blogging helps build a connection between you and other people. You can interact with your audience while streaming and answering in the comments section.
Another reason to start a video blog is that you can show off your talents and share your experience with the whole world.
Let’s take a look at what a video blog is and how you can start your vlog at home. We’ll see what equipment you need, what bloggers use to record their vlogs, and what tips and tricks you can use for your project.
How To Create A Video Blog At Home
First of all, you need to create your own studio. Consider the equipment – there’s no need to buy an expensive kit if you’re a beginner – you just need a good camera. And don’t forget about lighting. No need to worry about color correction in a video editor if you already have the right lighting for the perfect picture.

What Equipment Do You Need?
Let’s take a look at the equipment you’ll need.
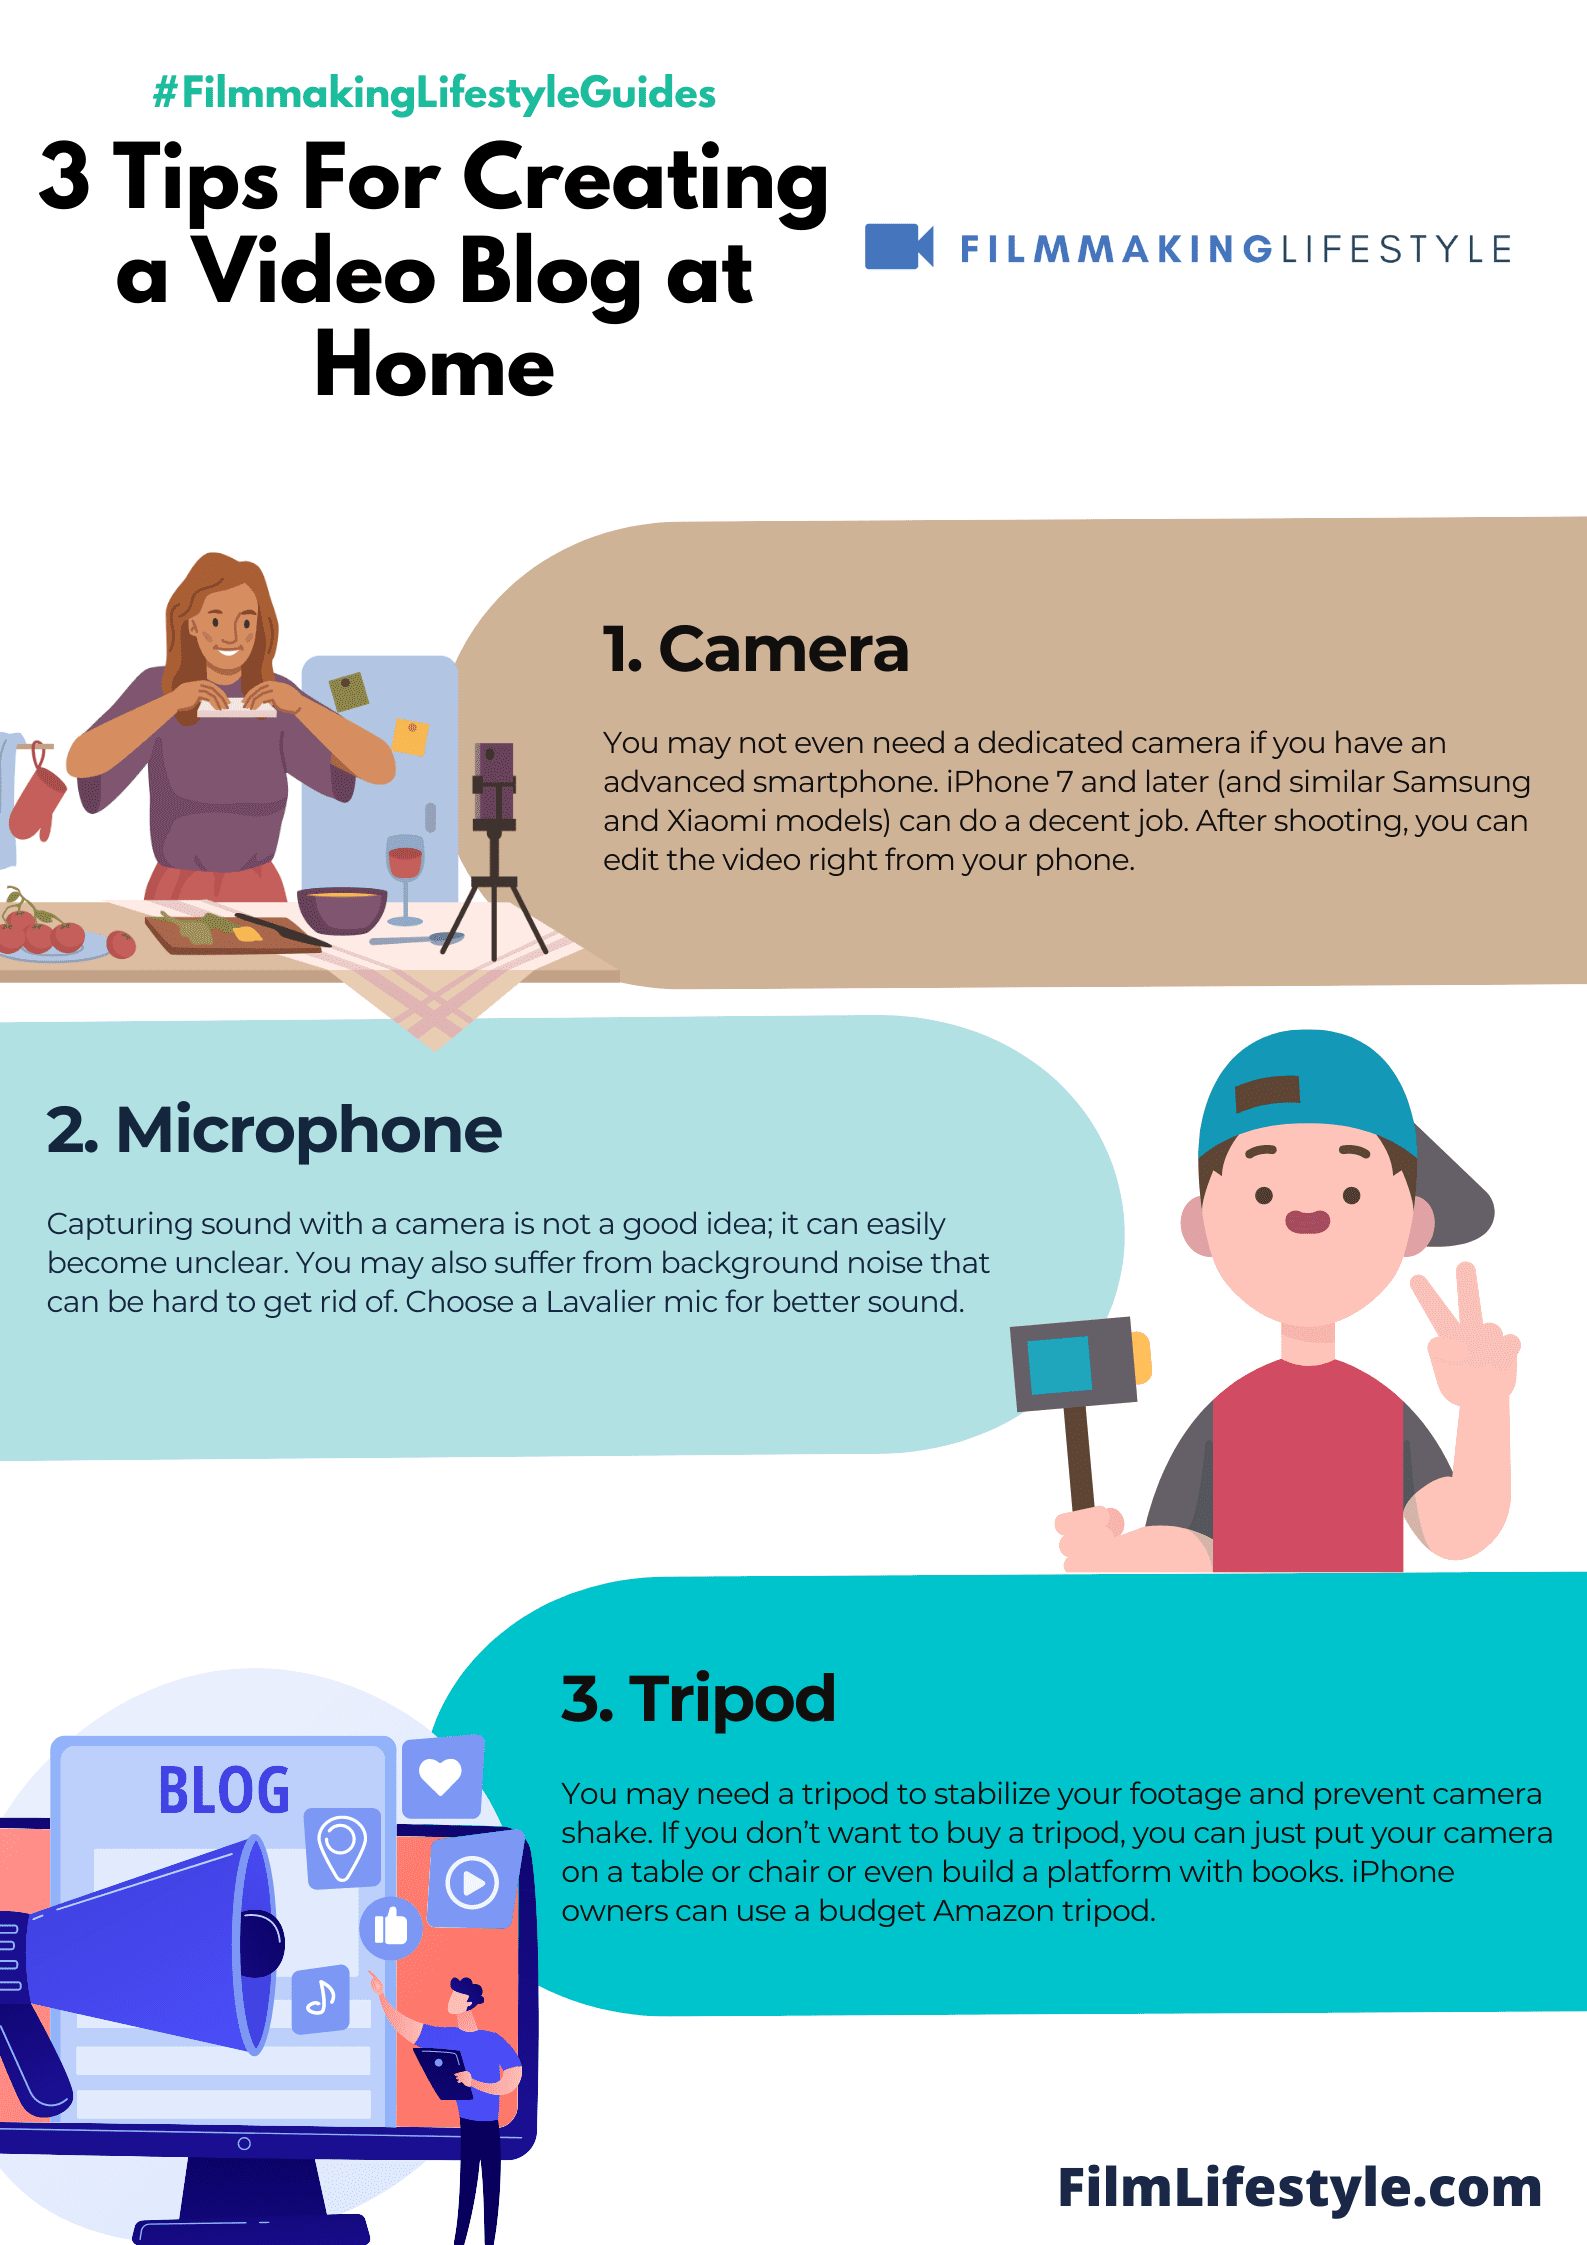
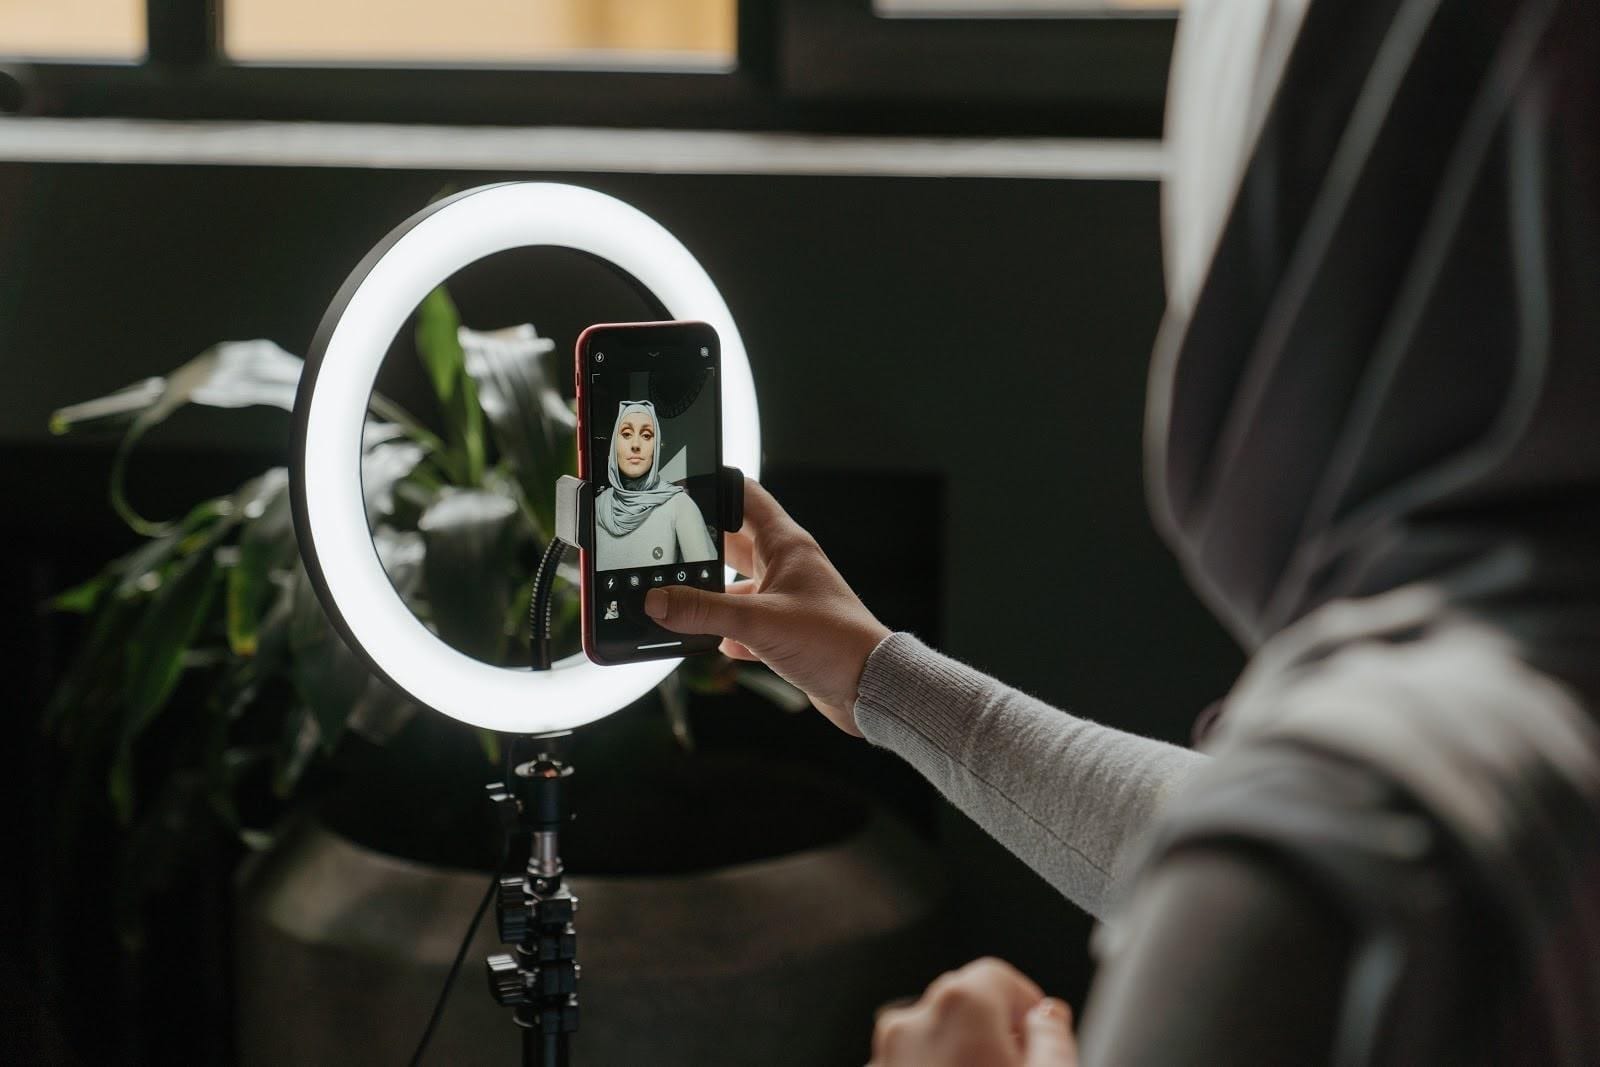
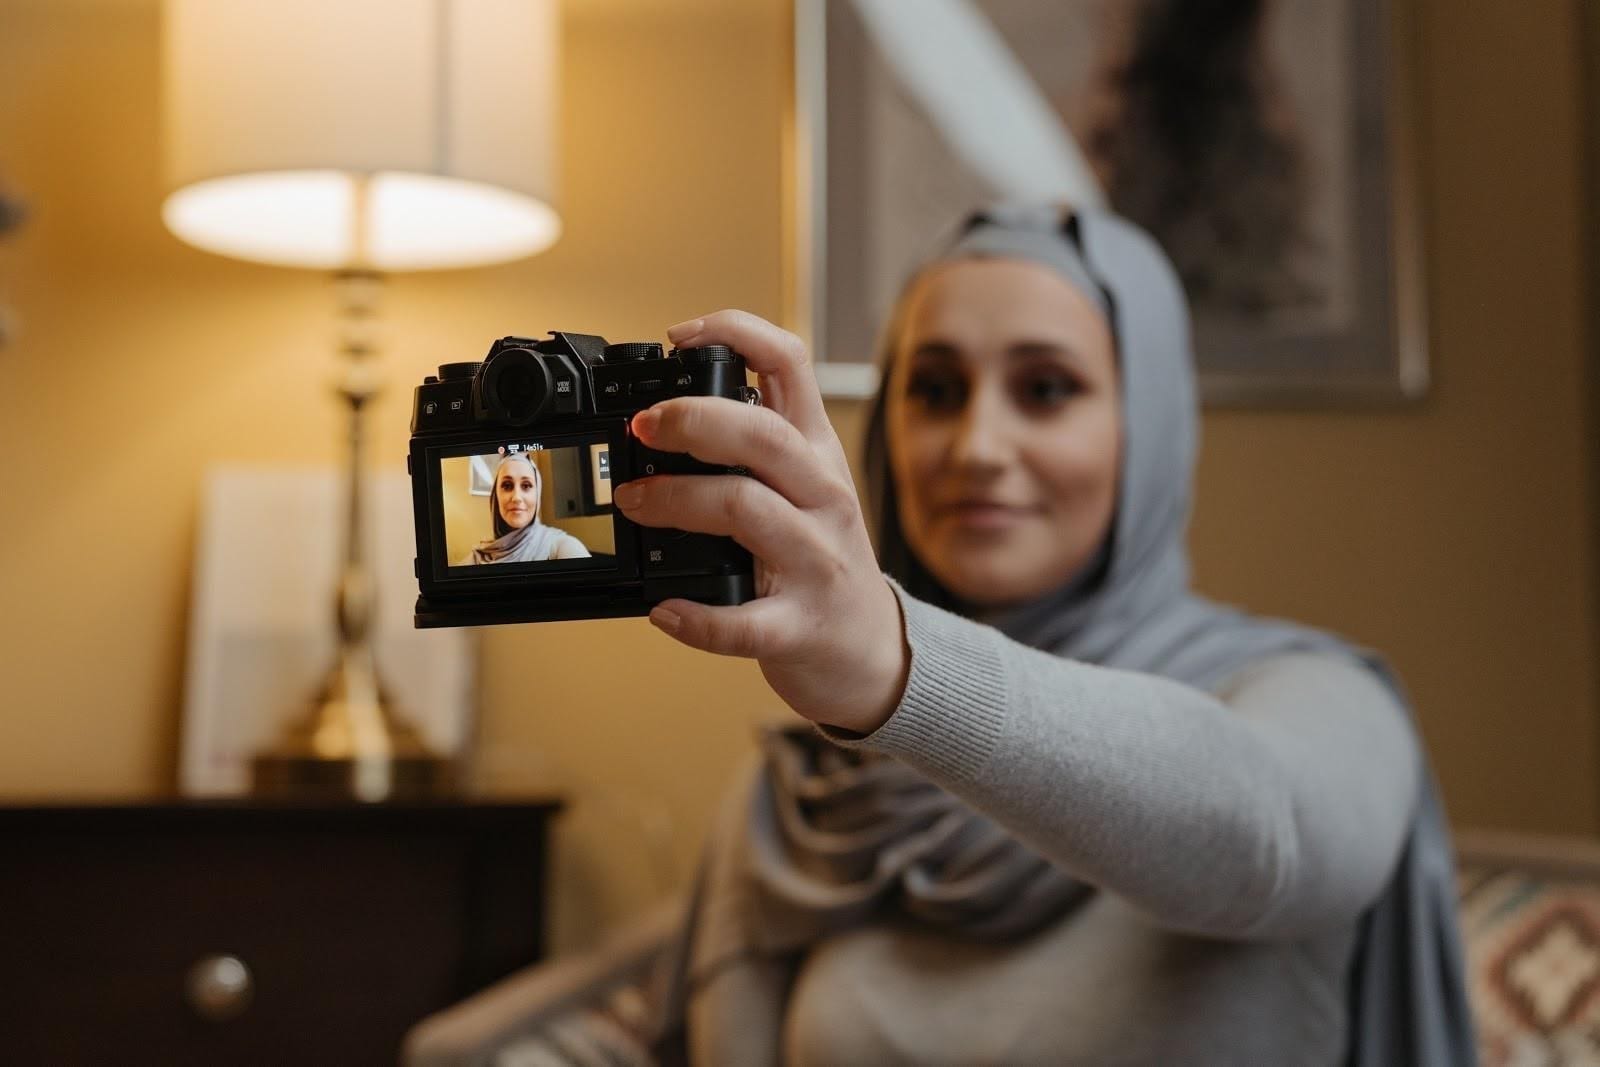
Camera
You may not even need a dedicated camera if you have an advanced smartphone. iPhone 7 and later (and similar Samsung and Xiaomi models) can do a decent job. After shooting, you can edit the video right from your phone.
Speaking of professional cameras, you can also use web cameras like the Logitech C920. This budget kit is a great starting point. The camera delivers detailed Full HD video, rich colors, and clear sound. For professional use, you can try the Nikon D3300.
Microphone
Capturing sound with a camera is not a good idea; it can easily become unclear. You may also suffer from background noise that can be hard to get rid of. Choose a Lavalier mic for better sound.
A budget version is the Maono AU-100R, which has an LED indicator for recording. It is particularly helpful for recording interviews and creating a webinar or ASMR (autonomous sensory meridian response) video.

The good thing about audio from a mic is that you can always adjust it. Level the volume, play around with the equalizer and delete unwanted segments.
If something goes wrong and part of the audio was not recorded, you can always re-record it afterward and add to the video during the montage process.
Tripod
You may need a tripod to stabilize your footage and prevent camera shake. If you don’t want to buy a tripod, you can just put your camera on a table or chair or even build a platform with books. iPhone owners can use a budget Amazon tripod.
Another good tip is to buy a tripod with an LED light. It will help you with the lighting and make your video look more professional.
Take Care About The Lightning
Even if you’re planning to enhance your video in post-production, poor quality original footage can make your video look unprofessional. Try to create optimal conditions in your video recording studio. It’s not just about the equipment, either.
The perfect lighting approach is to shoot in front of a window so you get natural daylight. Make sure the light source is behind your camera to reduce flares and spots. If you need to add extra light, use a lamp or a photo umbrella to smooth the image.
Choose A Background
Setting up a home video recording studio can be challenging, as not everyone has an Instagrammable apartment.
Wallpaper with detailed patterns may distract viewers’ attention, but you need to start your video blog anyway, so work with what you have.
Try to clean up before shooting: get rid of any mess, move the furniture, and remove unwanted objects. In a case you need to bridge gaps in the frame, add some household items: vases of flowers or a couple of pictures on the wall.
If you want to make it like a pro, buy wallpaper for your video studio. You can even buy a paper green screen if you’re planning to add some special effects.

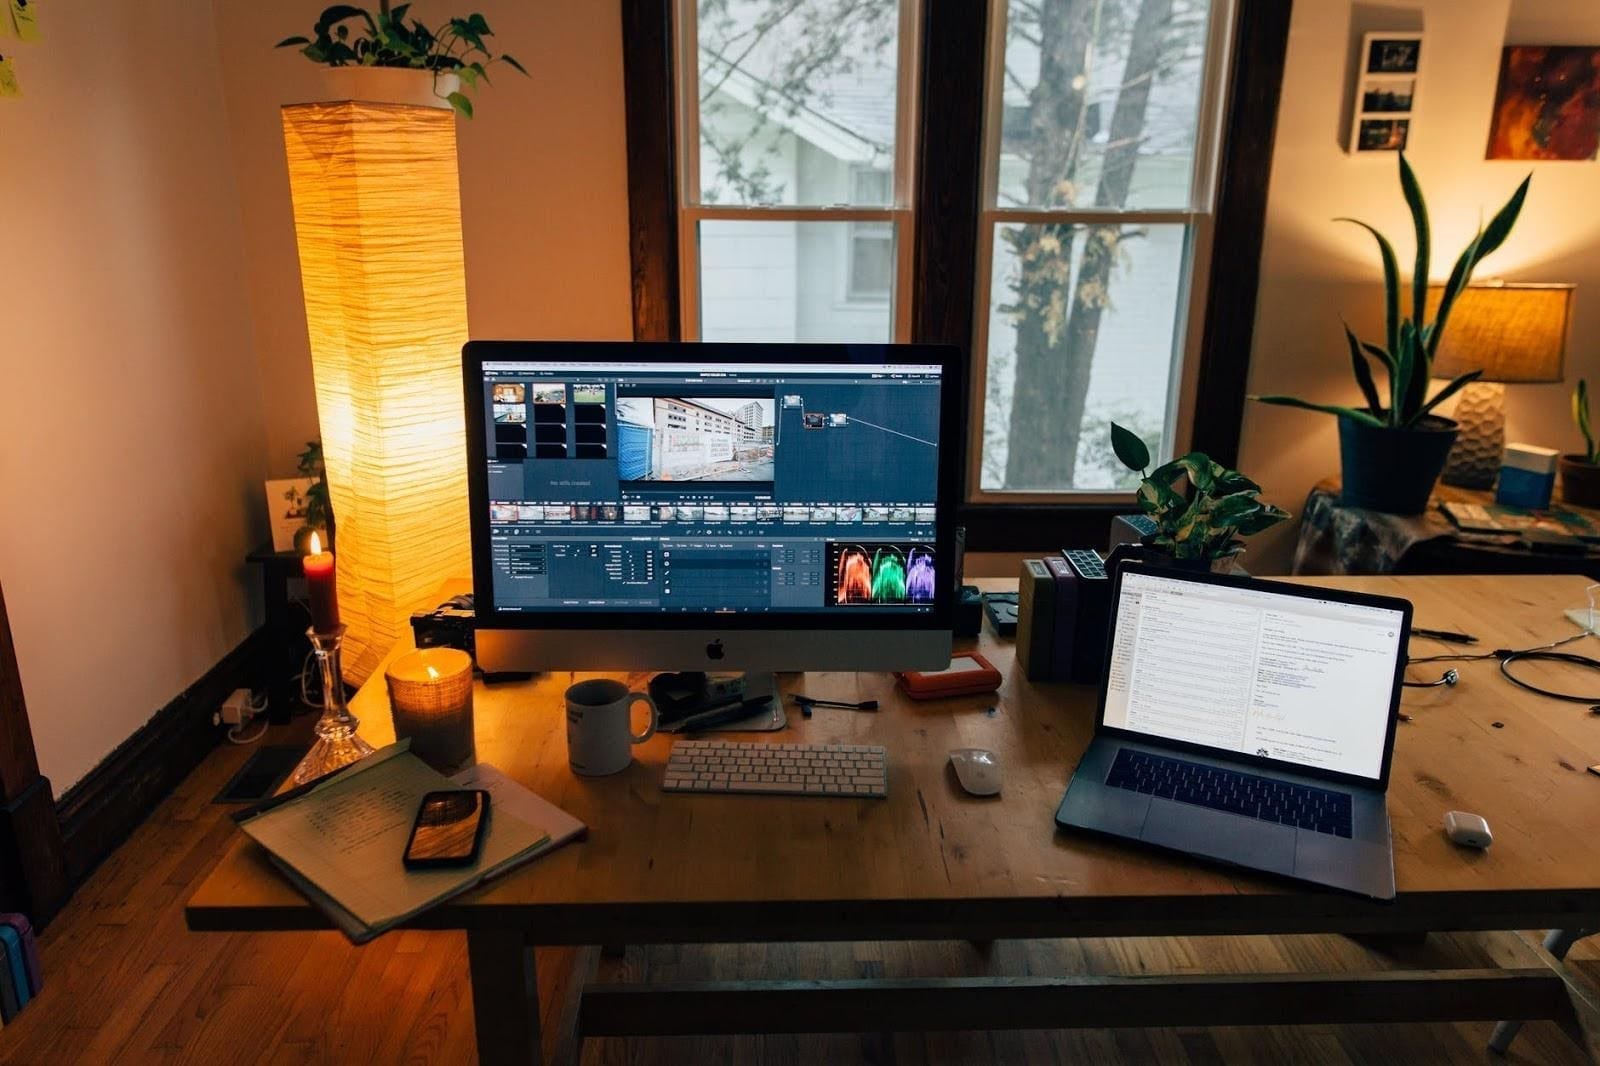
Use Video Editing Software
No matter how good your original video is, you will still need to edit and montage it. Delete unwanted segments and bloopers, enhance audio quality, reduce background noise, and correct images.
Here’s a shortlist of free online and desktop editors you can use for video montage.
Adobe Spark is a free online video editor that will help you enhance your footage in the blink of an eye.
Join clips, add background music and voiceover, and apply transitions and titles. You can search in the built-in media or add your own photos and sounds.
Use this fast and flexible software to create like a pro. Delete unwanted video segments, try the green screen effect, and use the built-in stock content to give variety to your footage.
With WeVideo, you can upload your clips on social media and transfer them via mobile devices.
Fastreel is an online tool that even complete beginners can use. With this simple video editor, you can cut and merge your footage, compress clips, make a stop-motion movie, reverse videos, add subtitles, and more.
Use the template mode to create themed videos for weddings, birthday parties, graduations, and more.

You can edit clips of any length in ClipChamp. Trim videos, split and combine video segments, add images and audio, balance colors, enhance backgrounds, and more. If you want, you can even record your computer screen or a webcam.
Kizoa will help your videos look professional. You can create picture-in-picture scenes, add motion text and effects, render your clips in DVD, MP4, and MKV formats, and boost any resolution to Full HD and 4K. It’s the perfect tool for making Facebook, Instagram, and YouTube videos: just choose the aspect ratio you need.
Think About Distribution
After your video is done, the next step is to promote it – but there’s no need to be a search engine professional to find distribution options for your work.
The most obvious way is to upload your video to YouTube, as it’s not only one of the biggest search engines but also a social network.

With YouTube Studio, you can analyze statistics, respond to the latest comments, change the video order on your channel, update video details like thumbnails, monetization settings and scheduler dates, and more.
YouTube enables you to share your clips on social networks and communicate with viewers. You can not only promote your channel but create a community, gain viewers’ trust, and increase your traffic.
Summing Up
These are just the basics you need to know to create your home video studio. The simple tricks described will help you get started. But you will also be able to create your own tips while preparing to make a video, recording, and editing.
Great info, thanks!
Thanks, Tom!
Hello, I enjoy reading all of your article post. I like to write a
little comment to support you.
Thanks, Kermita! Appreciate it!
Fantastic web site. A lot of helpful information here. I am sending it
to several buddies ans additionally sharing it at work. And certainly, thanks in your effort!
Thanks, Caraseru!
Hi, now I know how to make a video blog at home!
I do think this is a great web site.
Money and freedom is the greatest way to change,
may you be rich and continue to help other people.
Thanks, Shawn. Appreciate that!
Hello! This information is very useful! I want to be even more professional.
Best of luck, Paul!
Why do users still use to read newspapers when in this technological globe everything is available on the net?
I don’t know, Deloris. But thanks for being a reader.
Great Tips for filmmaking.
Since I am a solo traveler I film everything. I would say I have an idea about how storytelling works, but as I am not a professional I wanted someone who can help me get perfect shots and have that storytelling element in their production.
For my travel vlogs, I consulted with my friend he advised me to hire a video production service. I loved their work and they are pocket friendly.
Thanks for the comment, Mia! Best of luck on your journey.
Thanks for this cool guide on creating a video blog
Thanks, Irwin.
First of all, video blogging helps build a connection between you and other people. You can interact with your audience while streaming and answering in the comments section.
Absolutely!
Great work on creating a video blog at home. Thanks!
Cheers Billie.